5 Car Light Painting Gear Essentials
Car light painting can seem like a very involved process with significant investments in equipment, and it can be! No matter what type of photography you are into, you can spend considerable money on your gear. But the truth is, you can start your light painting journey with probably the camera you have, a tripod, and a light source. However, investing in a quality tripod and separate ball head is recommended.
To get you started, I'm sharing five essentials for light painting. This post concentrates on only the gear used to capture the images, not the post-processing techniques. I have various videos on my YouTube channel that go into the method with walkthroughs and tutorials, which you can find here.

Ferrari F355 GTS
1. A Camera
You want to have a camera that allows you to have manual control of your exposures and one that you can mount to a tripod, which most cameras should be able to do. You also want to be able to capture RAW photos and have an option for a 10-second timer. Some illumination on the camera will also be useful as your shooting environment will be quite dark. Being able to illuminate the screen to see essential information, such as aperture, exposure time, etc., is needed as you will be adjusting these based on the results you are getting. But most importantly, you need a camera you are comfortable using, and you know where all the essential features are.
2. A Sturdy Tripod
You can spend a lot on a tripod, but trust me, it's a great investment. I have a Manfrotto 190CXPRO3, and I have used it various times while travelling, even though I tend to avoid bringing a tripod when travelling these days. But I have used it on every automotive photo shoot I have done. Quality is going to come into consideration with a tripod. I'd recommend something with the clipping and locking legs, not the rotating ones. The clips are guaranteed to stay locked, but visually, it is easy to tell if they are locked, which makes it all the more important for the safety and stability of your camera. You also want one you are comfortable using quickly, as well as the confidence in its ability to keep your camera secured and safe. Remember that the investment in a good tripod will last you years, and it's something you may never need to replace.
3. A Versatile Ball Head
Although some less costly tripods are all-in-one, if you invest in a good tripod, you may find that it's just the tripod legs, and they do not come with a way to attach your camera. If so, you need to invest in a ball head, and there are various options. The best ball heads offer stability but are also smooth to operate. It should be simple to use and have superior build quality. When shopping for a ball head, look for something you can freely move and lock where you want. You will want one that you can move around easily and quickly and one that you will be confident in your camera's security so you can pick it up and move it with your camera around without fear of damage to the camera. It's worth investing in a quality ball head.
4. A Lens
It's up to you what focal length you want, but I'm a fan of the 24-105 using various focal lengths within that range. I rarely feel that I need something else outside of this range. Try wide, try tight - make sure you have enough time to get in position to light the photo. Also, give your subject breathing room in the photo and avoid a composition that is too tight. Same with something too wide. You don't want to lose your subject in the frame.
5. A Light Source
There are various light sources out there for light painting. In my experience, I've only used the Westcott Ice Light 2, which is great, although it was a big investment. But I've had it for years, and it's performed great. It has a few small flaws, but I've been very happy. The Godox LC500 LED Light Stick is a good and more affordable alternative to the Ice Light 2. New options have been entering the market recently, so you should have plenty of choices based on your budget, such as the 24cm Ulanzi Light Wand.
Conclusion
In summary, you can start light painting and practicing light painting with only a few additions to what you probably already have. I recommend investing in a good tripod and ball head in the long run, but you can start with a basic one if that's what you have. Also, a consideration is opting for a trigger for your camera shutter. However, I recommend checking your exposures between shots instead of not so you can zoom in and check the focus to see if you lit what you intended to light. It's important to check to make sure you capture what you want so that when you get into Photoshop, you have the exposures that you need to blend your final photo.

Tesla Model S Plaid
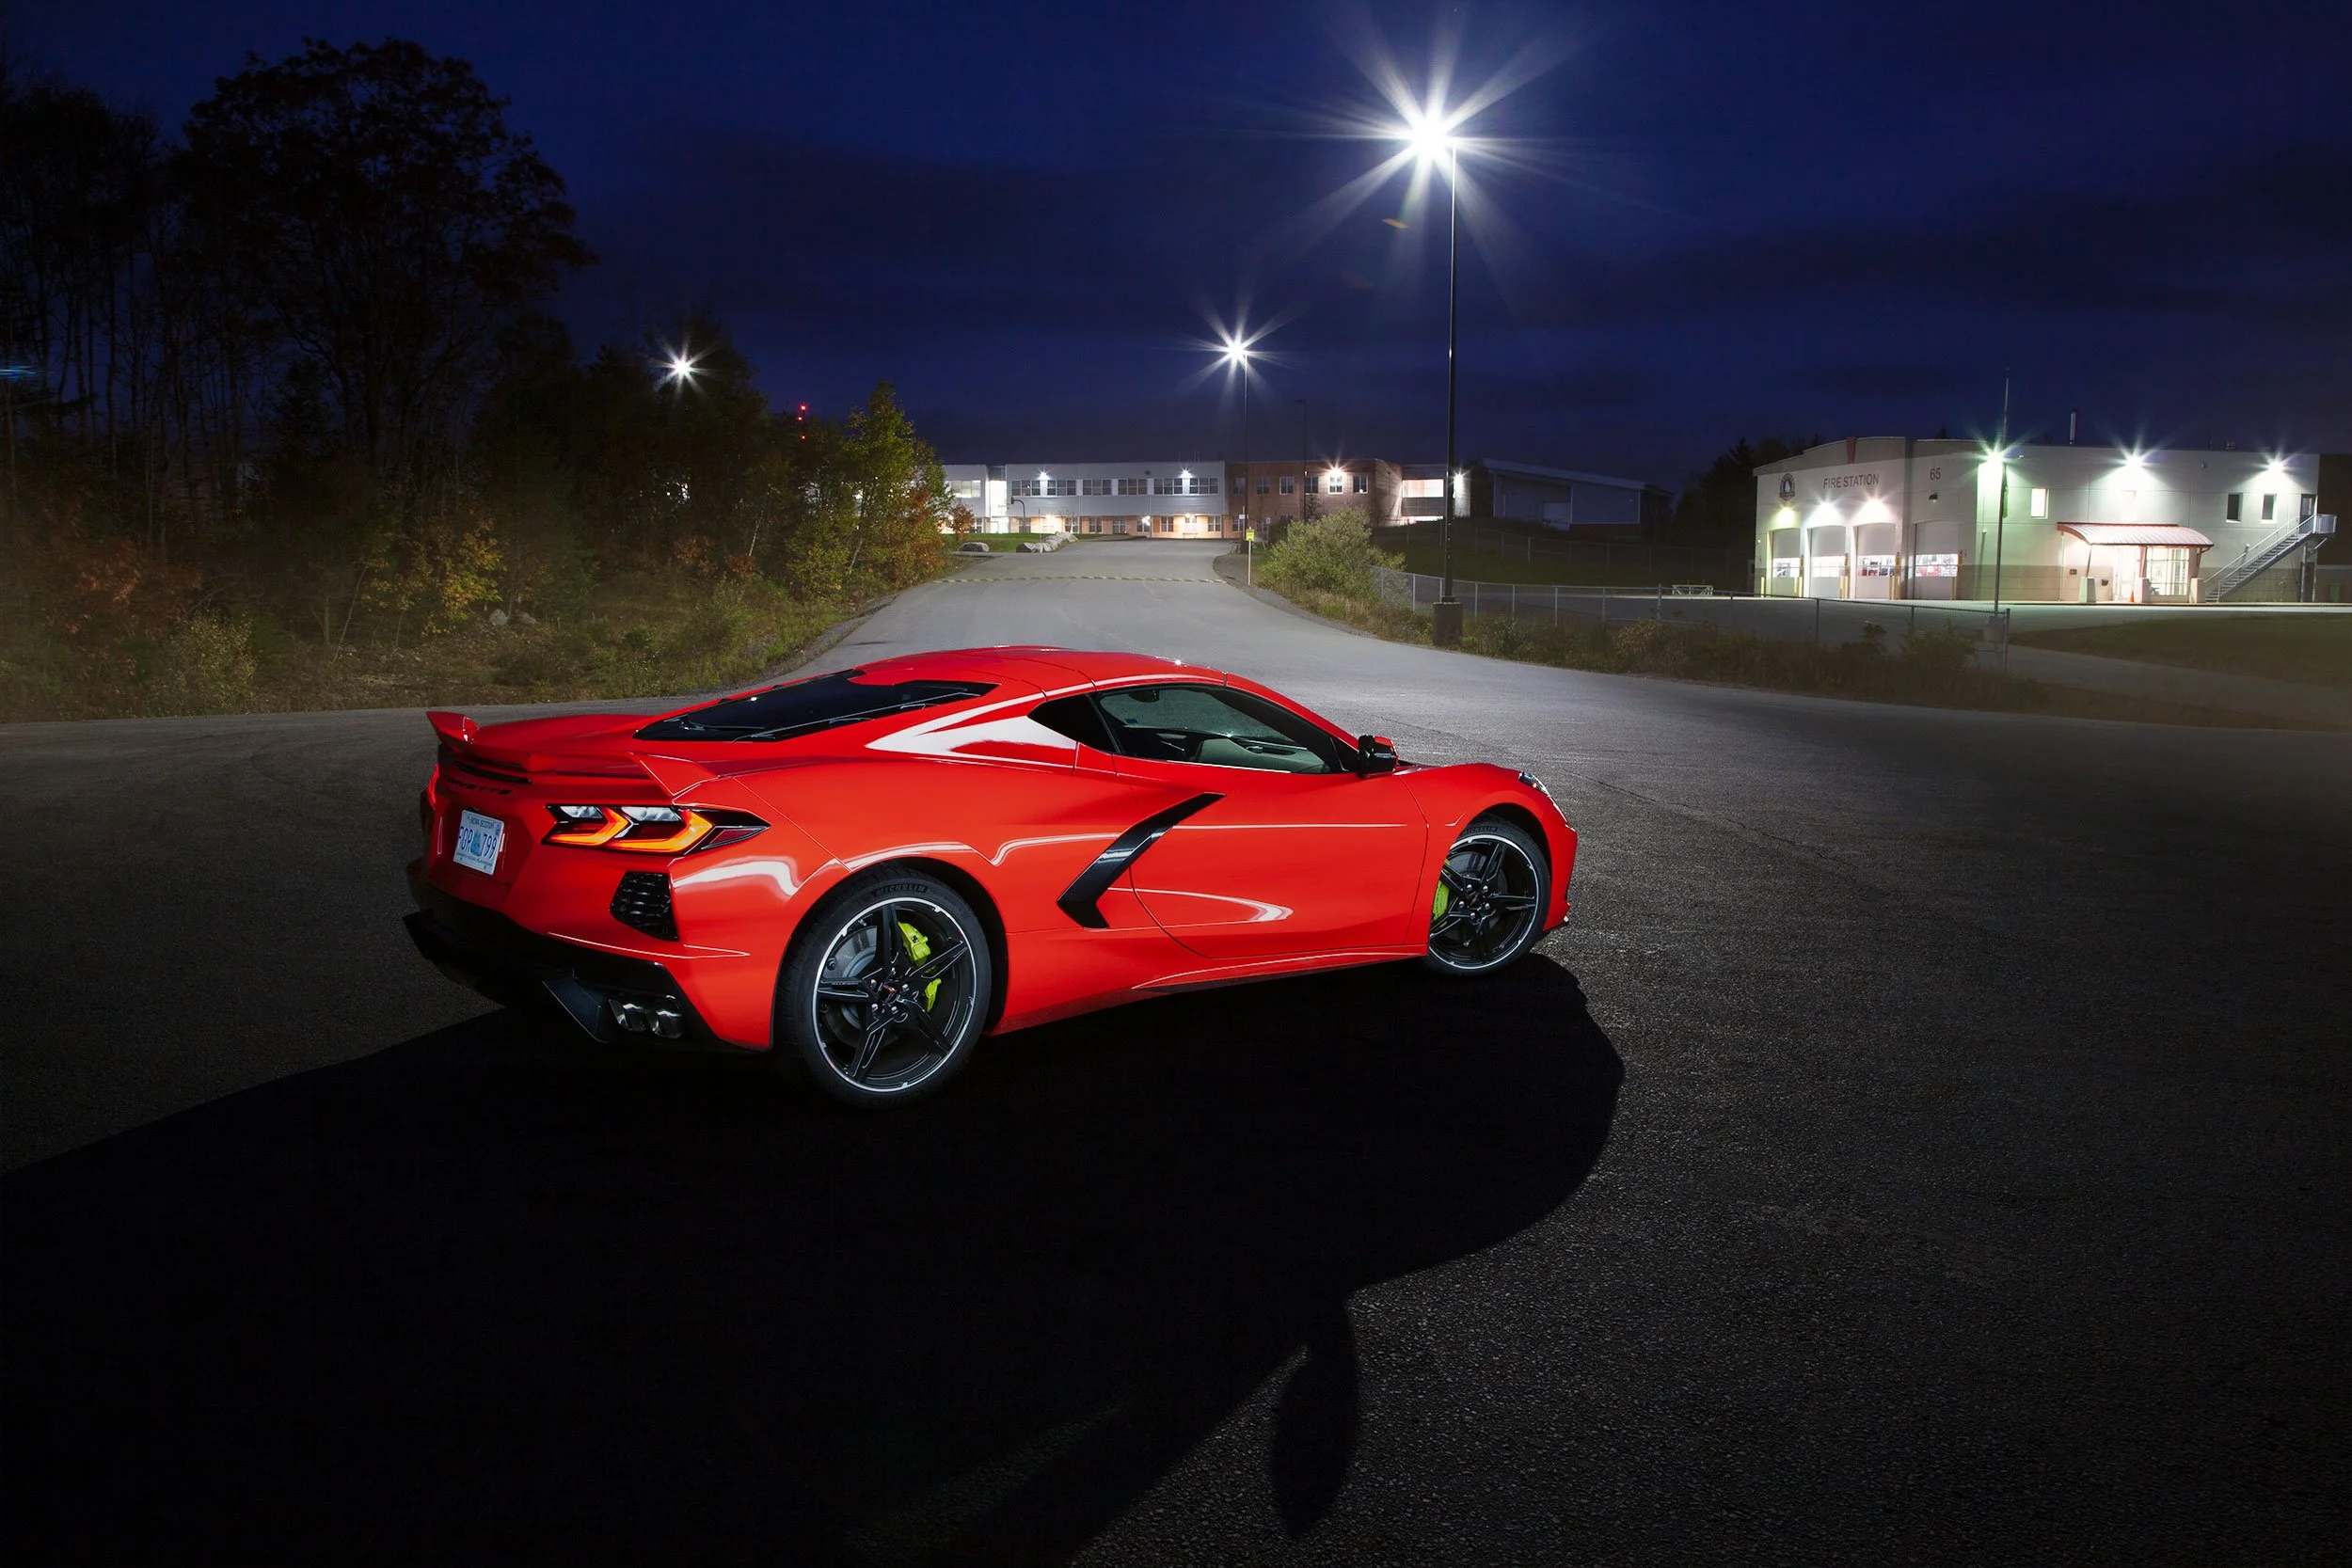
C8 Corvette