Using Fujifilm Recipes for Street Photography
I have been shooting with Fujifilm for a few years now, starting with the X-E2 from years ago. I loved that camera for its size and photo quality. It remained my No. 2 camera for travel for years, and although it was only 16MP, it was mostly fine for travel photography. When I used the X-E2, I never experimented with JPEG or any of the included film simulations, as I thought that RAW would be best in any situation. After all, I could process as desired once the photos were in Lightroom. If there was a look I wanted, I could replicate it as desired, right? Well, yes and no.
Times have changed, and early last year, I moved on to the X-E4, replacing the X-E2. Over the months since, I have regularly used film simulations in camera and have experimented with custom recipes, and I must say, I like the results. Film cameras and shooting film are big right now, with plenty of YouTube channels dedicated to the art of film photography. I follow many of them, and even though I don’t shoot film, I appreciate the dedication to the art of shooting film, and I also understand the appeal of film and the associated look that you can achieve with film.
Film simulations are one of the main reasons that people want to use Fujifilm cameras. It allows them to get the “film look” without a film camera or a specific film stock. It’s not exact, but the built-in Fujifilm simulations do a nice job of replicating the look of specific film stocks. If what you are looking for is unavailable, Fujifilm cameras provide the option to dial in and create your look, a recreation of another film stock, and there are a lot of film recipes to try.
Where Do I Find Fujifilm Recipes?
Fuji X Weekly is an established site dedicated to Fujifilm, and it has become the go-to place for film recipes. The site will allow you to browse recipes, see the settings needed, and view some examples. You must choose your sensor based on your Fujifilm camera and start looking through the extensive list of options to experiment with. With the Fujifilm X-E4, it’s quite easy to dial in the settings and save them in one of the seven dedicated slots for custom recipes. All the recipe settings should be found in the menu's Image Quality (IQ) settings. It’s also important to note that the order of the recipe settings listed online doesn’t necessarily align with the order on the camera menu. I assume this probably varies based on the camera.
As it's an extensive resource, I can’t say anything more than what you can already find on Fuji X Weekly. I encourage you to read through and try a few recipes if you are interested and if you use a Fujifilm camera.
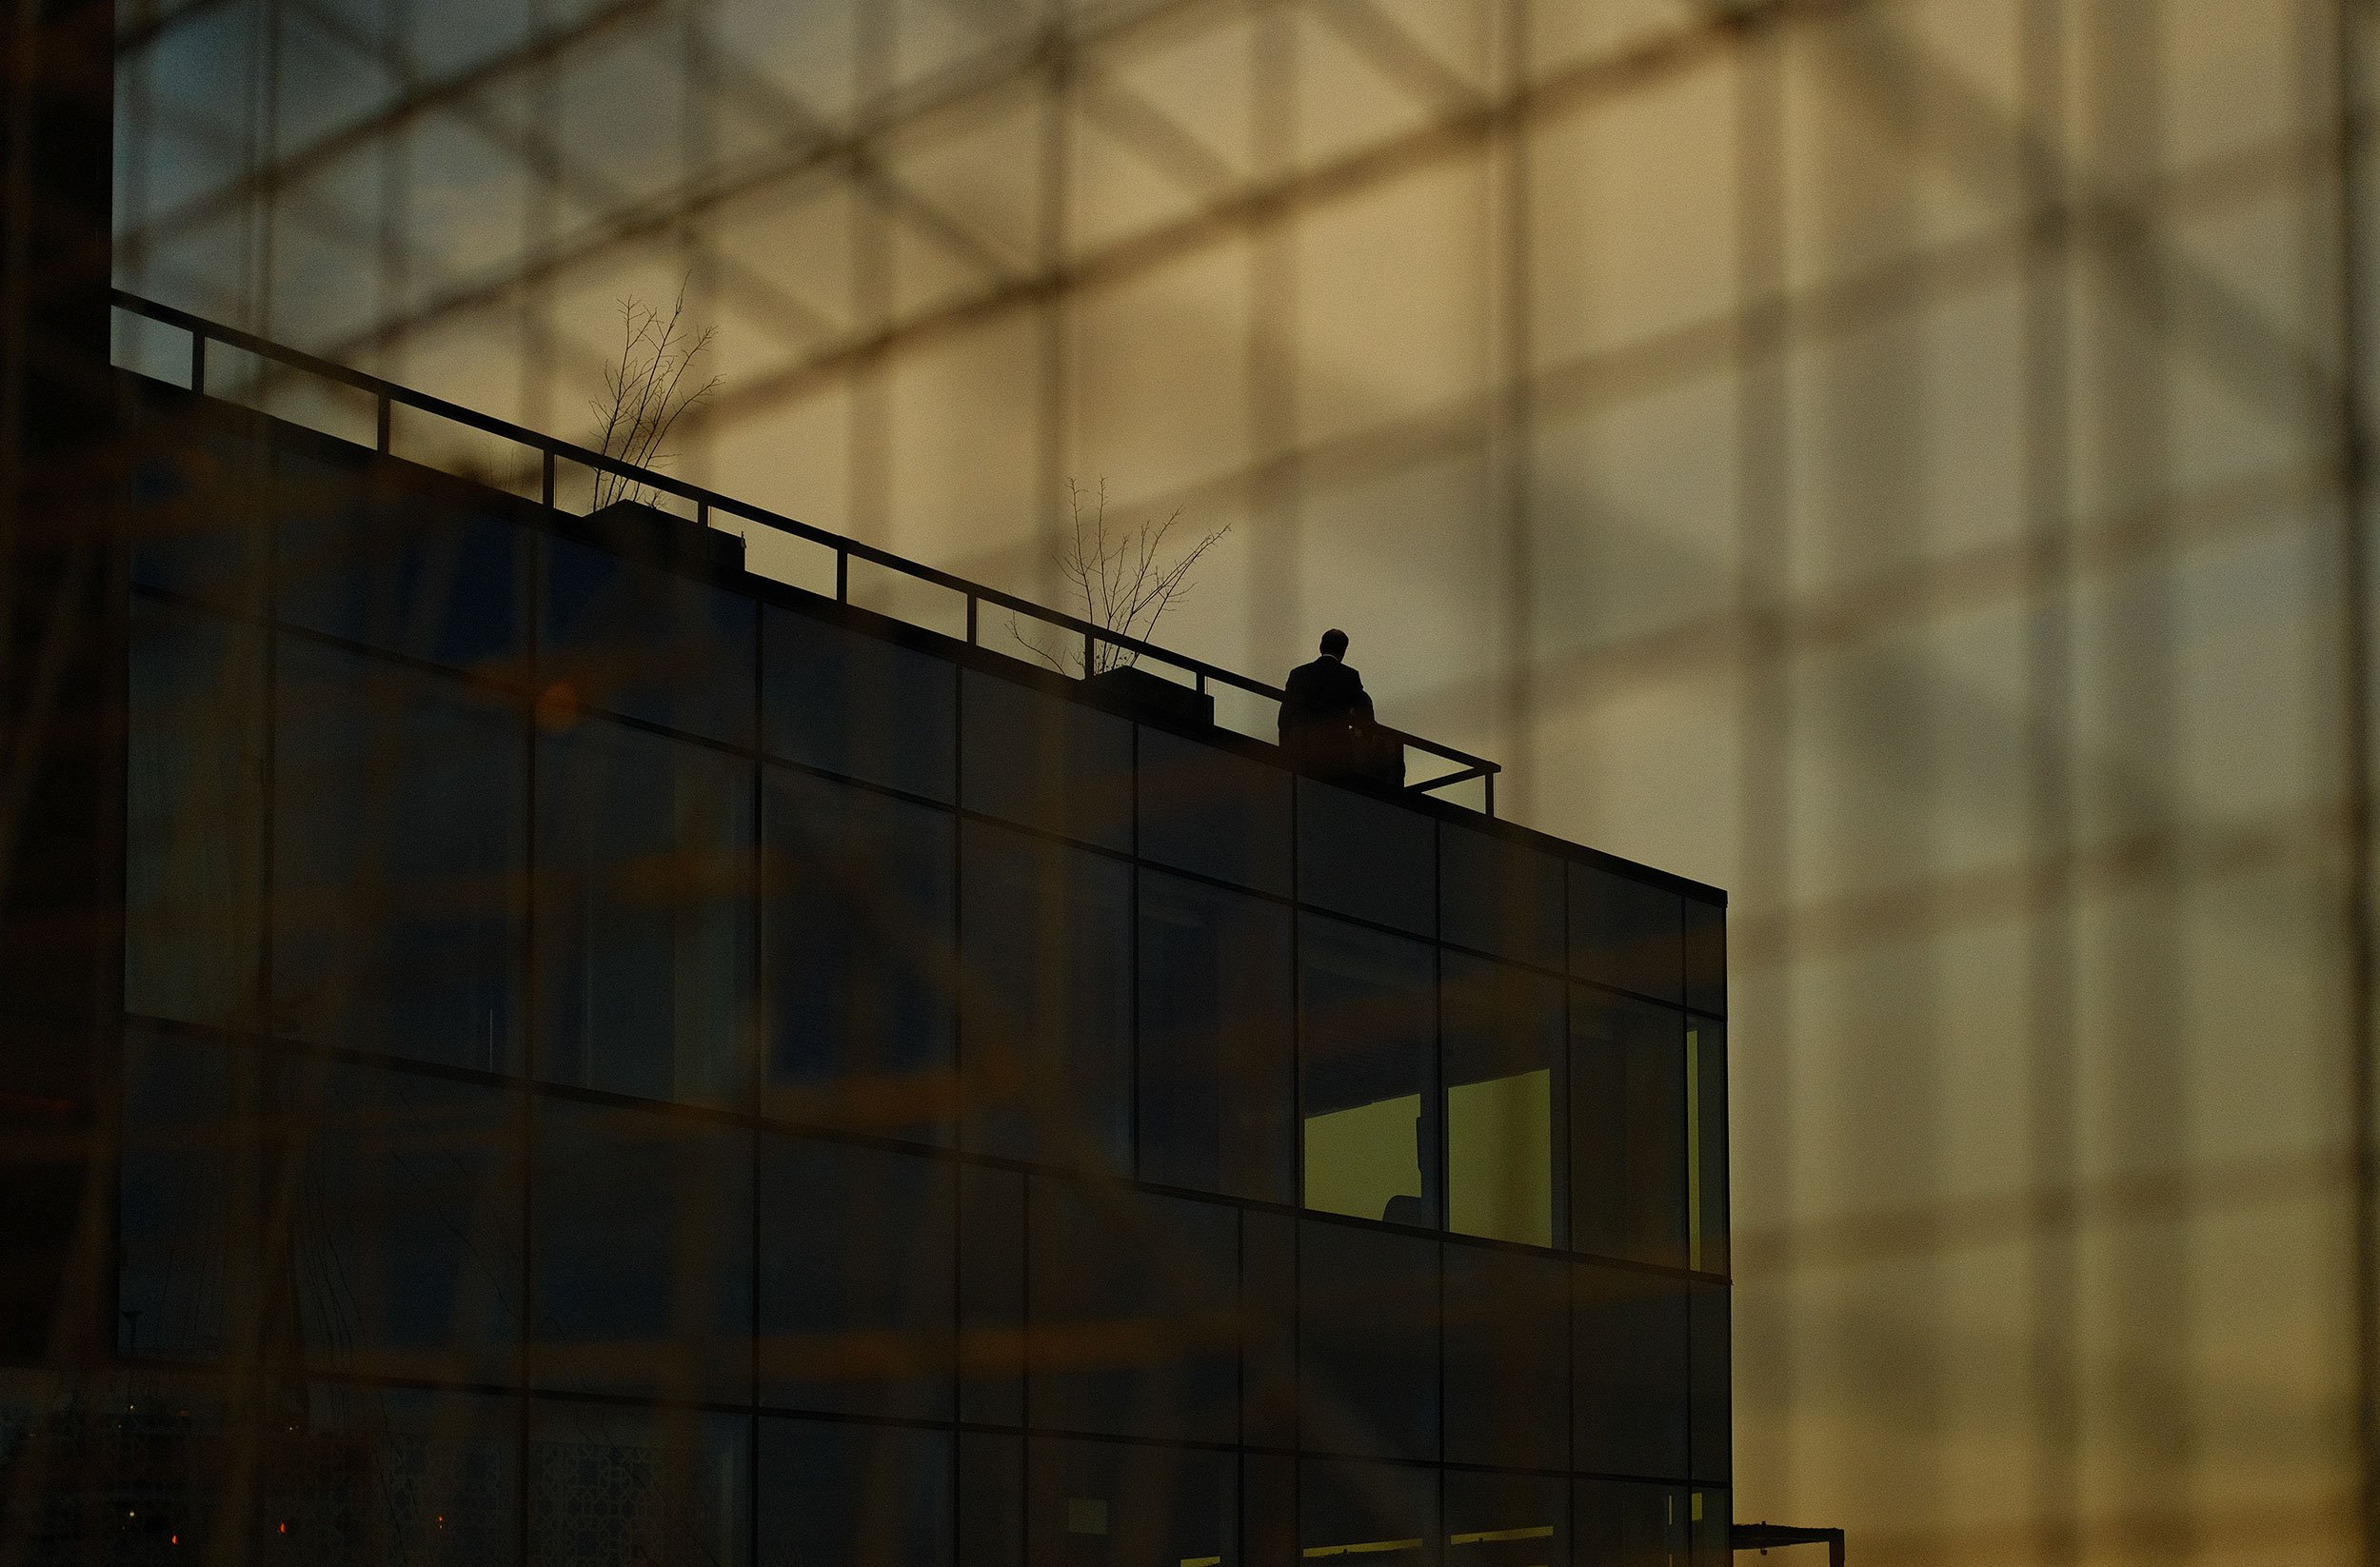
What Recipe Is This?
As mentioned, I have been using film simulations regularly. I have used the standard, built-in simulations for my New York trip in June, and Portugal in September. I like using film simulations for the unique look that they provide. A few months back, UK-based photographer Mike Chudley released My Perfect Fujifilm Film Simulation Recipe video on his channel, and that is pretty much the recipe I used for these photos. The only difference is I kept the noise reduction at zero. But check out his channel for great insight into street photography and his photography process. Here are the settings that he shared:
Astia/Soft
Dynamic Range: 400 (This will bump your ISO to 640)
Grain Effect: Weak/Small
Colour Chrome Effect: Weak
Colour Chrome FX Blue: Weak
White Balance: 6200k, +2 Red, -4 Blue
Curve: Highlights -1, Shadows -2
Colour: +4
Sharpness: 0
Noise Reduction: -4 (I used 0)
Clarity: O
Recommended Exposure Comp: +1/3 or 2/3


Let’s Talk About the Process
I shot all of these with my 35mm and at f/2. The only adjustment I was making while shooting was for exposure compensation. Sometimes, if I composed and locked my exposure for a scene, I would adjust the exposure compensation using the dial to get the exposure I wanted instead of recomposing. These photos are almost straight from camera. The adjustments varied based on the photo but were minor adjustments if needed. In Lightroom, I performed small adjustments to highlights, shadows, and whites, and in Photoshop, I did a slight curves adjustment (although that could have also been adjusted in Lightroom). That’s it; no colour, temperature, or anything else is adjusted.
This film simulation substantially shifts the white balance and adds a bit of grain to the photo. I can see why so many people enjoy using different film recipes in their photography process, as it is fascinating to see what you can achieve in camera, and that’s an advantage I wanted to mention. The results of these JPEGS could probably be replicated closely from a RAW with time, but I’m not sure if I would have visualized doing so. This simulation creates a look I wouldn’t have considered without a film recipe.
Summary
Fujifilm recipes are an excellent way to create a unique look. While some recipes try to replicate film stocks directly, others are unique creations that may not represent any particular film. While there are many recipes, your camera can only hold so many (for the X-E4, that’s seven). As a result, you may try many recipes before settling on the ones that are best for you and that you use regularly.
Check out Fuji X Weekly for more recipe info, and follow Mike Chudley’s channel if you like his content.

