How to Light Paint Car Interiors
Light painting, in general, takes planning and visualization. Photographing a car's exterior usually requires combining multiple exposures to get a photo that illuminates all of what is intended. When light painting interiors, the same care and planning need to be considered, but usually, a car interior does not require as many exposures as an exterior shot would demand.
Taking stunning photos of any car interior also requires attention to detail. Car interior photographs can focus on the occupants, features, materials, and screens, to name a few and design and craftsmanship make a car interior unique.
Previously, I shared 5 Tips for Interior Car Photography, which I highly recommend you read through first, as those tips apply to anything related to interior car photography. In this post, we will look at how to photograph interiors using light painting techniques.
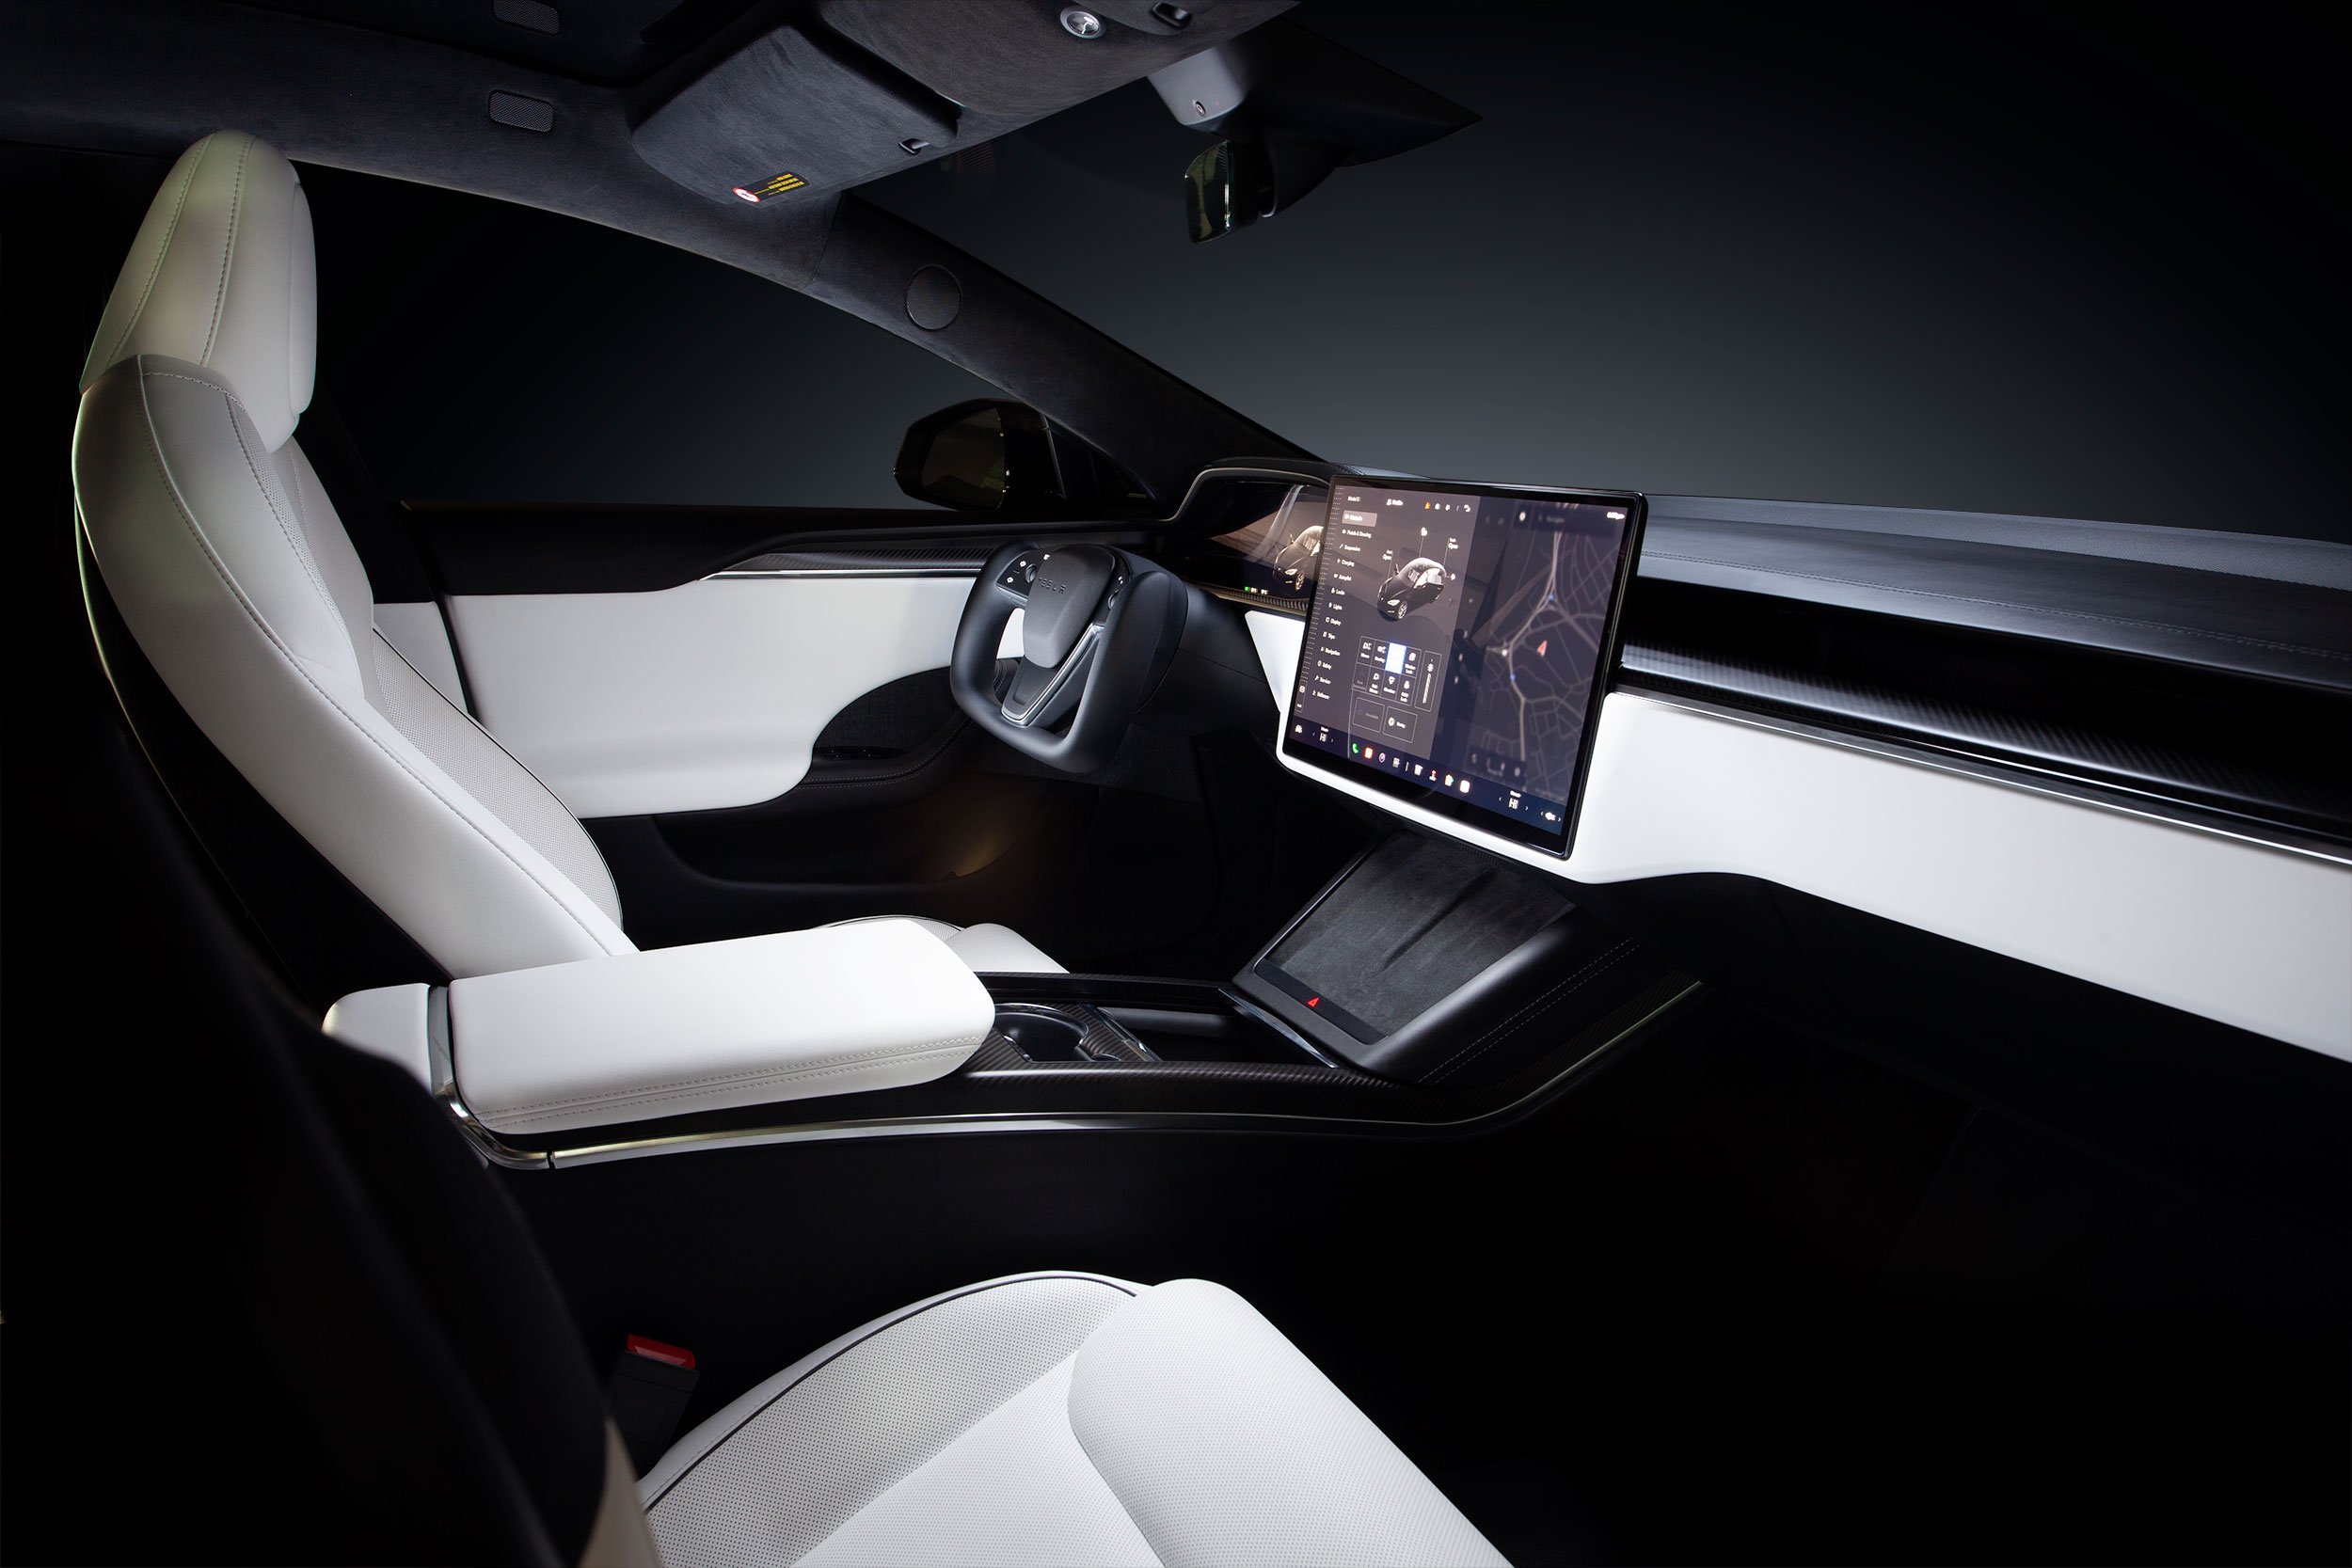
Telsa Model S Plaid
Set-Up
Any interior shot that requires you to blend multiple exposures in Photoshop will require a good tripod in low-light conditions. You will also need a lens that goes fairly wide, but how wide depends on how much of the interior area you want to capture. I frequently use a 24-105mm, but I also have a 17-40mm, although I find that 17mm is a bit too wide most times. Also, in terms of your focal length, with a tripod, you can go with whatever f-stop you want and not worry about blur. I usually go around f/11 to ensure everything is focused from front to back.
Camera Placement
For placement of your camera, most times, you will have the car door open and have the tripod as close as possible to the car, but feel free to step back a bit to capture more of the surrounding area that the car is in. You can do this from either side of the car.
You will want to capture the interior in a way that highlights its features, so the tripod height is really up to you. You’ll want to try different heights, see what looks best, and avoid too many distortions from wider angles. Each side gives a different perspective - the driver’s side has the steering wheel as the point of focus, and the passenger side will have mostly the center console and near the center of the dash area as the point of focus. It’s really up to how it looks to you.
Once you have a composition you like, focus on your main point of interest in the interior (steering wheel, for example), lock your focus, and start shooting. Generally, you will want to focus on a point closer to the camera, but f/11 and up should keep everything in focus if that’s what you are going for. Generally, if it’s a full interior shot, you will want everything from front to back in focus.
The Exposures
1. Instrument Panel and Screen
First, turn the car’s power on so you get the instrument panel and screen (if there is one) lit up. Some cars have multiple screens, and some have the gauge cluster as an LCD display. If the car does have a screen, try to display something pleasing, such as a map, a graphic of the car, or anything that shows the interface interestingly or uniquely. This exposure will only use the lights, so the other portions of the frame are not important in terms of exposure. This will probably be a 2-second exposure at most.
2. Top of Dash
If your tripod and camera positioning include the top of the dash as part of your composition, you must light that area. You will use your light source outside the car for your following exposure. Do a timed exposure, waving the light source up and out of the frame and above the windshield across the top of the dash. This will light up the top of the dash area and some of the interior, including the seats. Since you will want the seats lit, this could give you some extra fill for those seats if needed later, although a proper exposure of the seats from inside is important to capture.
3. Interior
We will return to using the light source inside the car. So, experiment with a 6-second exposure and longer for the next couple of exposures. As the interior is smaller than the exterior of a car you may only need one or two more exposures to get everything you need. Hold the light source in the car near the far end by extending your arm out and pulling it towards you for the duration of the exposure, timing your movement accordingly.
You can also try waving the light source around from the backseat to fill in some light for the front. This is much easier to do with a four-door car.
Additional Notes
Some photographers shoot from the back seat to capture a composition more straight-on to the interior dash area. This is an option, but you must recline the seat as much as possible to get it out of your shot. When shooting from the back seat, I find that it can look good, but if the seat is part of your composition, it can look odd having one or both seats completely reclined.
The Ice Light 2 and other light wands will attach to a monopod. If you have this option with your light source, you can get additional length when reaching into the car.
It’s essential to check your exposures on camera each time to be sure you are lighting what you intend to. If you get home and realize you missed some lighting, filling that in post is difficult.
Some of your exposures will inevitably have a light streak from your light. There’s nothing to worry about here, but make sure the streak does not overlap with what you wanted to light. It’s easy enough to mask out later, but not if the streak is over what you intended to light.
If you are doing this on location somewhere outside, you may already have a nice background visible through the windows. If you shoot inside, you may have a background filled with clutter or nothing that complements the photo. There are options to replace the background using another photo or create one in Photoshop to give you that “studio look.” For the sake of this post, I won’t go into how to do this, but you will need to know how to use Photoshop’s pen tool. Also, using Photoshop, you can add back in interior reflections if you so choose, as it adds to the realism.
It’s a good idea to have one of your exposures focus on the manufacturer emblem in the middle of the steering wheel without distractions such as unwanted reflections or light streaks. The steering wheel emblem is an integral part of the interior photo as it helps identify the vehicle from the viewer’s perspective. If you are shooting from the driver’s side, it should always be in focus. If you are doing a wide shot of the interior, the steering wheel should be a focal point every time.