Car Light Painting Advice for Better Results
Spring is just around the corner, and if you live in a cold climate like I do, you will realize that car owners will be anxious to get their prized possessions out of storage and onto the open road. With a new season comes new opportunities to photograph. It’s a perfect time to review tips for successfully light painting a car for a successful photoshoot.
Light painting cars is a unique way to elevate your car photography. It allows a car to have presence and focus in any darker situation and, when done correctly, can make any vehicle stand out. However, light painting can be tricky as many aspects must be remembered. I’ve been doing automotive light painting for over five years; I know the pain of getting home and starting to construct your final photo and realizing that you missed something crucial to the success of the final image. When light painting, there are some things I always keep in mind to ensure that the photo shoot is successful.
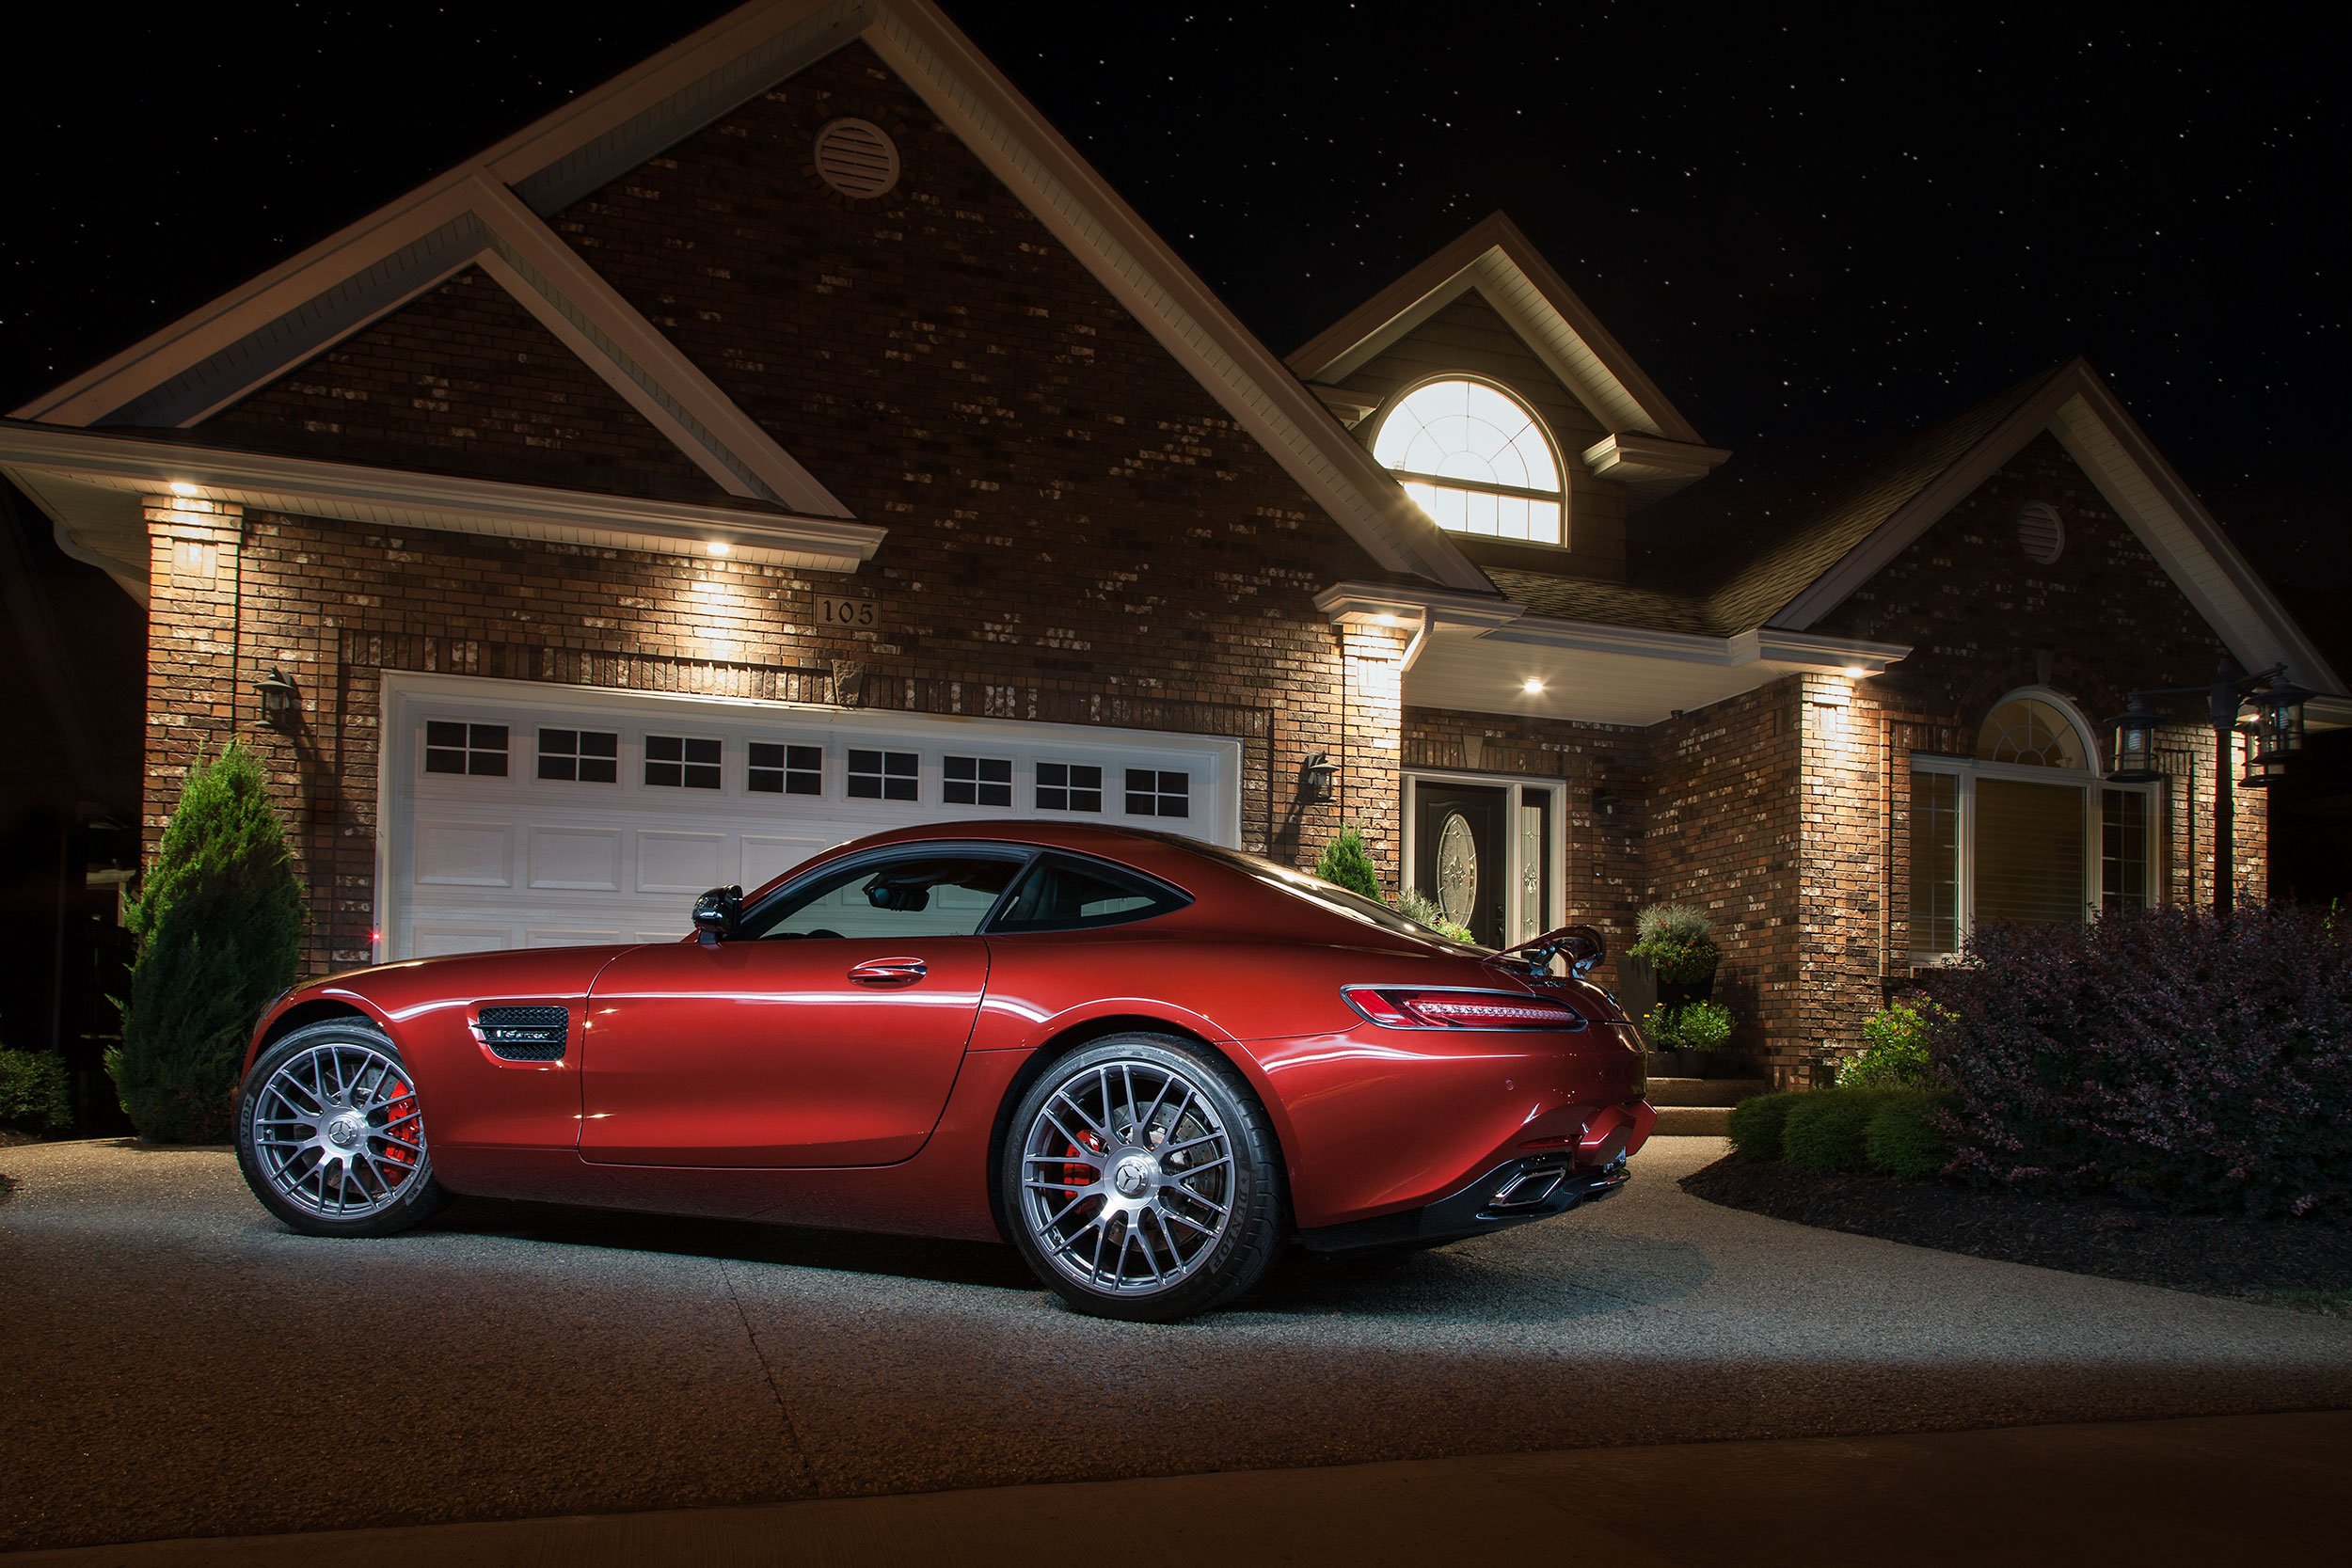
Mercedes-AMG GT S
Check Your Focus
Car light painting usually requires multiple exposures blended later together in Photoshop. It isn’t easy to get the look you want without lighting different areas of the car with different exposures, as you can light only what you want while avoiding other aspects of the frame or vehicle that you do not.
Take a shot and then check the focus. Zoom in close to make sure the subject is tack sharp. Once you have verified that, switch to manual focus and leave it. Do not touch the lens, and be careful when handling the camera. You do not want your gear moving at all, as it will ruin your photo as it won’t line up properly when stacking. If, by chance, you nudged the tripod or adjusted the lens every so slightly, start over. Everything must be in focus and lined up for a successfully stacked final photo.
Check For Reflections
While checking for sharpness and focus, look at your reflections as well. This is very important if you have many surrounding elements in your composition and very much so if those elements are not the most attractive. Ensure you don’t have windows and different light sources reflected in the car body or car windows. Also, anything with text can be problematic, such as store signs, advertisements, etc. They can pose a problem as they are apparent and often challenging to remove in post. Having some reflections is reasonable, but you want to physically remove as many as possible. This can be done by slightly adjusting your composition angle or, if manageable, moving them out of the frame. Some reflections are easy to remove in the post, whereas others, if they are close to the edges or gradient surfaces of the car, can be more challenging. Lighter cars are much better at hiding reflections, with darker cars being more of a challenge.
Check Your Surroundings
When situating the car, take note of the obvious things that are not pleasing to a composition. That includes trees and poles sticking out of the top of the car. If you are limited in space and unable to move the car, this will be challenging, but luckily, with light painting, much of the focus will primarily be on the car. Check the contents of the foreground and background and remove the items that you can.
Take Your Exposures in Order
Light painting can be done with one exposure, although you will often want to include different portions of the car and blend them later in Photoshop. For example, you may want to get exposures that include the side, top, front fascia (or rear), wheels, interior, headlights (or tail lights). Since there are numerous to cover, I strongly recommend doing each in order and doing so on all future photo shoots. Sometimes, you don’t use every exposure, but if you did need it and forgot to capture it, your shot is essentially ruined. Please make a list and check them off as you go. Jumping around with different exposures is more difficult in post-processing when they are not organized.
Take More Than You Think You Will Need
While in the habit of taking your exposures in order, I’d also recommend taking more frames than you think you will need. It may look good on the tiny camera screen, but there could be a little bit that wasn’t lit well. This is where repeating your work and taking multiple photos will help, as the more opportunities you have and photos to refer to, the better the chance of their being a perfect one for that particular exposure. I’m not advocating doing dozens of photos per lighted area, but once you get the one, take a few more just to be sure.
Conclusion
Light painting is a unique way to present a vehicle; you can successfully create a fantastic final image with proper preparation and patience, and a selection of like exposures will be an advantage when selecting the best exposures for your final composition.