2022 Mazda MX-5 RF: Photo Shoot and Editing Process

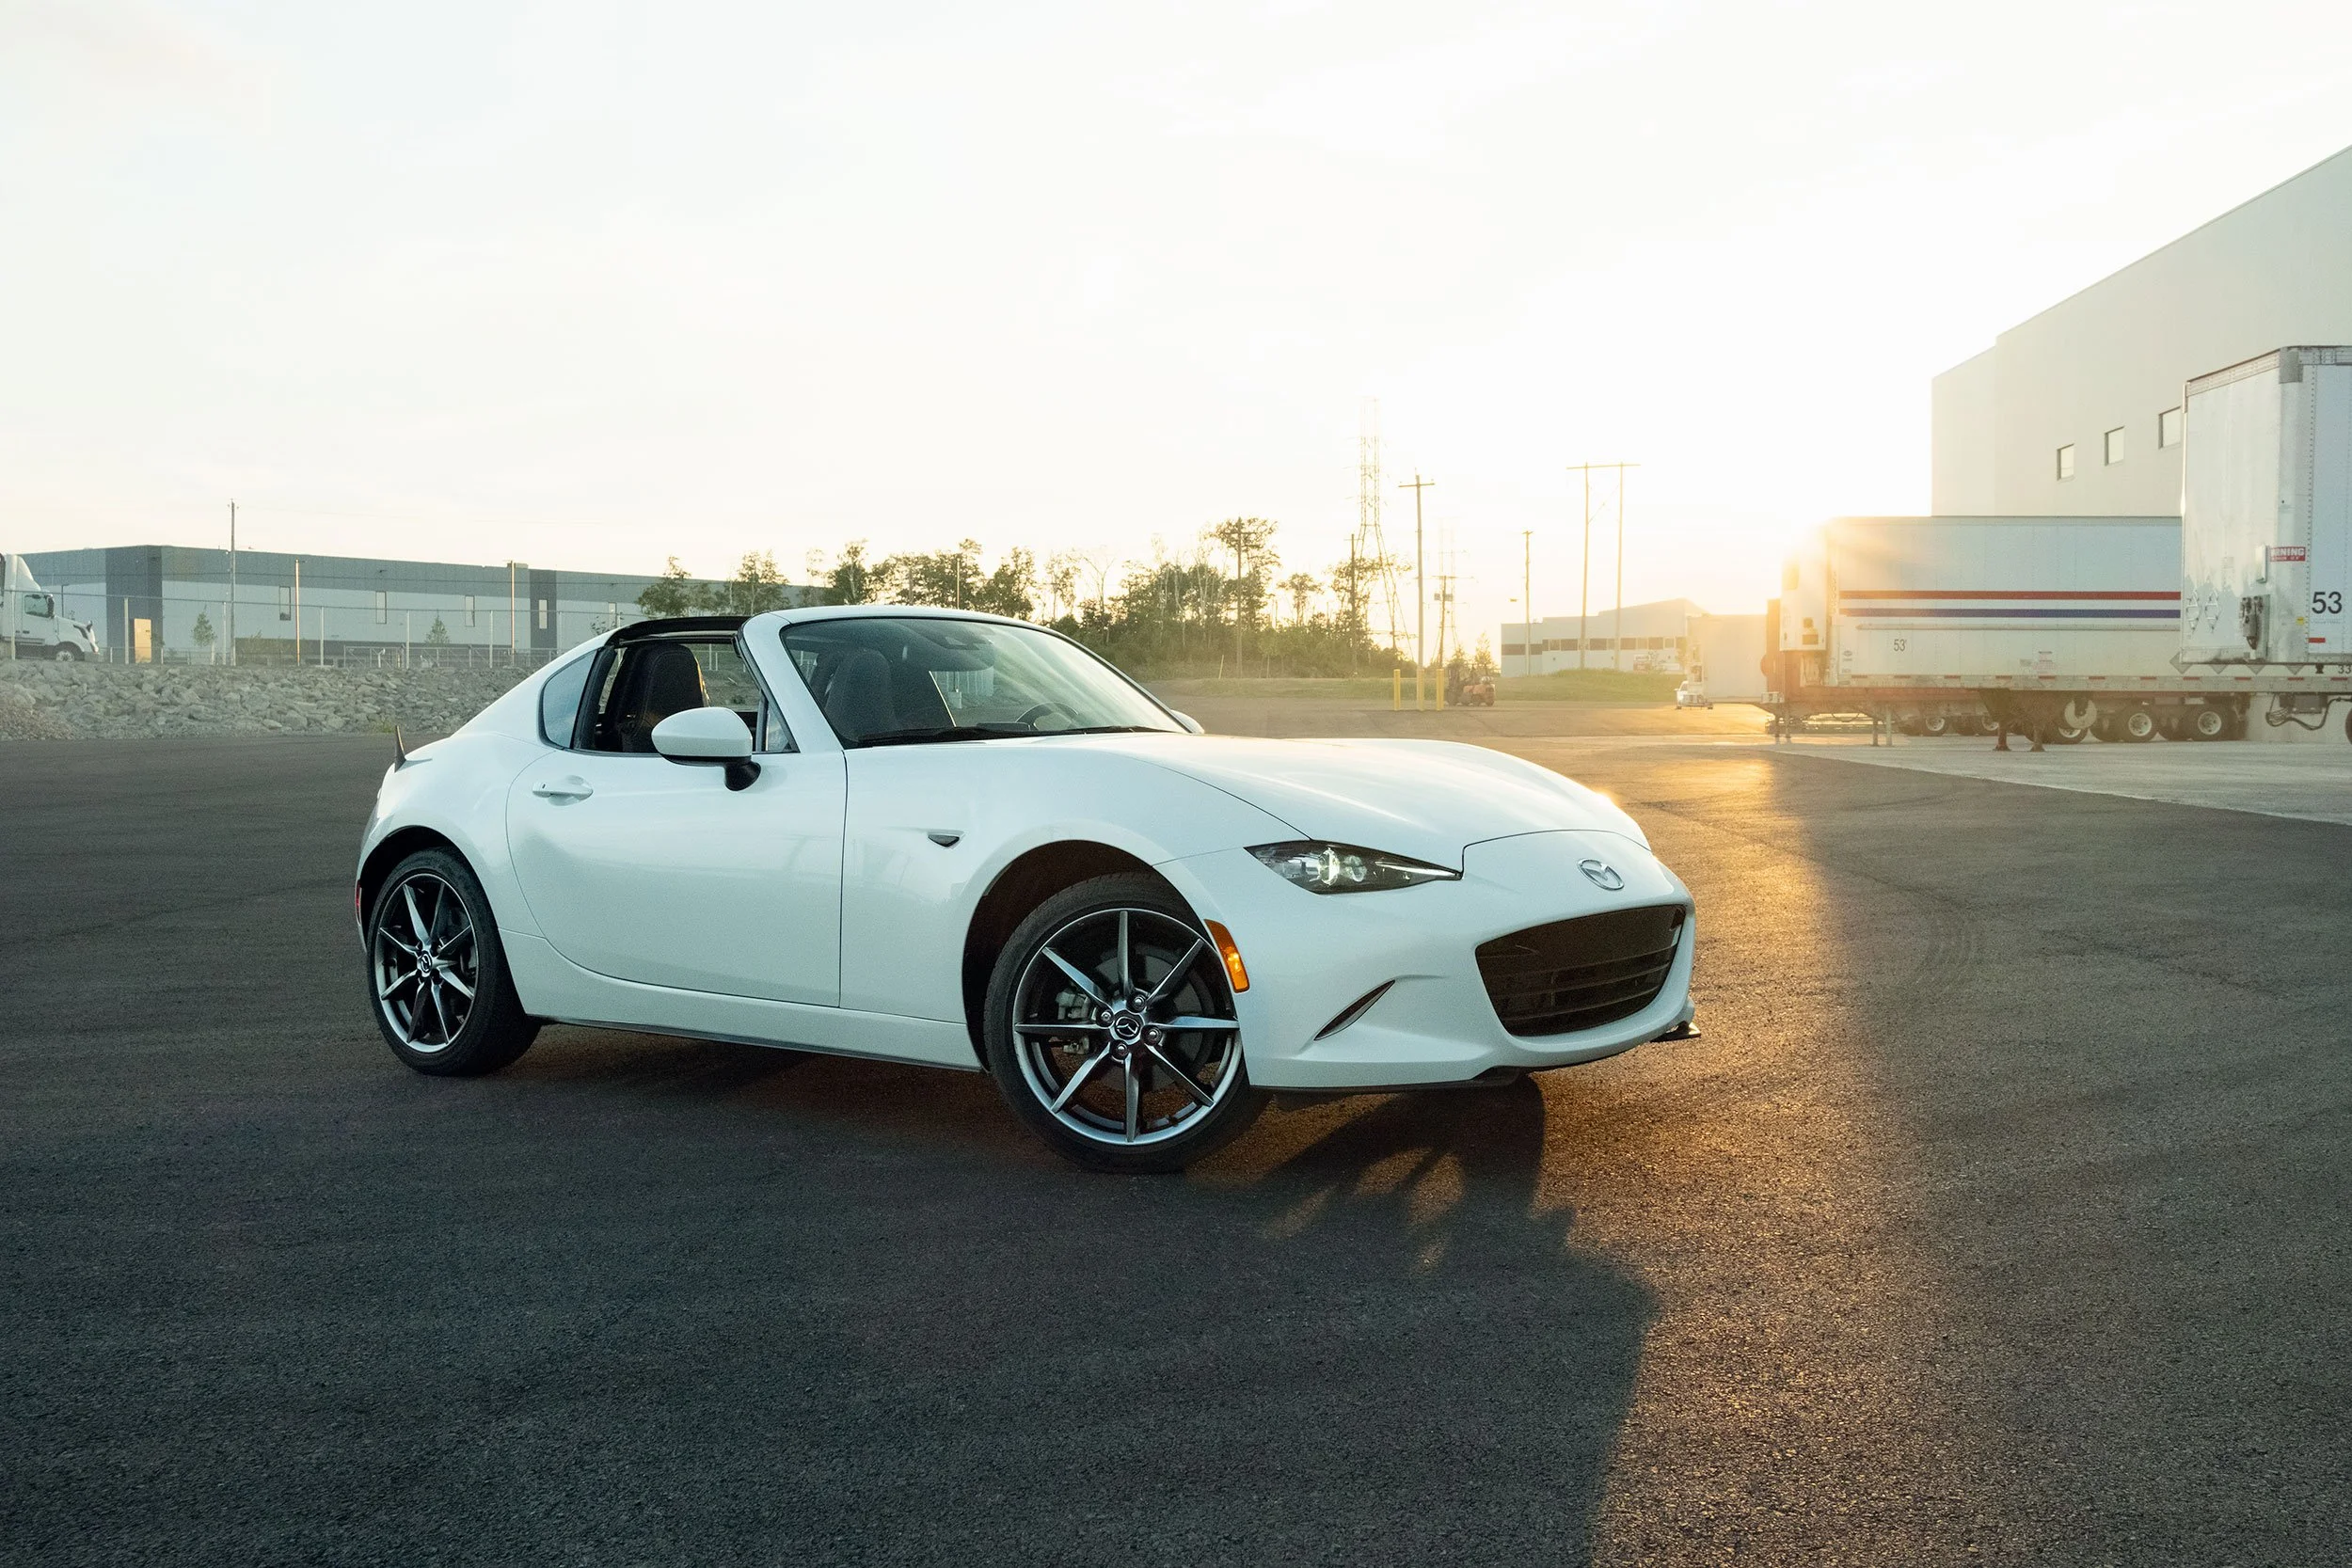
2022 Mazda MX-5 RF
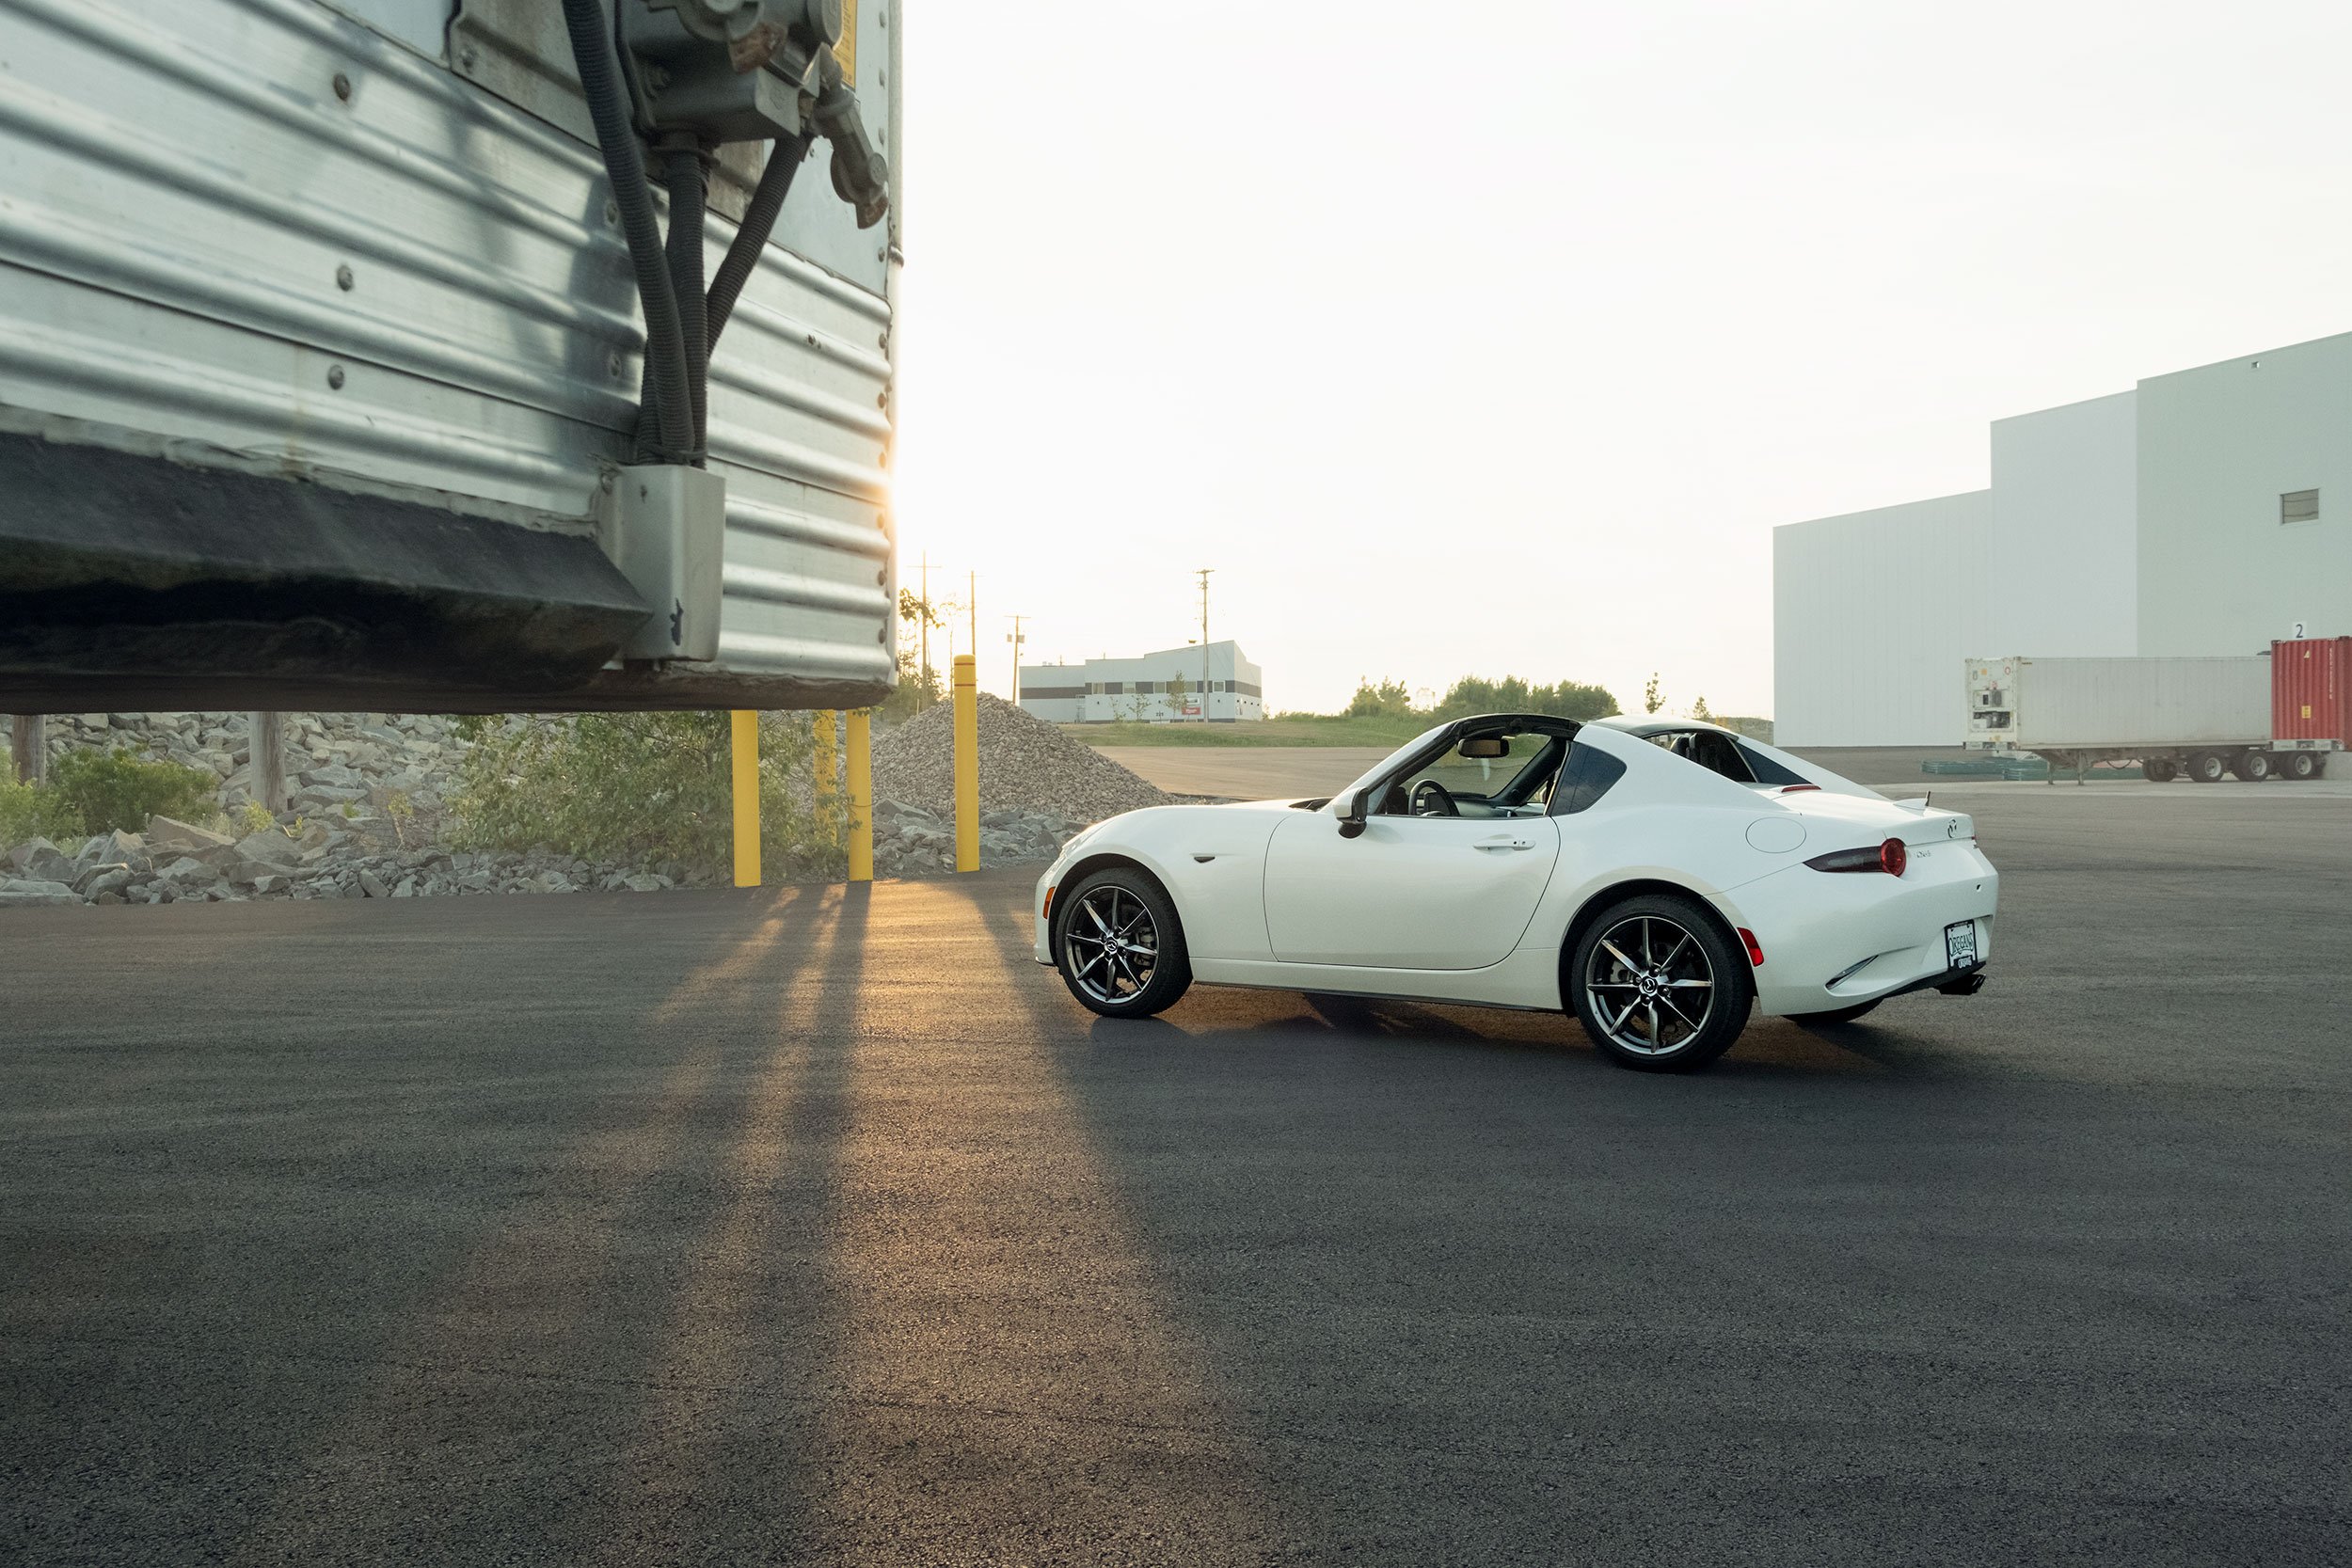
The MX-5/Miata was first introduced in 1989 and is now in its fourth generation, but it has not lost what has become so beloved. It is still a relatively affordable sports car that is a blast to drive with its near 50/50 weight distribution. This was my first time driving any iteration of the MX-5. Once dropping into the low seating position and organizing myself with the limited space provided, I remembered how fun such a small, agile car could be. It’s somewhat rare these days to drive something this small. When everything else on the road seems to be getting larger and heavier with each new generation, the MX-5 has remained relatively tiny. With safety standards and regulations, the size has increased, but compared to what else is on the road, it’s almost comically small.
This 2022 Mazda MX-5 RF, which stands for Retractable Fastback, adds a retractable roof panel. When closed, the RF has a distinctive, fastback look to the exterior. If you are looking for the full top-down experience, the soft-top MX-5 may be the one for you, but for something a bit more distinctive, with the added security and durability of a hard top, the RF is the one to pick. The soft-top option is more of a full convertible, whereas the RF has Targa characteristics.
The 2022 Mazda MX-5 RF remains a stylish and sporty two-seater convertible that maintains what an MX-5/Miata should be: a small, nimble, and accessible roadster. Power comes from a 2.0L direct-injected DOHC 16-valve I-4, making 181 hp and 151 lb-ft of torque. It’s not the fastest car, but weighing less than 2,500 lbs, 181 hp is enough to have fun in a car of this size and weight.
The Photos
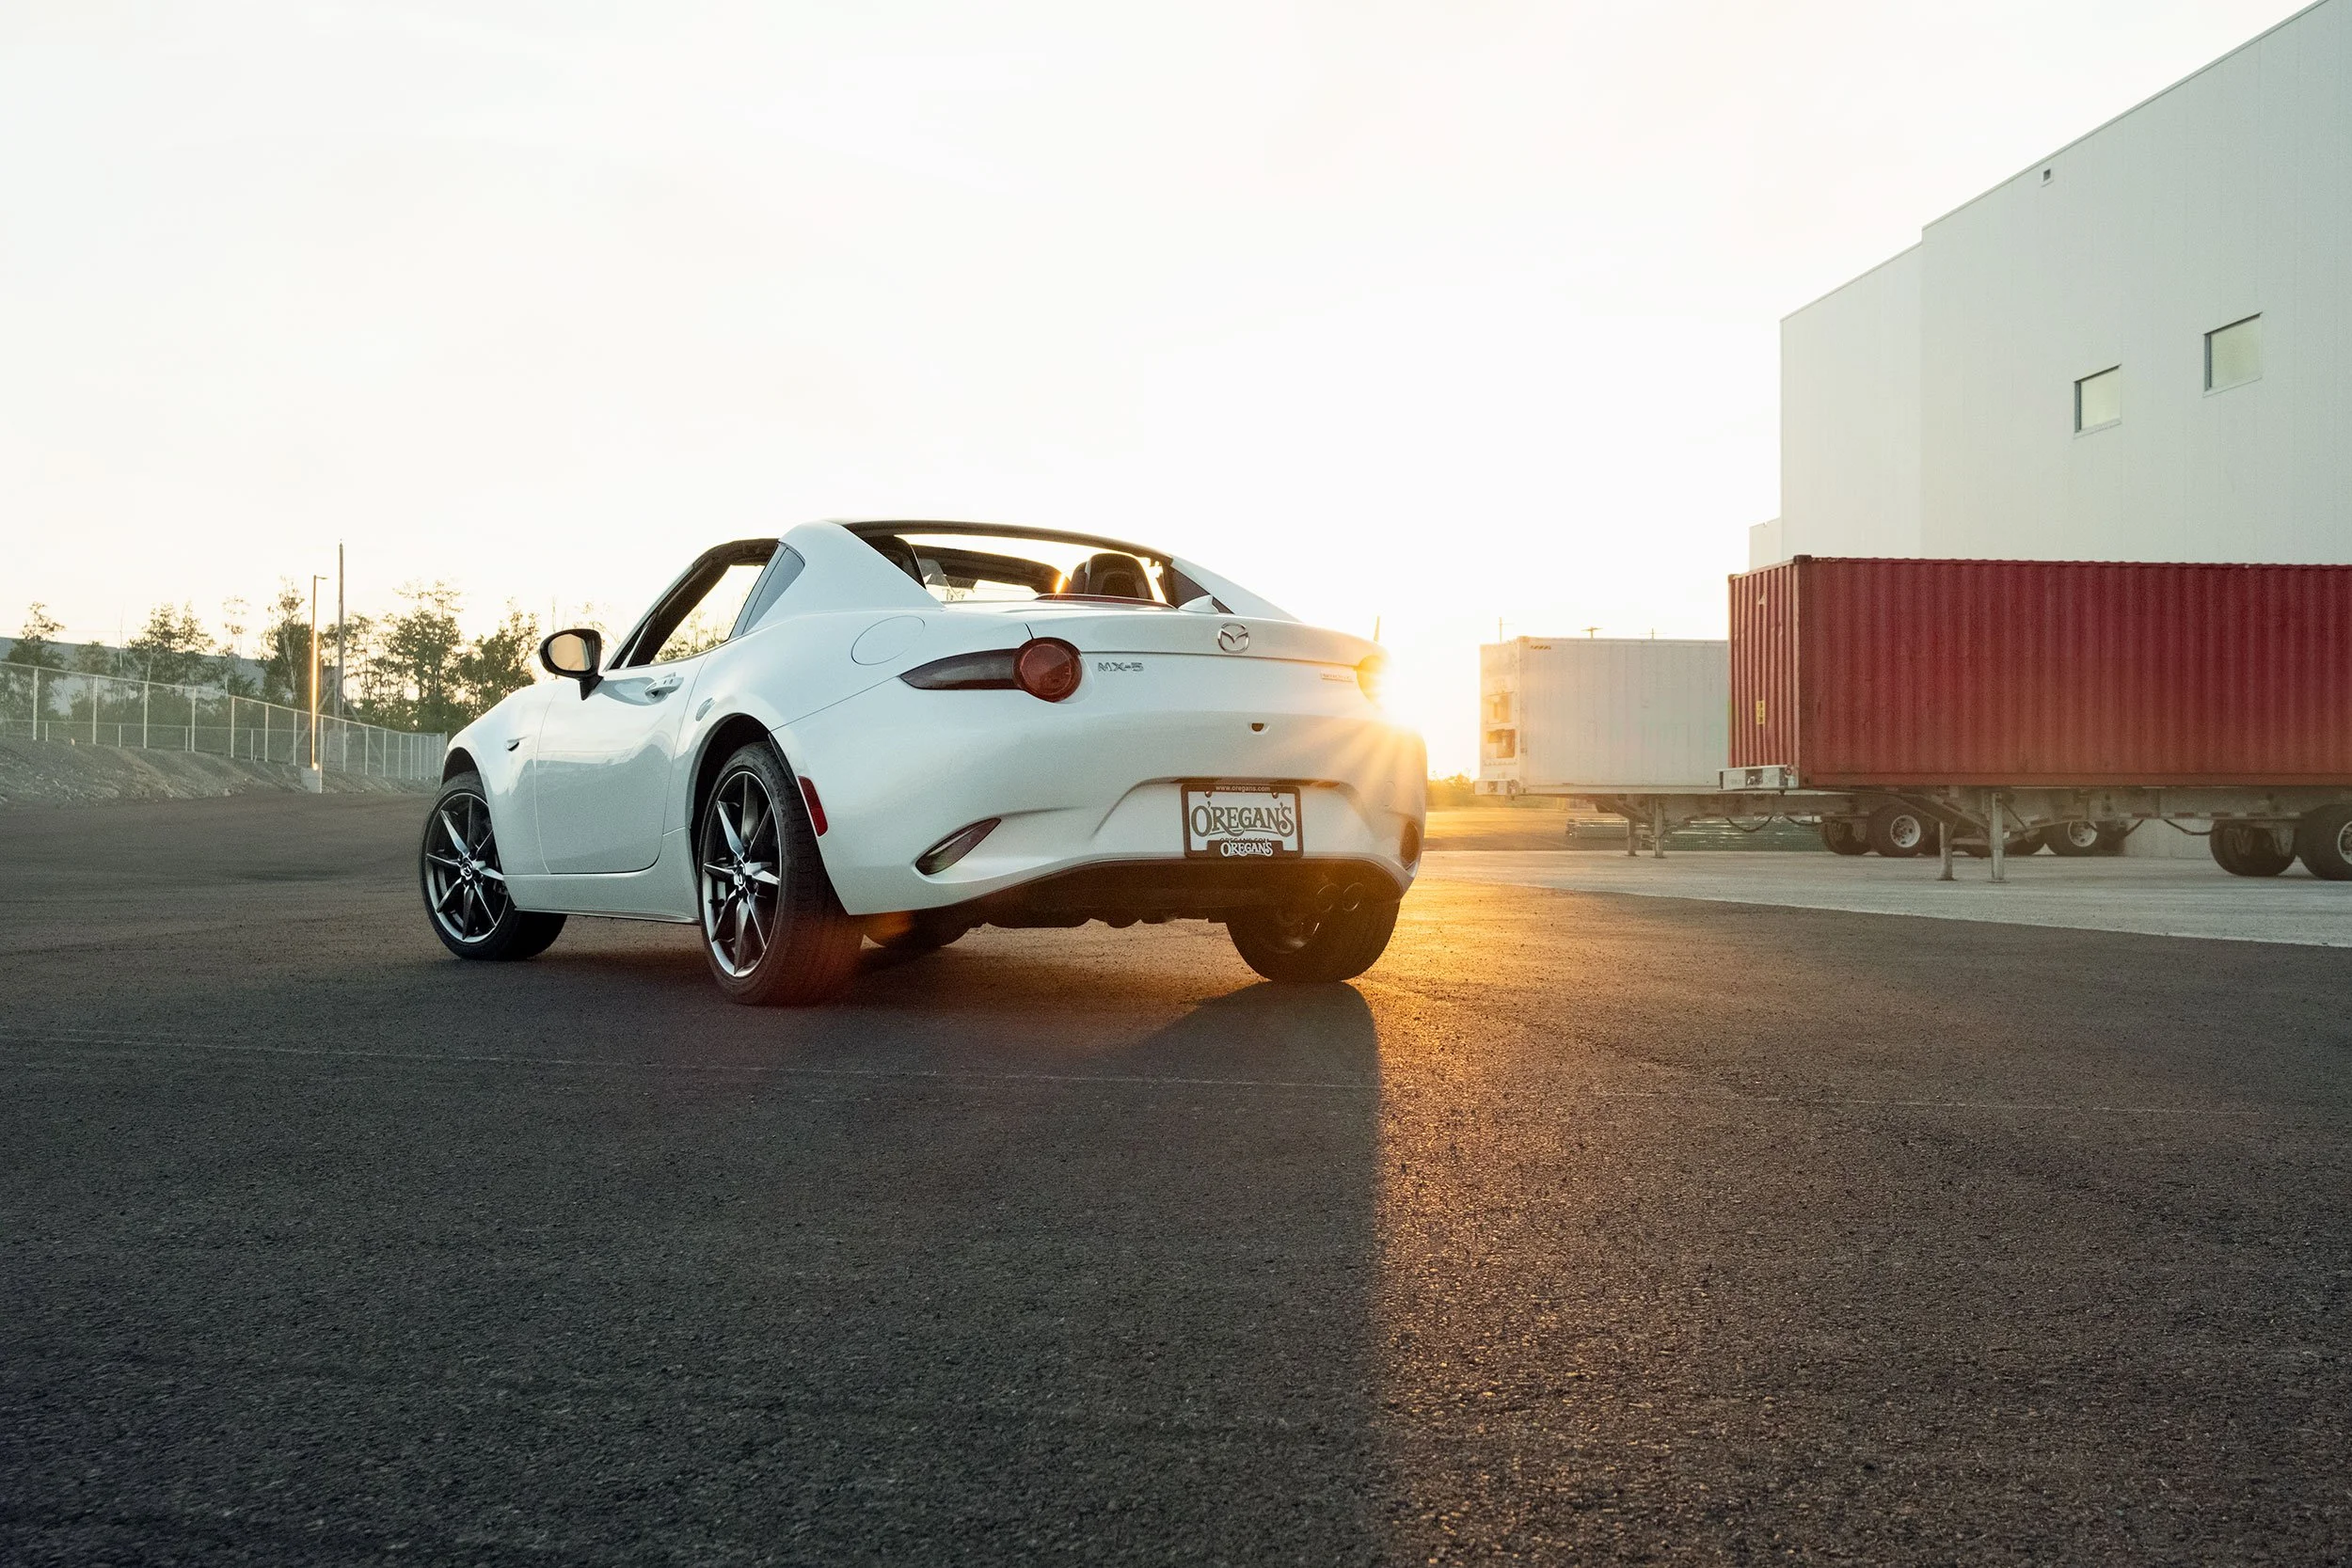
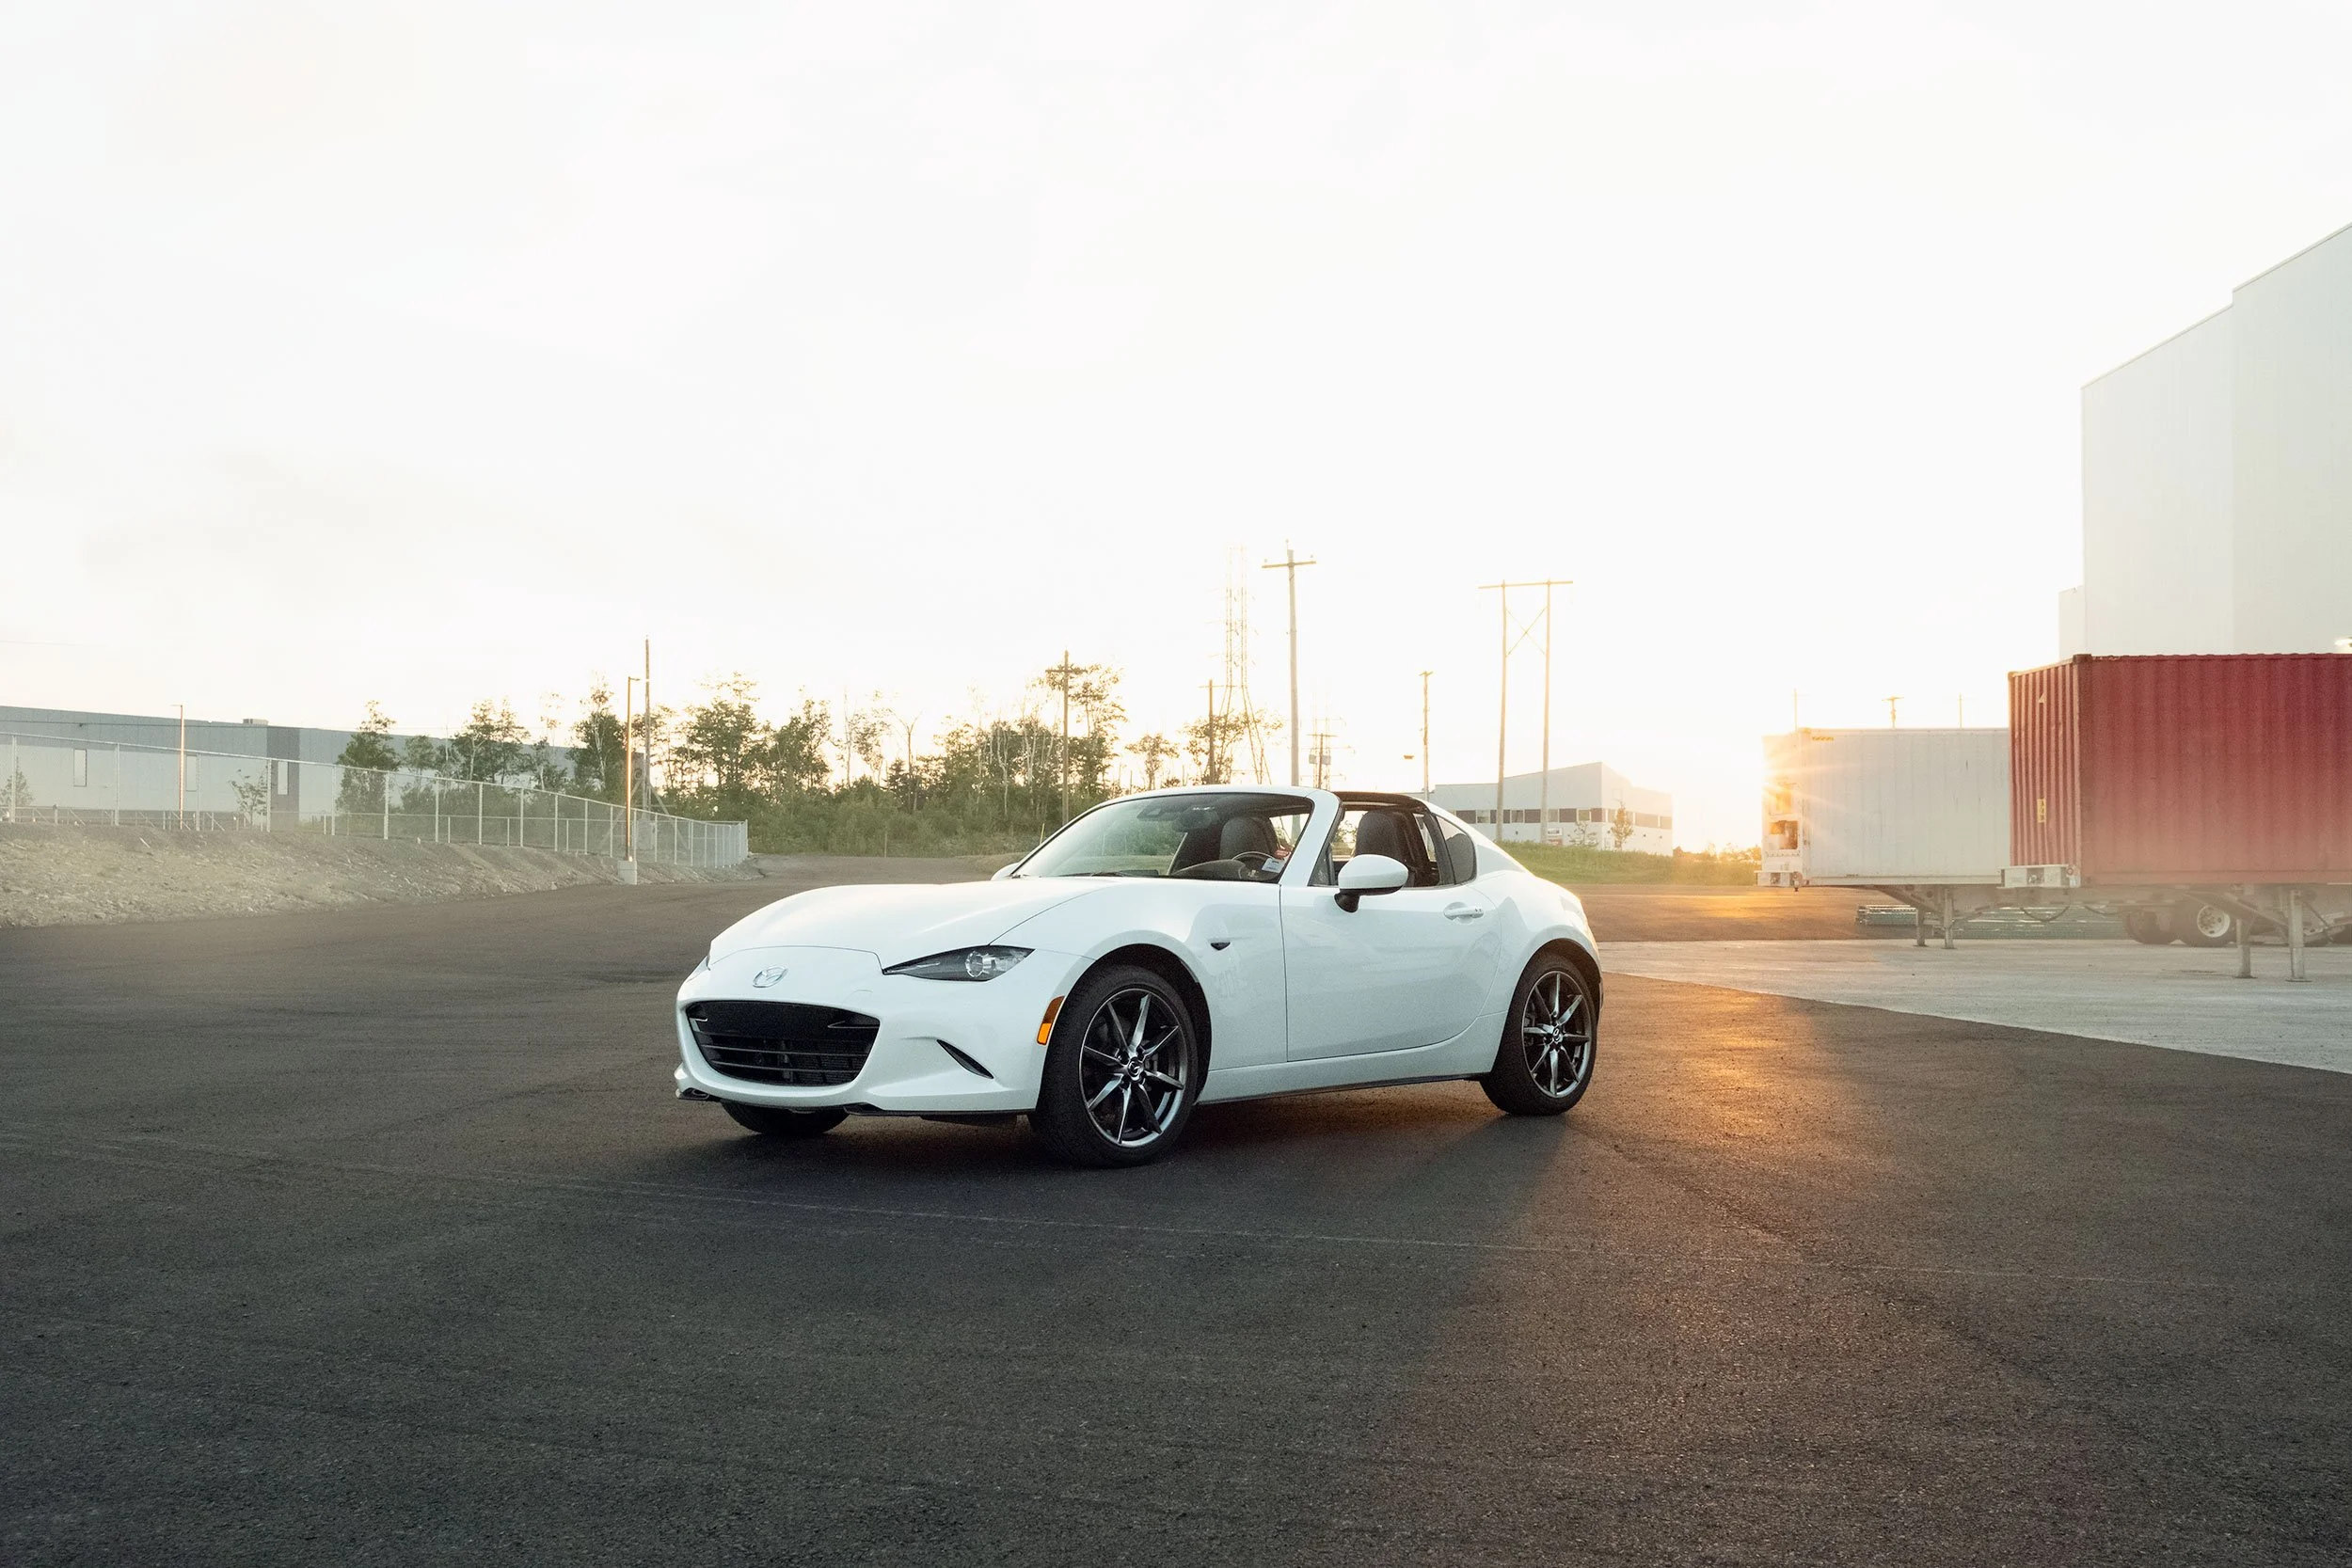
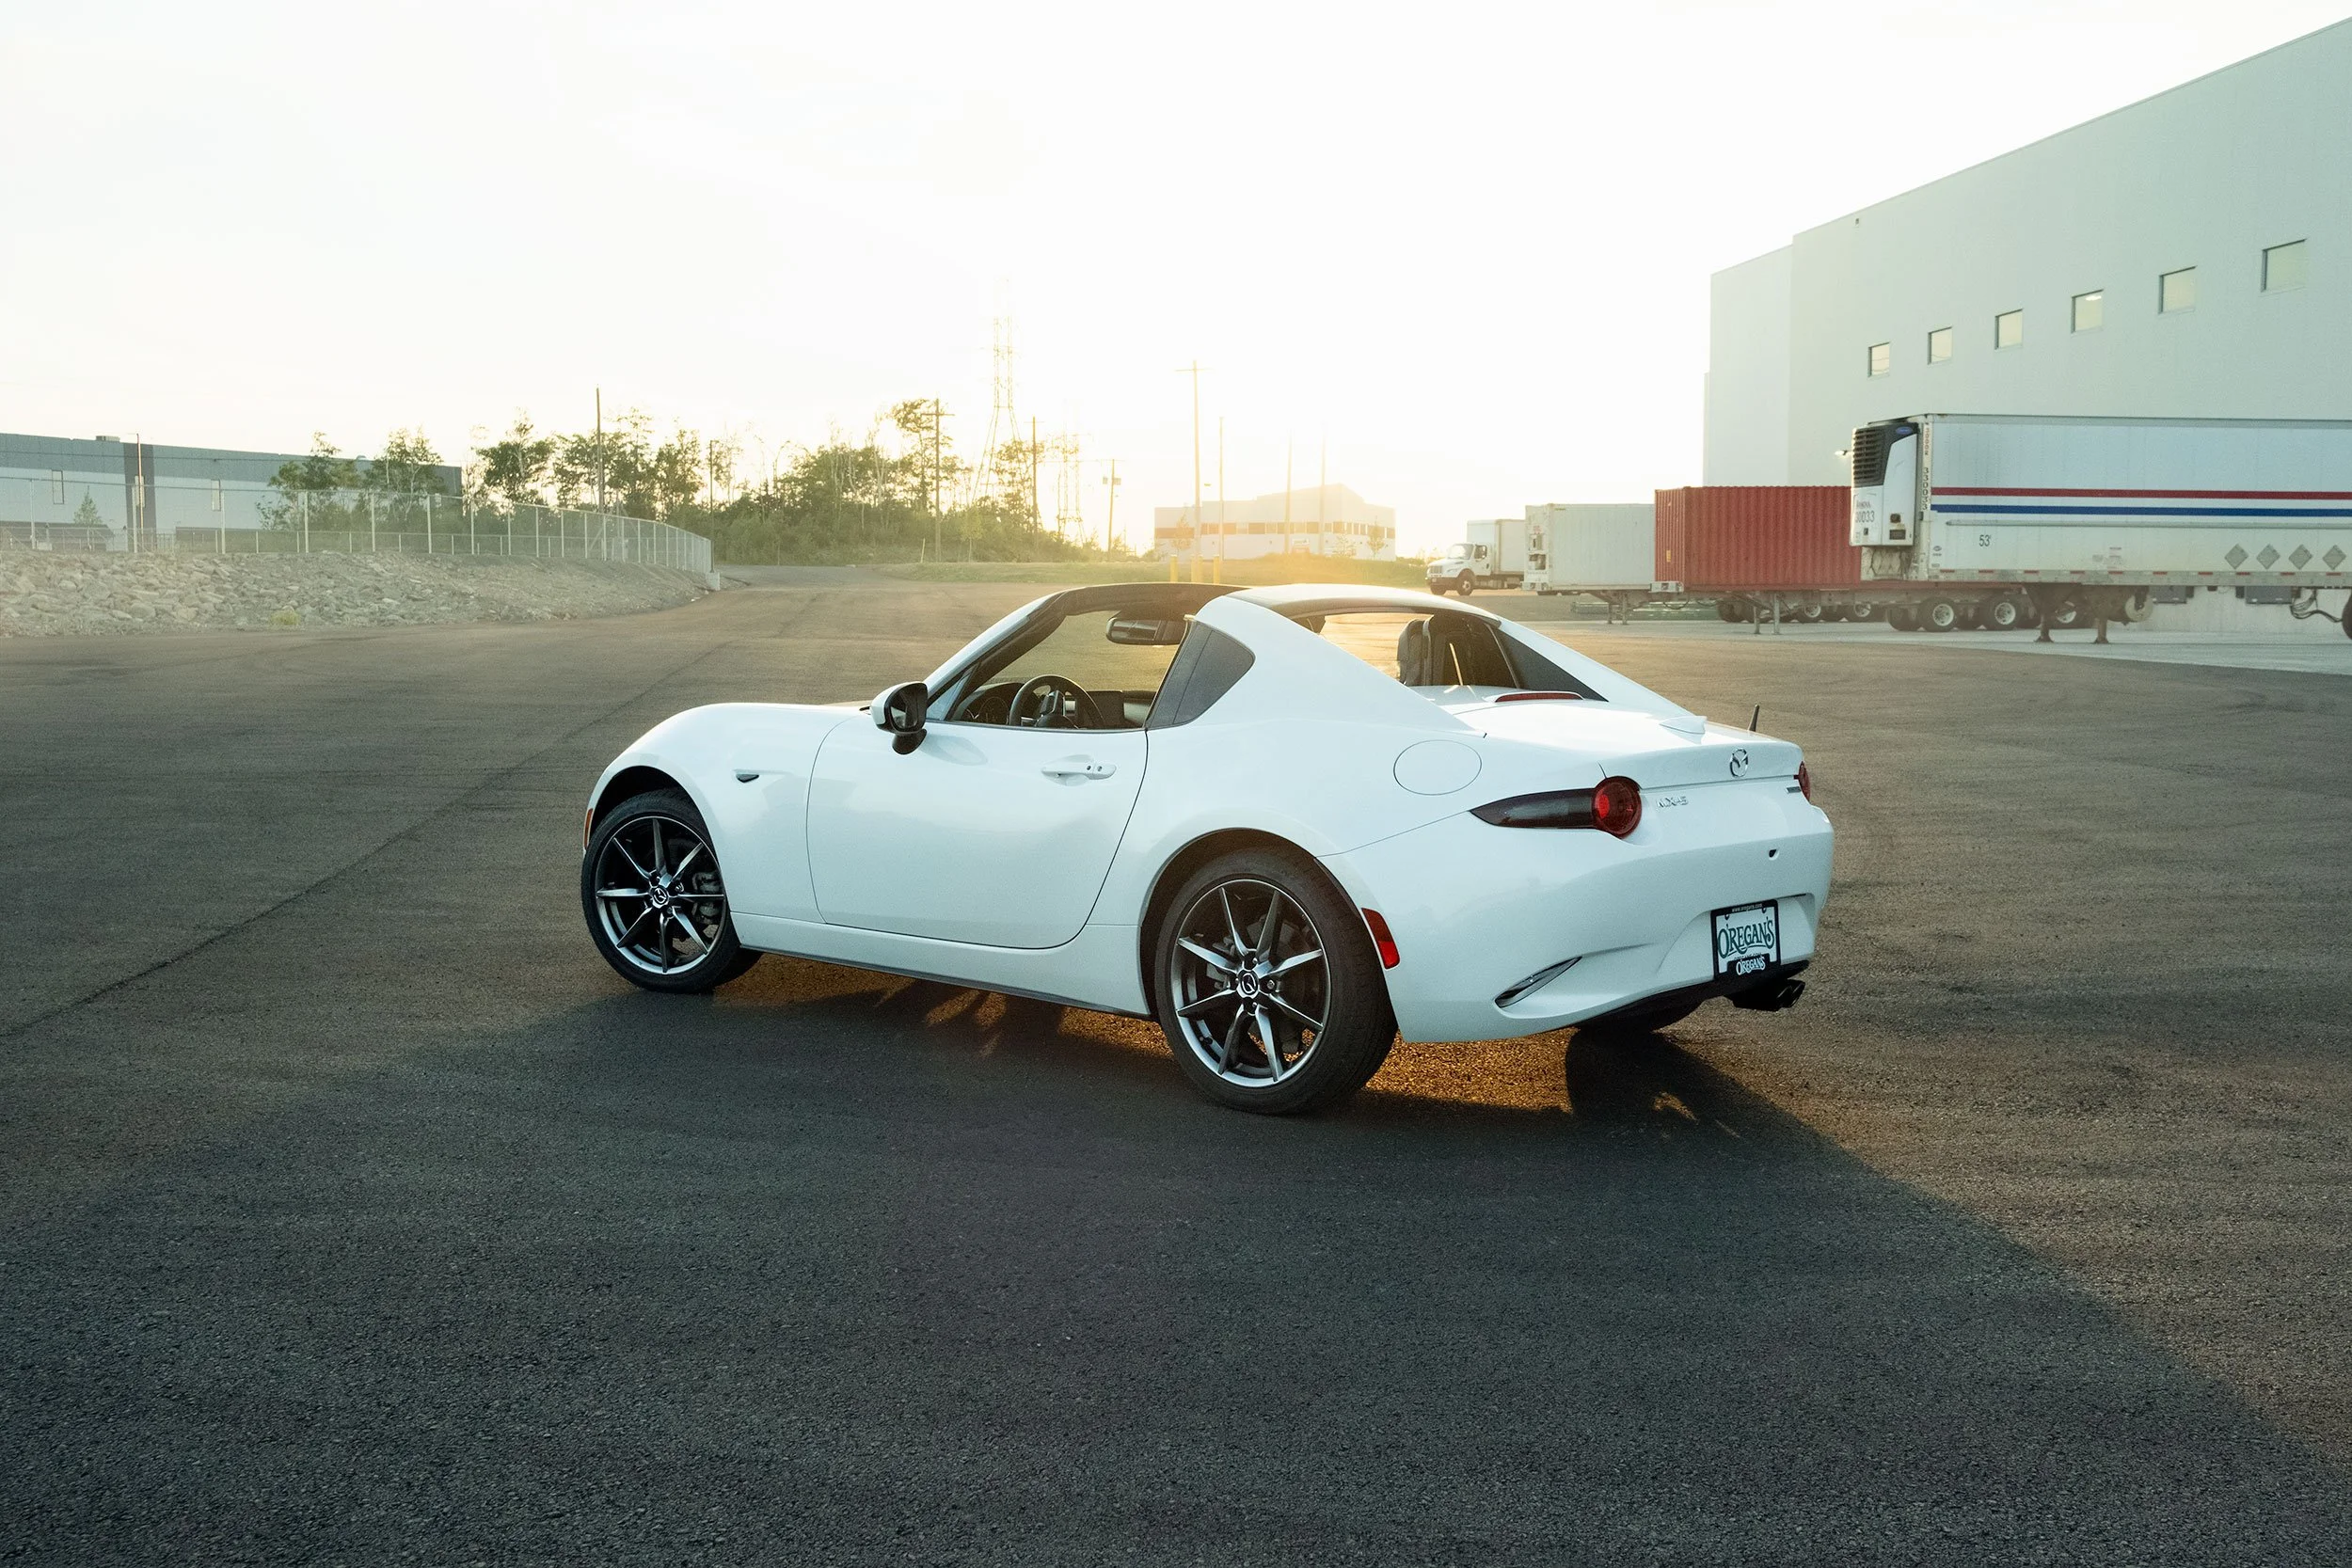
I shot 23mm exclusively and used a polarizer. All photos were captured as RAW and processed with Lightroom and Photoshop. Each image is treated similarly to maintain the look and feel of the series. If you would like insight on how I processed these photos, I have included a video at the end of this post going through the process on one of the photos in this series. That process is similar to most of the photos you will see here in this post.

Lightroom
My first step with these photos was choosing the ones to edit. I reviewed the photos and marked them with a 5-star ranking for later processing. Once all were identified, I proceeded with some basic adjustments and masking. Most photos contain two masks: one for the car and one for everything else.
Adjustments include exposure, contrast, temperature, highlights, shadows, and vibrance. Those were the most common and universal adjustments. Since the sky is bright, shooting towards the sun, I also made a minor Curves adjustment to reduce the whites universally so the sky wasn’t pure white and blown out.
The mask for the car was created using either Subject or Object selection. This mask uses Dehaze and Clarity, moving the sliders to the right to increase contrast. Some sharpness was added, too. The second mask was created by duplicating and inverting the first mask. That mask selects everything but the car. I used Dehaze and Clarity but moved both sliders to the left to reduce the contrast for more focus on the vehicle and less on the surrounding elements. Next, I moved over to Photoshop.
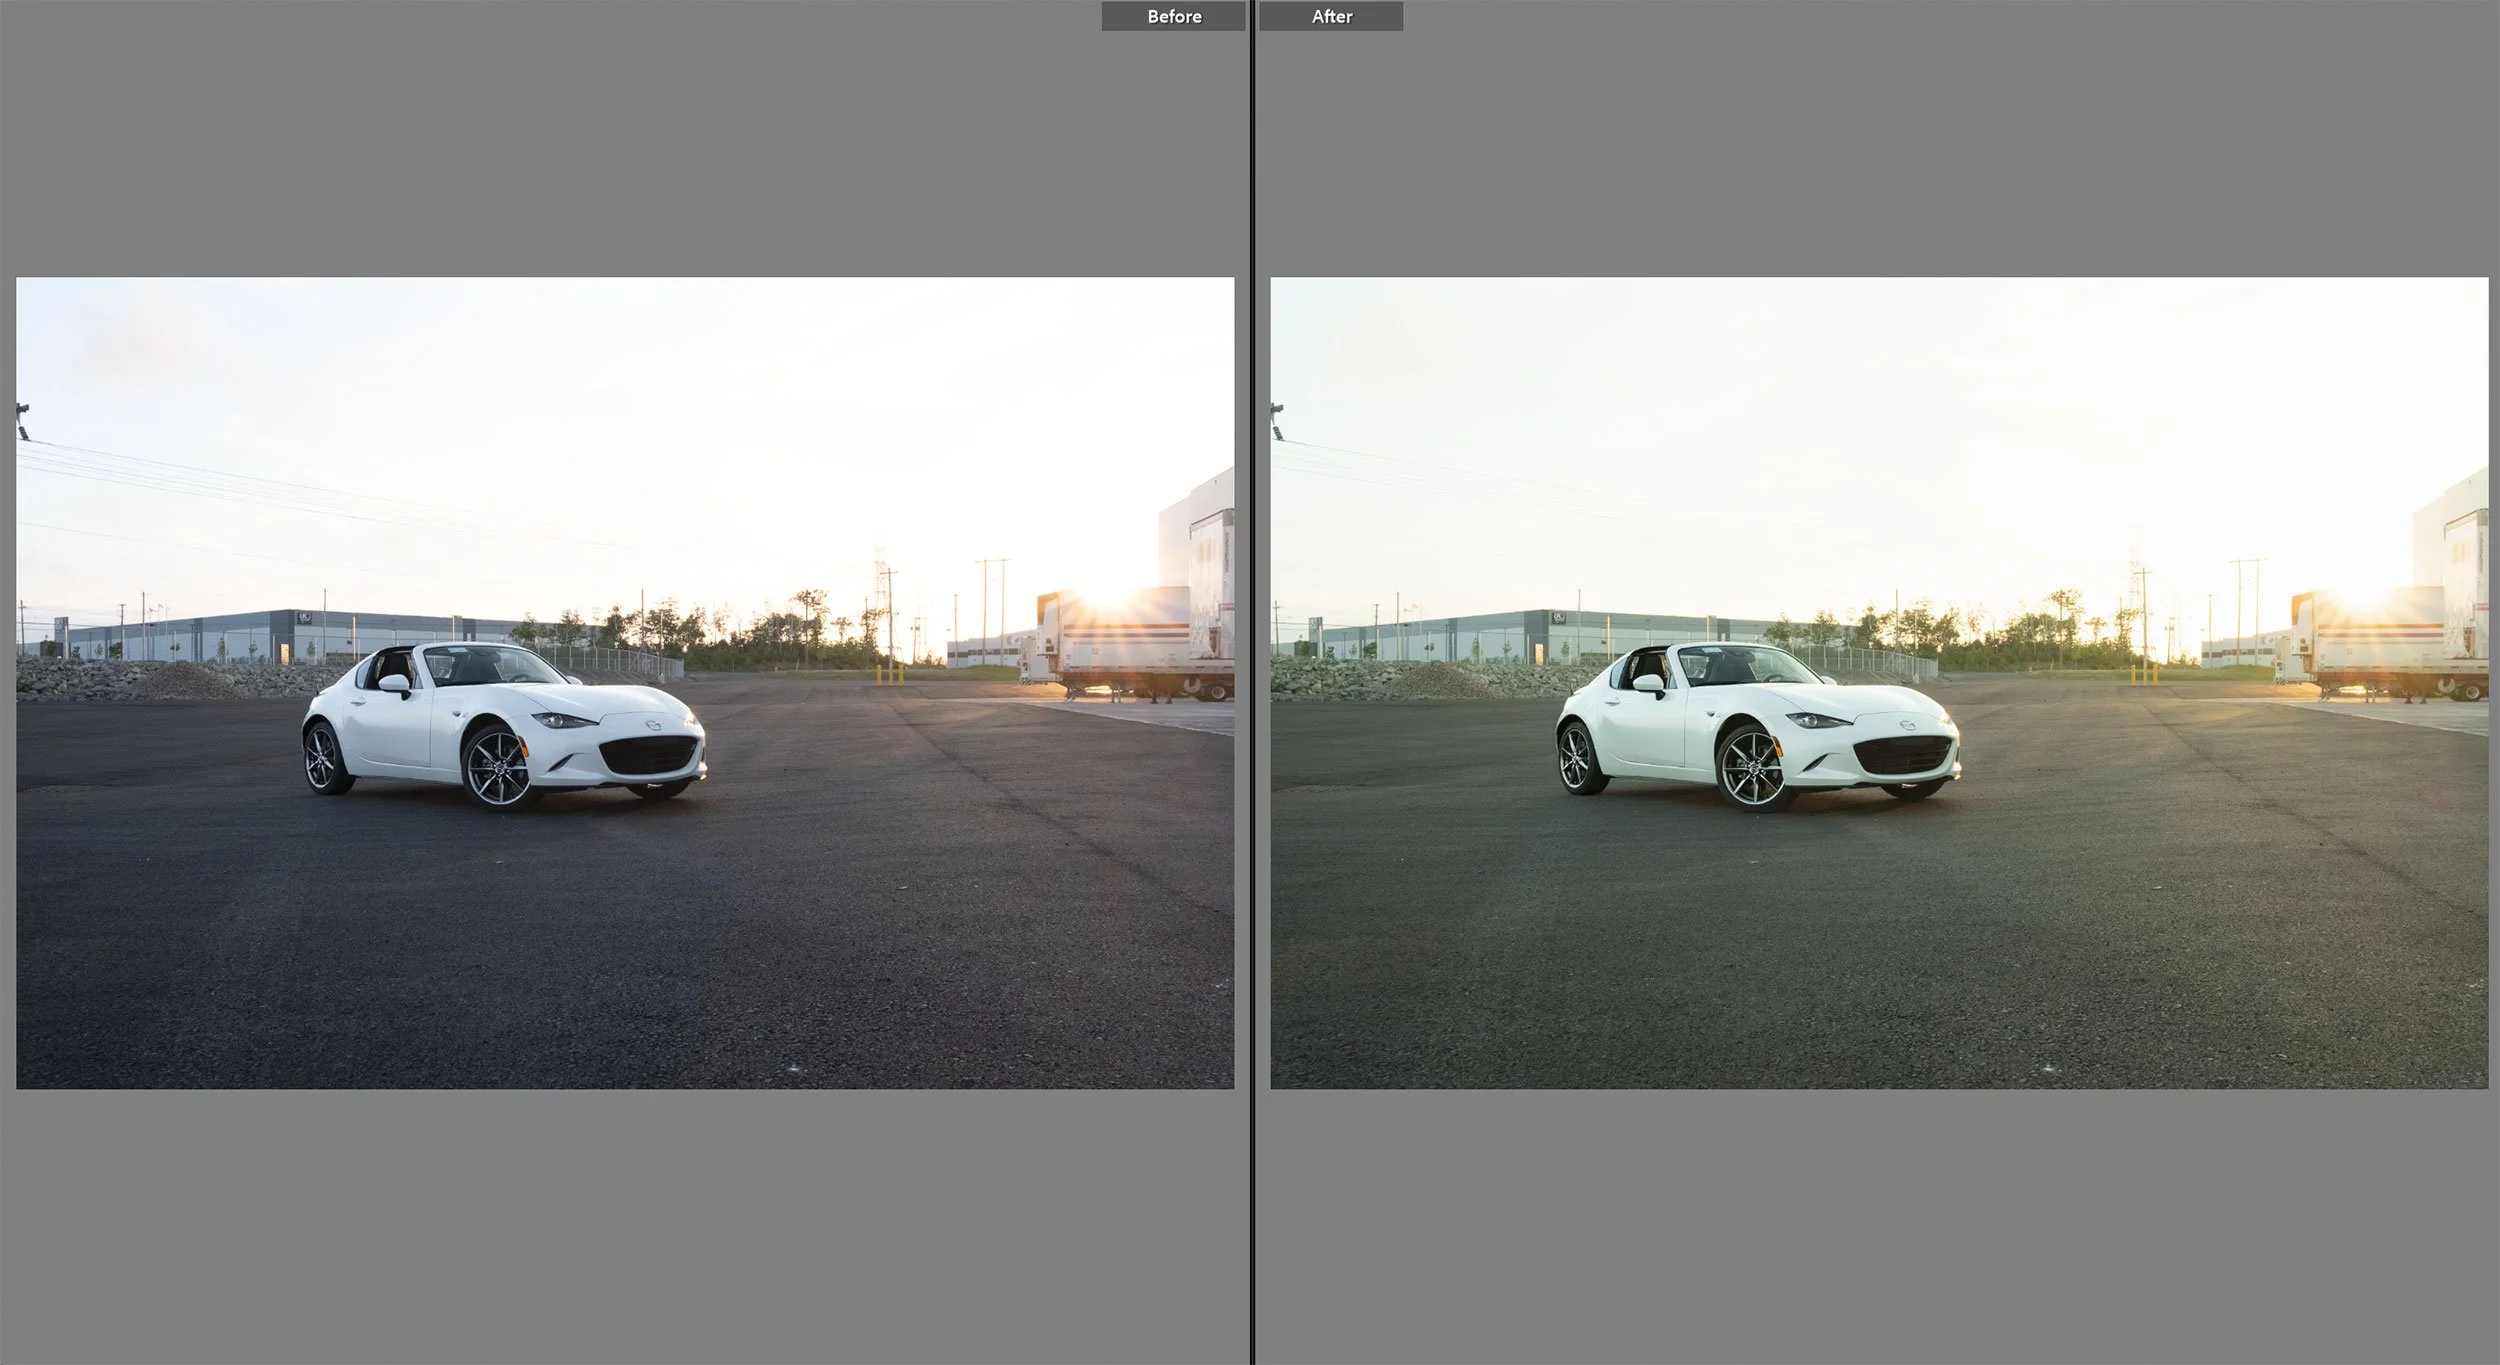
Before/After Lightroom Adjustments
Photoshop
I first removed the more evident stones and distractions on the ground. I didn’t remove every little stone, just the more obvious ones that could draw the eye even when looking from a distance. In my opinion, these are the most important things to remove. First, they can make a photo look messy, and second, they distract from the intended subject of the image. I used the Spot Healing Brush and the Patch Tool for this process.
Compared to Lightroom, Photoshop is a better tool for complex cloning and removals, especially with the option of Generative Fill. This tool is competent but controversial in terms of what it can do. However, for more complex removals, such as signs behind powerlines or the logos on truck trailers, I think it’s superior to other tools, like the Patch Tool or Clone Stamp Tool. I could get the results I needed using those legacy tools, but Generative Fill is a significant time saver in getting those results. Using the tool to add things to a photo is a step too far, but using it to achieve what I would already do more efficiently is where I find the feature’s usefulness.
In the photo, I want to emphasize the car, my subject. Once the “clean-up” process was completed, I added a new blank layer to create a dust effect. This adds some separation behind the car but in front of the background. This adds haze to the background, making it look more dusty and atmospheric. I think it adds more of a sense of warmth to the images. It’s a subtle effect that adds a considerable amount of impact.
Two final layers are added. The first is a Colour Balance adjustment, adding a small amount of blues to the shadows. The second is a Curves adjustment to make final adjustments to brightness and contrast and to keep it consistent throughout the series.
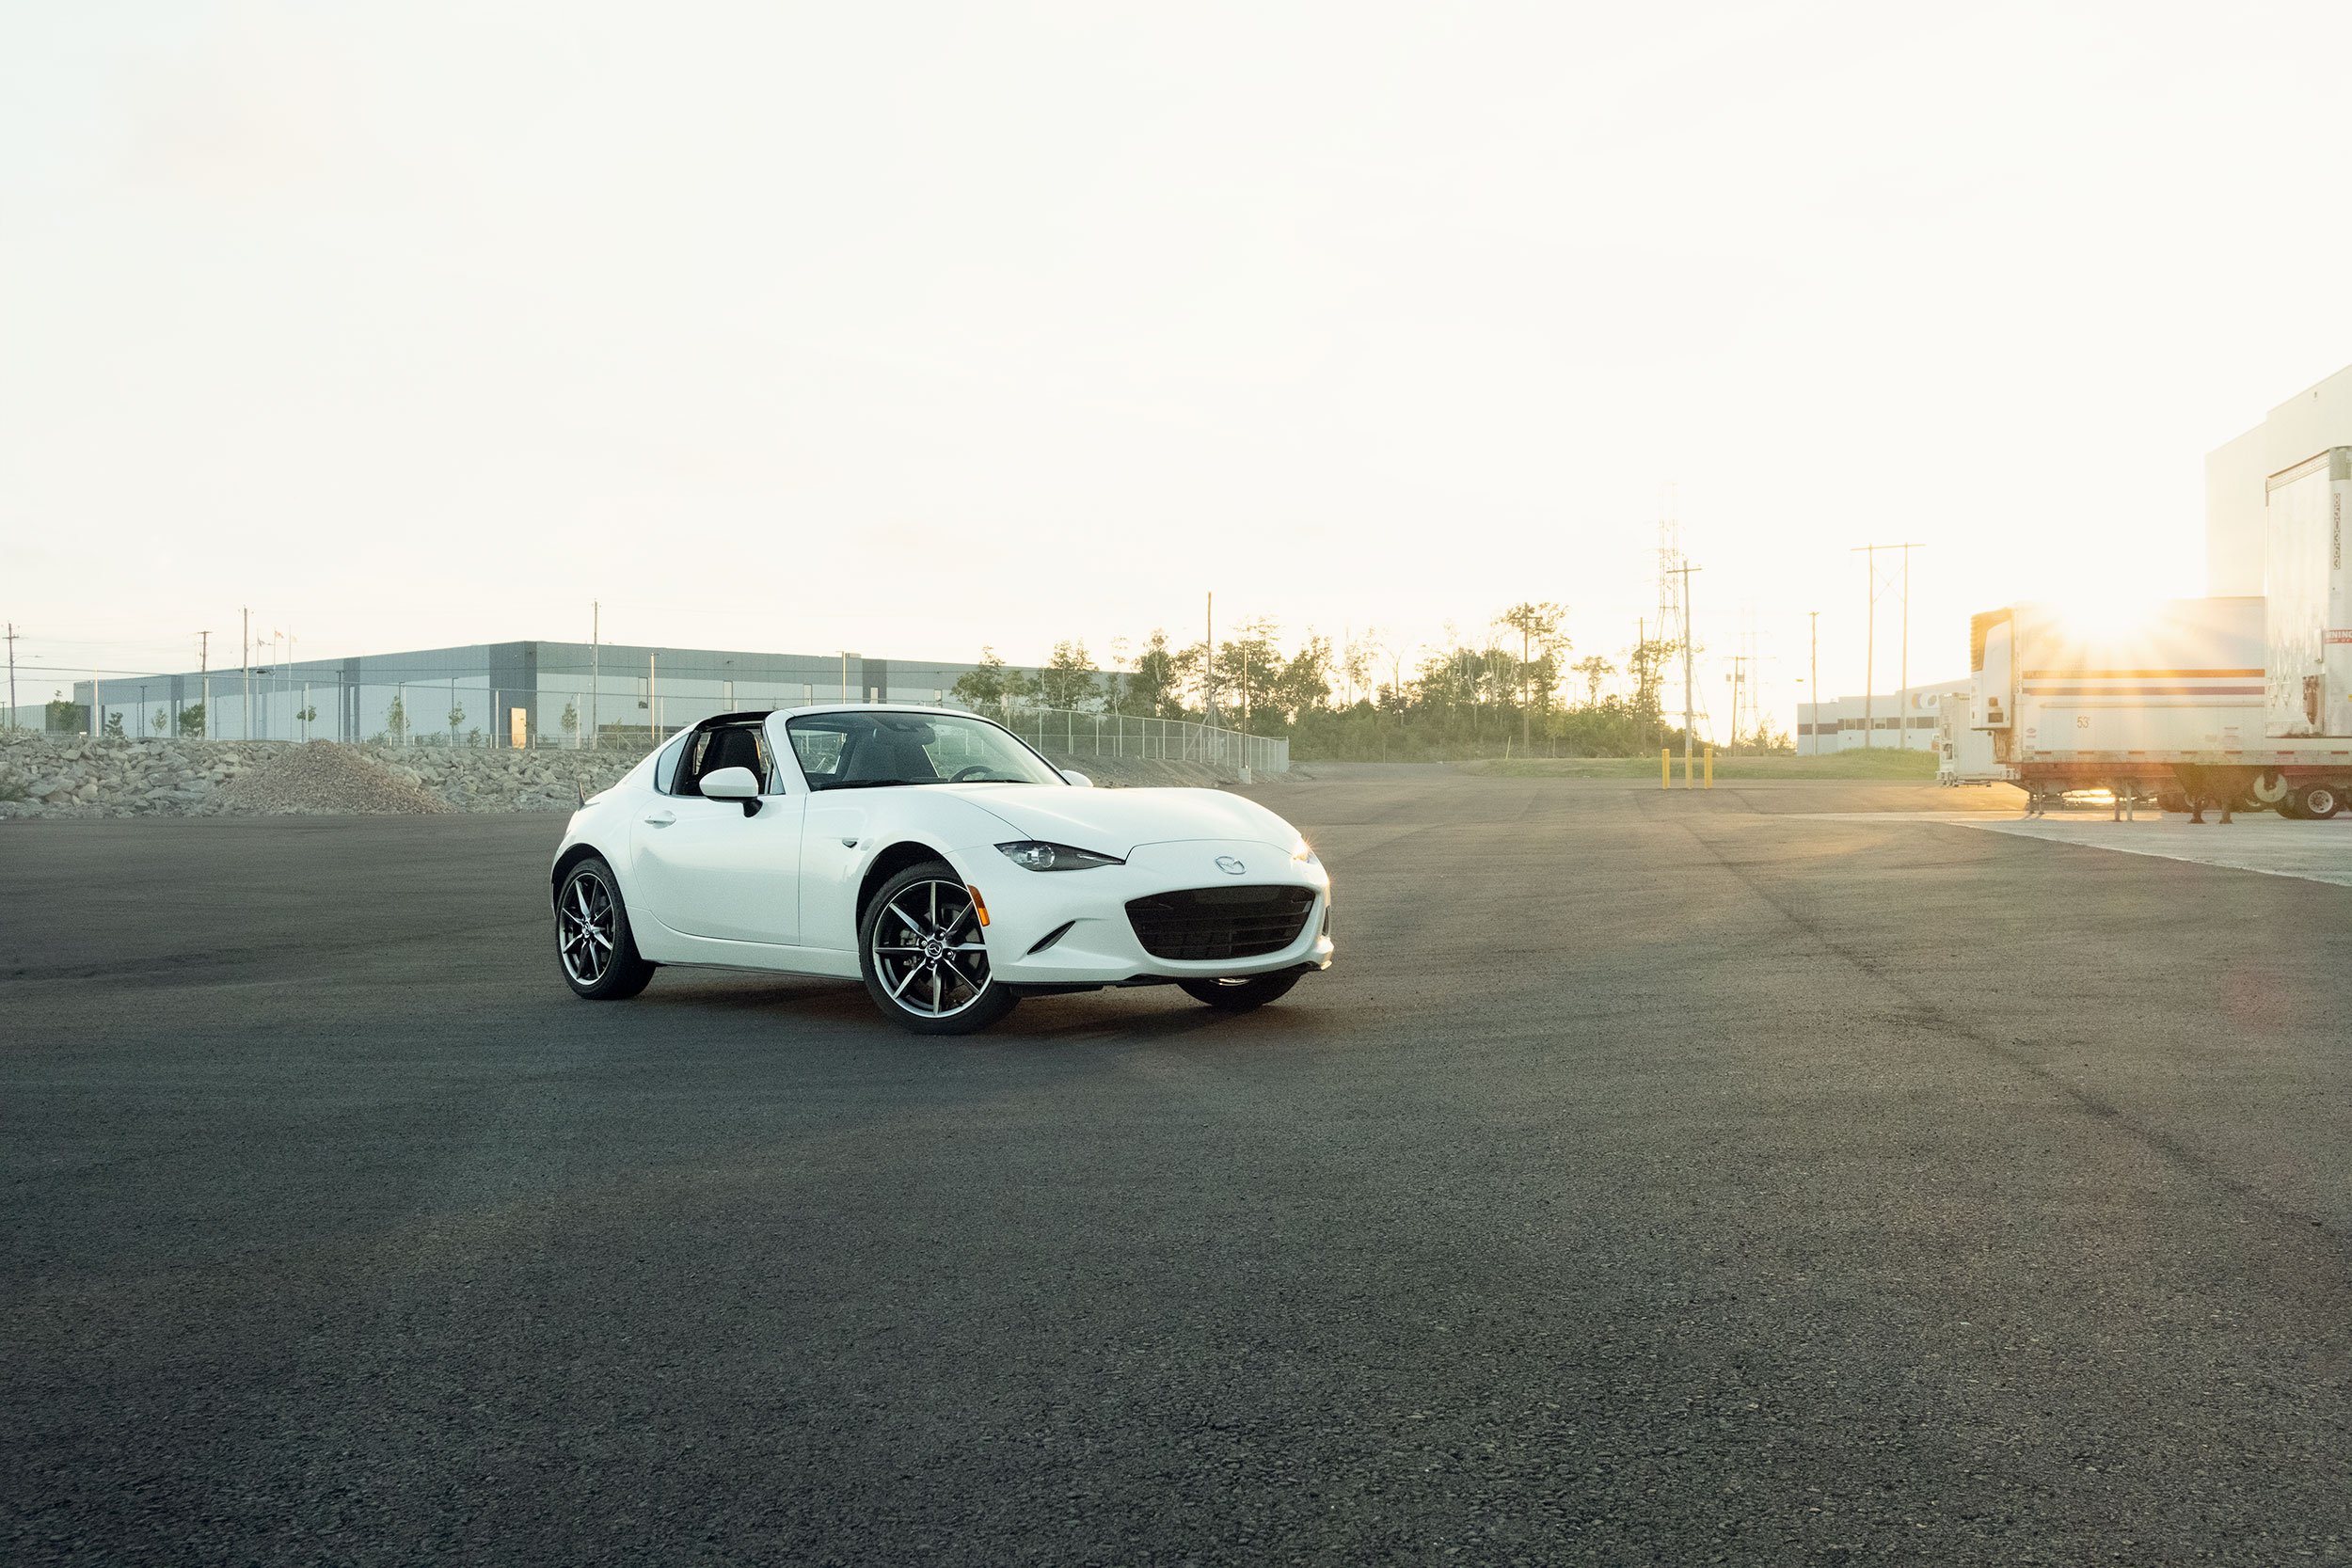
Final Photo
Post-Processing Summary
Here are the steps taken to process the photos.
Using Lightroom Classic, select your best and favourite photos. (I use a 5-star rating)
Make basic adjustments such as exposure, contrast, temperature, highlights, shadows, vibrance, etc.
Masks—Create a mask on the vehicle, apply Dehaze and Clarity, and adjust shadows and exposure if needed and add sharpness. Duplicate and invert the first mask to create a second mask to select everything but the car, and reduce Dehaze and Clarity to lower contrast and emphasize the car.
In Photoshop, remove noticeable stones, stains, and other blemishes that could distract attention from the main subject.
Add a blank layer and create a dust effect, creating a subtle haze in the background. Apply Gaussian Blur at a high amount and reduce the opacity to the desired amount.
Colour Balance adjustment layer to add a touch of blue to the shadows and correct warmth in highlights if needed.
Curves adjustment layer to fine-tune brightness and contrast, ensuring consistency across the photo series.