2018 BMW M2 Photo Shoot

F87 BMW M2
This summer has been great for the weather, but I have been away from automotive photography; I have been busy with other things, mainly travel. And with our limited car season, I haven’t shot anything automotive-related since the fall of last year. That’s almost ten months! That’s a long time to be away from my primary photography subject. With this hiatus and some upcoming shoots, I wanted to scout locations with the BMW M2.
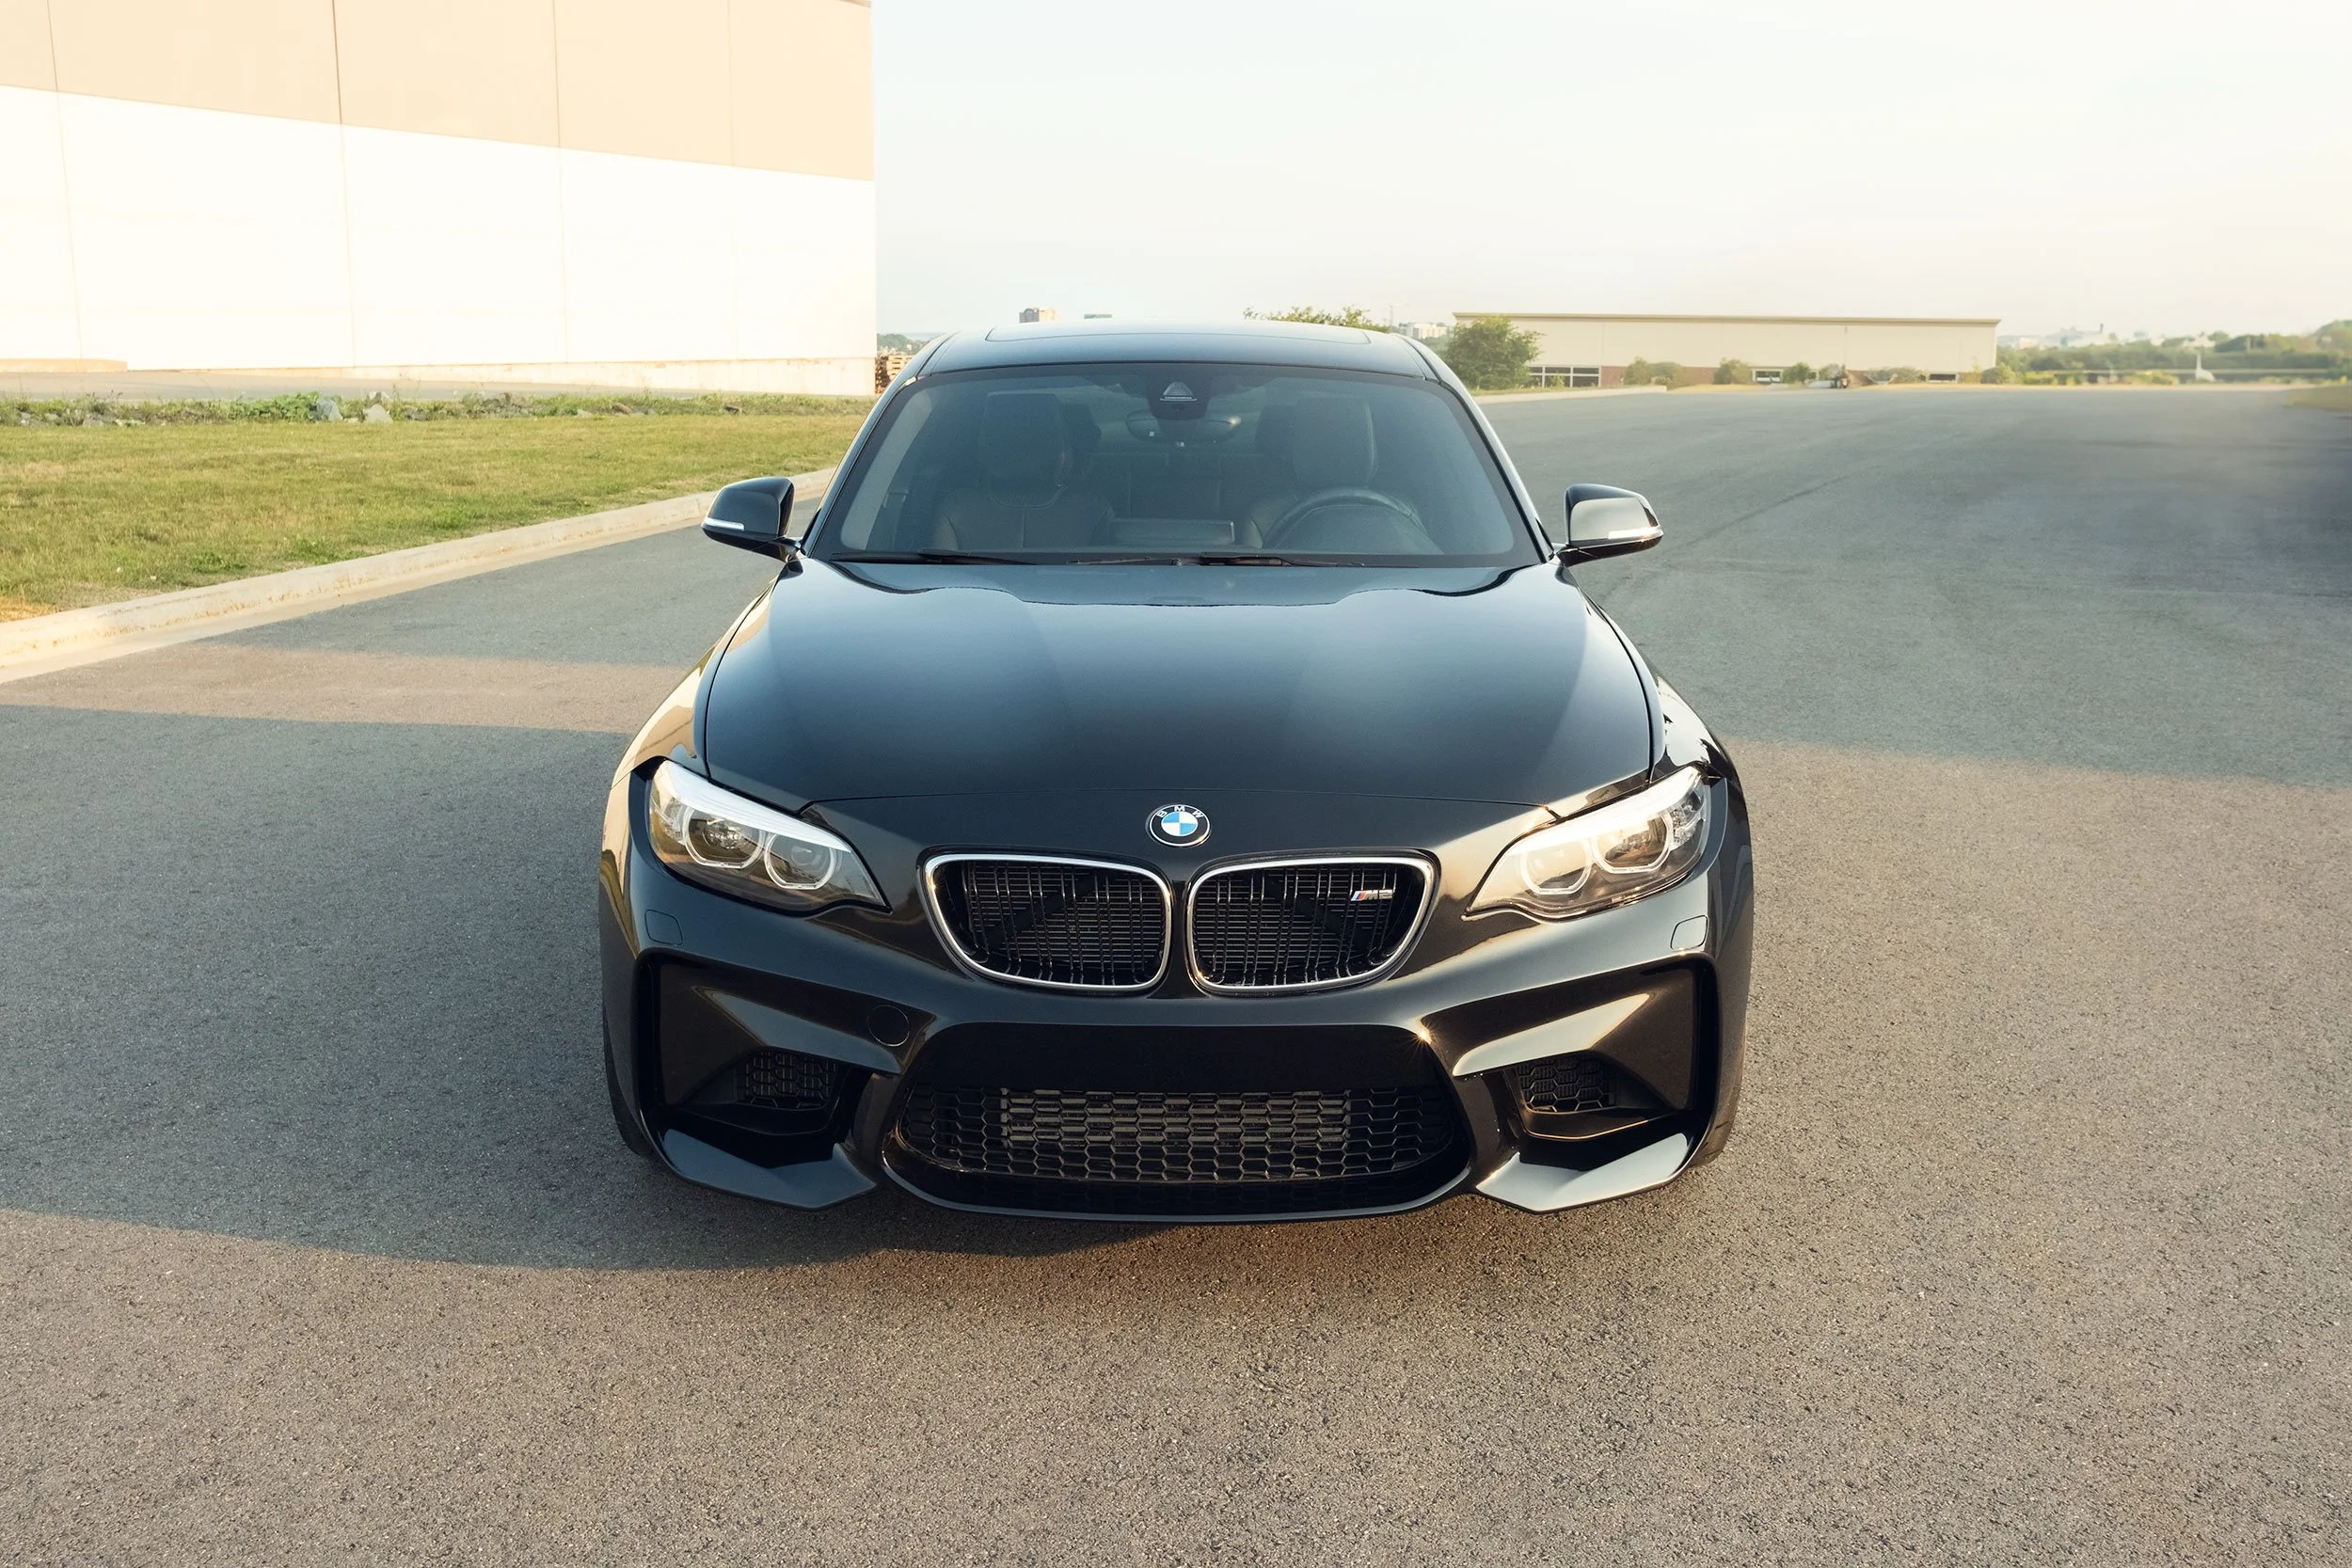
The BMW M2 (F87) is the first generation of M2 and was in production for only three years (2016 to 2018) before the 2019 model introduced the M2 Competition, replacing the standard M2. The standard M2 is powered by a straight-six, 3.0-litre engine with 365 hp and 343 lb-ft of torque; the M2 was available in only four colours: Long Beach Blue, Mineral Grey, Alpine White, and Black Sapphire.

Location Scouting
In a previous post, I discussed finding a location to photograph your vehicle. I wanted to follow up with some other tips on location scouting. Where you live can dictate how easy it is to find an optimal location, but numerous tools can assist you no matter where you are. Google Street View and Google Earth are great resources, as they are free and capable. But finding a location is one step; knowing the weather and the location of your light is essential.
Recently, I have been using PhotoPills to help pinpoint shoot locations and tell me the sun's direction and time. This helps significantly with timing and preparation. Knowing exactly where the sun will be in the sky allows me to get to the location, set up, and be ready.
PhotoPills
As a paid app, Photopills is well worth it for anyone who shoots outdoors and on location. It’s perfect for automotive and ideal for travel. PhotoPills is a mobile app designed for photographers and offers a range of tools. I will not explain everything it does as a lot of the tools are unnecessary for my use, but in summary, it can allow you to find locations, pinpoint the sun’s position (or moon) and better plan for photo shoots. I use it to save my discovered locations and determine sun direction and sunset times. Furthermore, with augmented reality, the app can be used live on location, and using the phone’s camera, one can see where the sun is and where it will be at any time.
This Photo Shoot Location
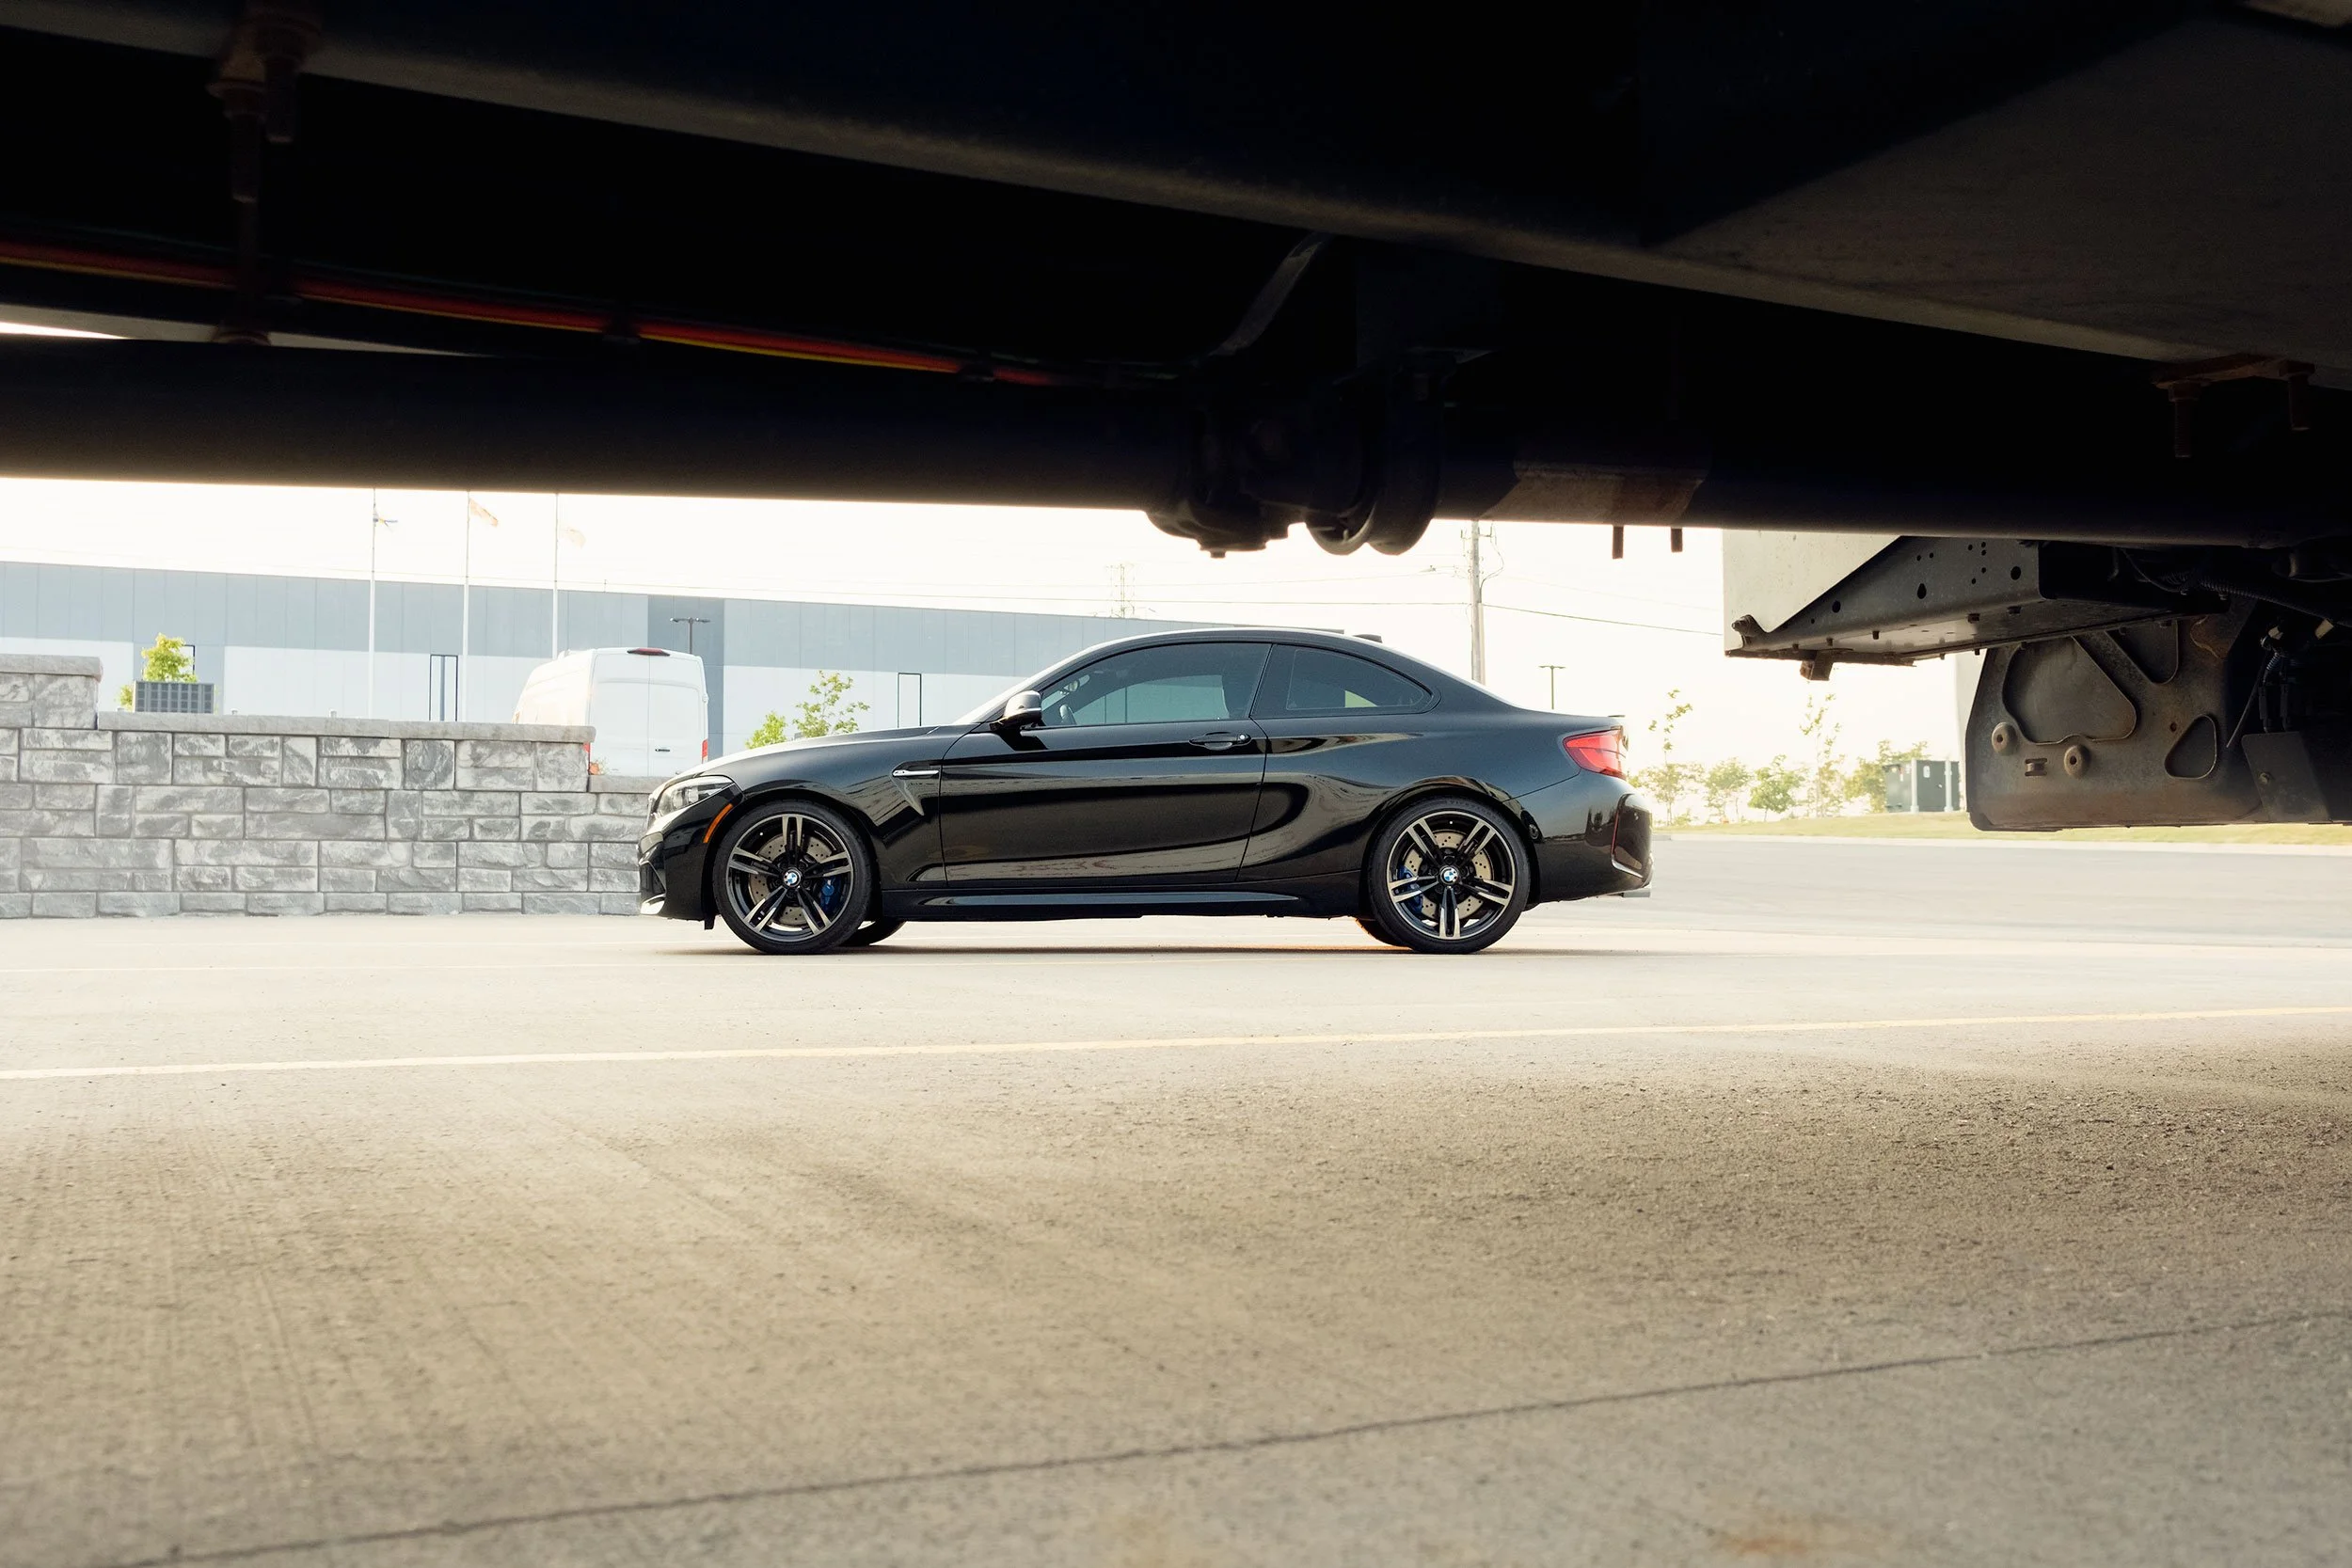
This location is in a new commercial/industrial park. I had no reason to go to this area, as it’s somewhat out of the way. I used Google Street View and Google Earth to explore the city for new spots. I knew this area was under development for some time and was curious how much it had progressed. This is important to remember, as on Google Earth, this entire area was still covered with gravel and trees. It had not been updated. Finding new shooting spots is great, but it’s essential to visit them to be sure they exist as presented online and are accessible.
There are a few things that draw me to areas like this. A newly constructed area contains all new infrastructure, which means that any wear to buildings and damage to streets should be minimal. Also, commercial and industrial areas are pretty much deserted after working hours with non-existent foot traffic. Having privacy during a shoot helps as I feel I can take more time doing what I’m doing and think more about the task in front of me without distraction.

Camera and Lens
This shoot was captured exclusively with the Fujifilm X-H2 and the 23mm f/2 and processed from RAW files. Although I experiment with and sometimes prefer the X-H2 JPEGs for travel and street photography, I use RAW exclusively for automotive photography. Car photography is precise and benefits from further editing and touchup.
Post-Processing In Lightroom
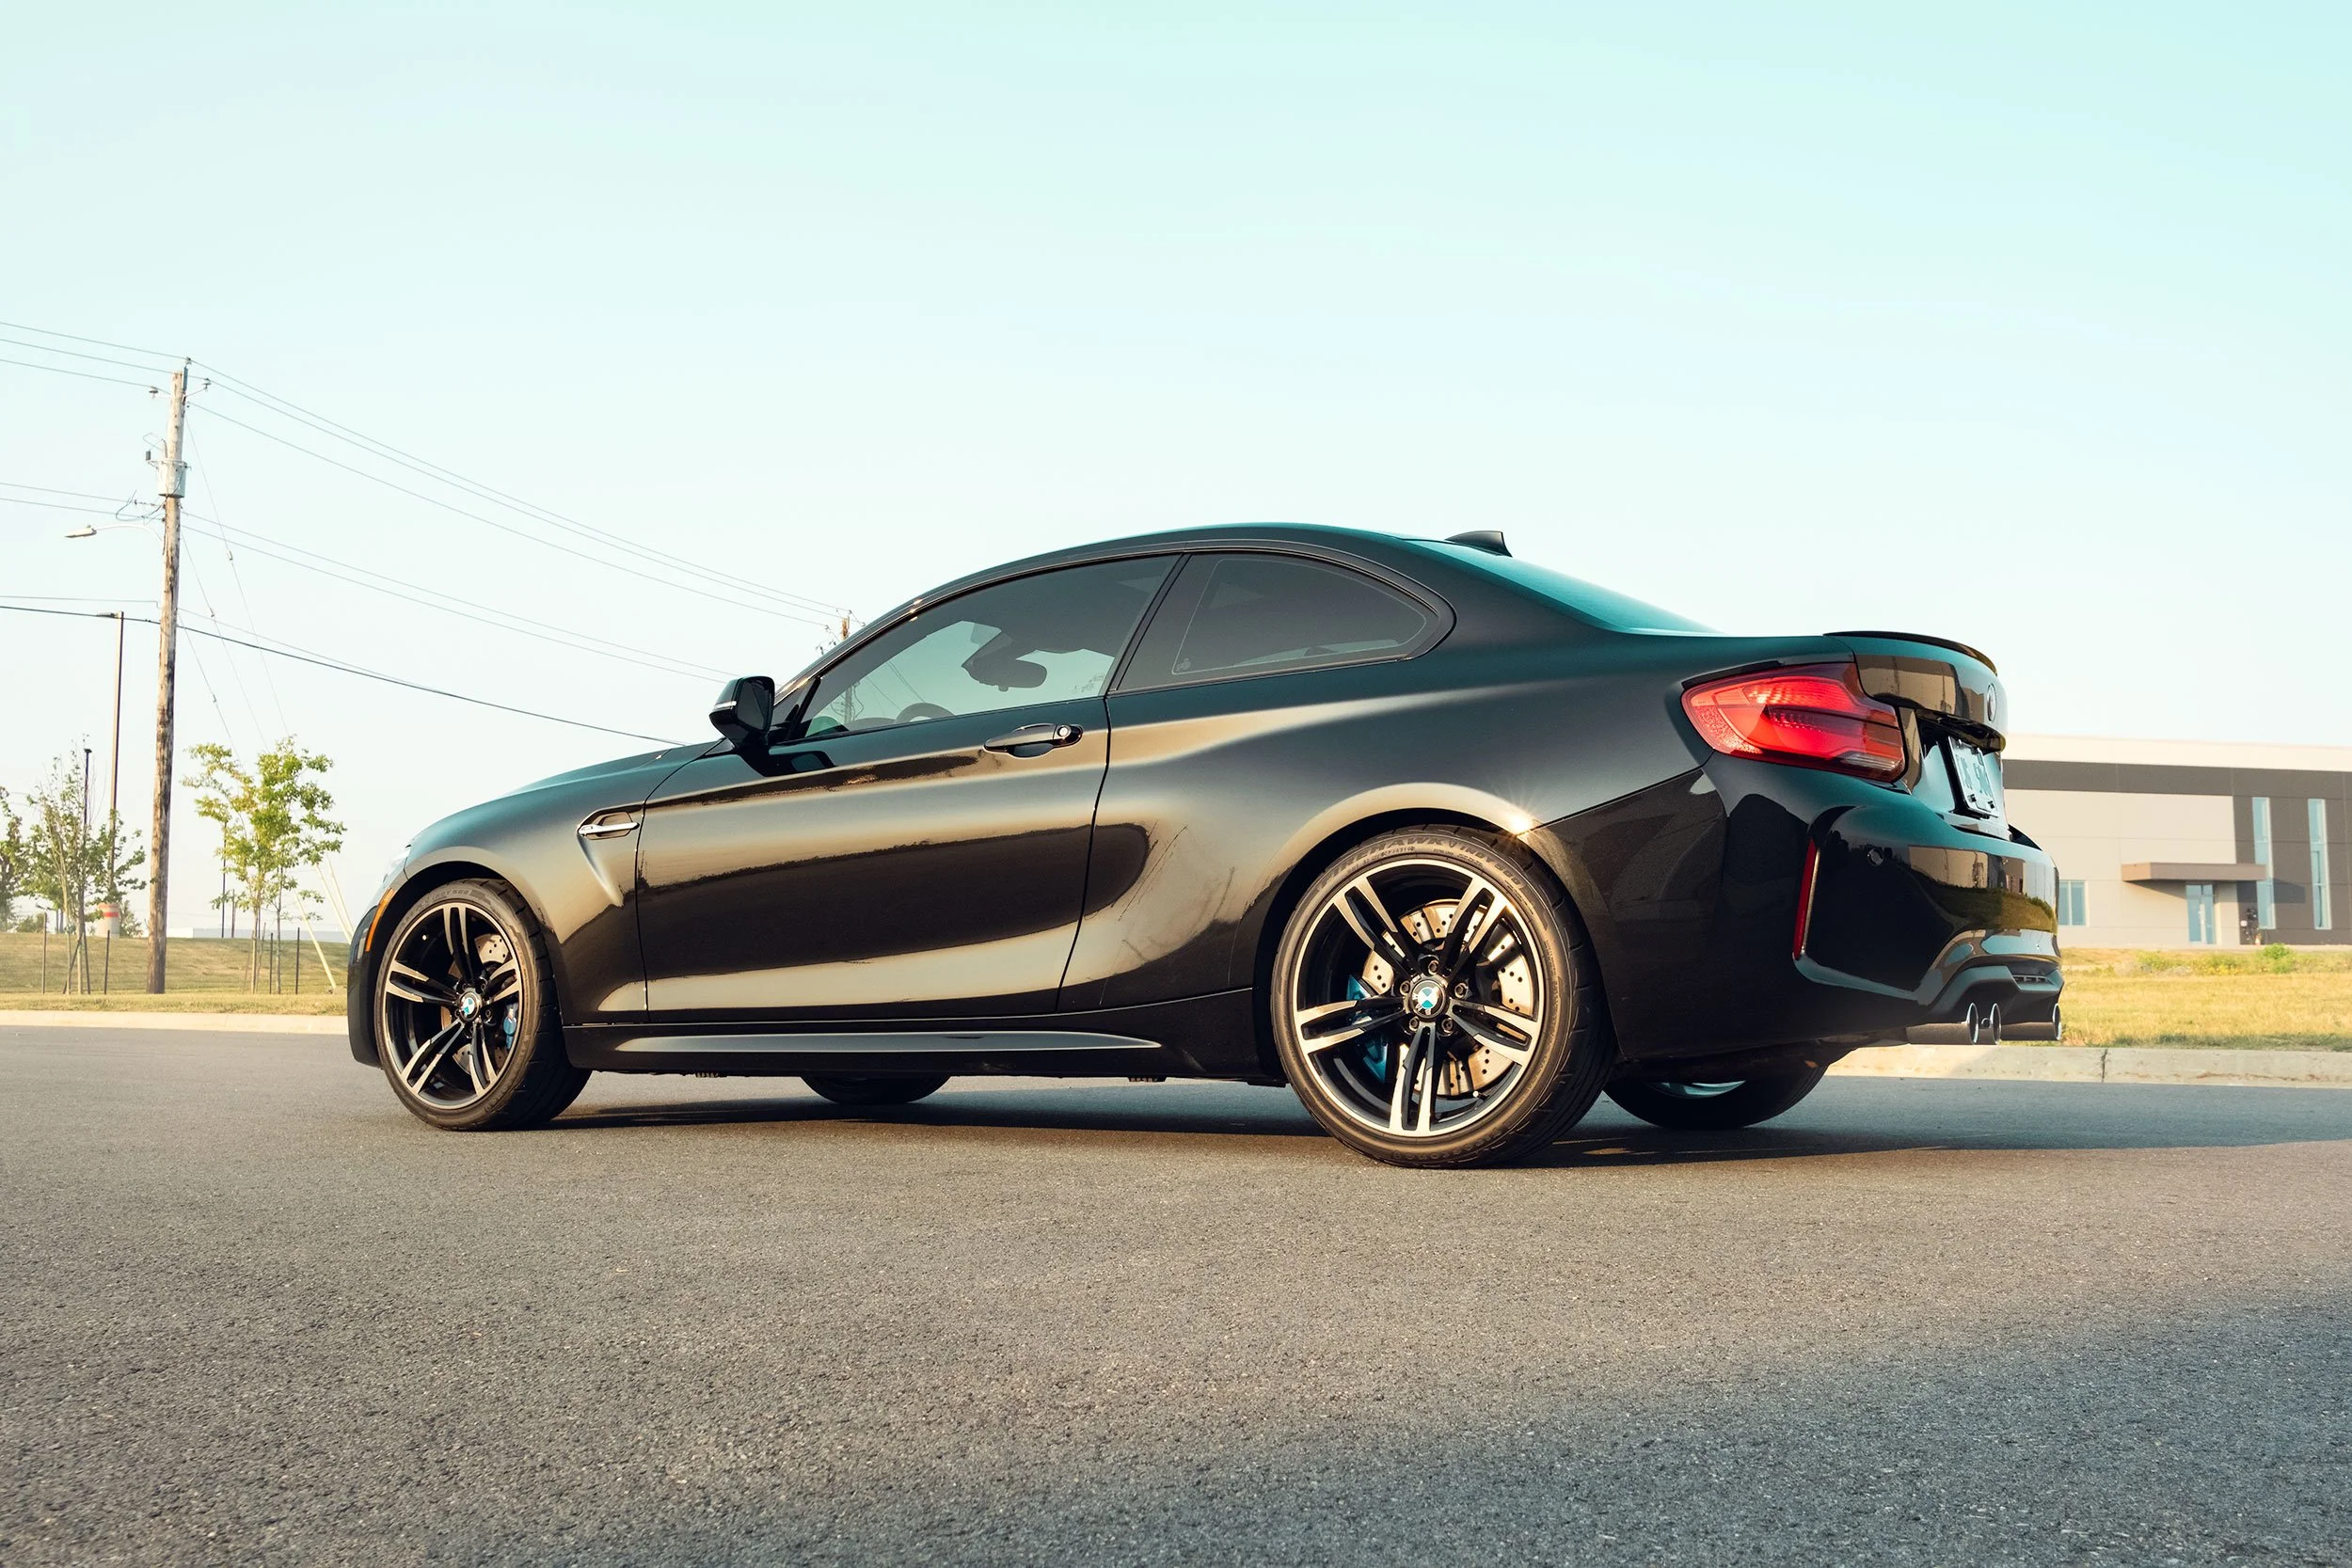
Shot late July, I was going for a hot summer night feeling for these photos. The first step I took in post-processing was adding warmth. I increased it more than I would typically do. I also added a mask to the car using Object or Subject selection. I applied Dehaze, moving the slider to the right, increasing contrast and drawing more attention to the vehicle. In some images, I inverted and copied the mask and moved the Dehaze slider to the left to decrease contrast and further accentuate the car while reducing focus on surrounding elements.
I synced the adjustments from my first “finalized” photo to keep the look consistent and used Reference View in Lightroom for further adjustments. There are different angles, some with the sun to the left, right, and behind the vehicle. I find Reference View hugely valuable as I can keep my adjusted image directly beside the next working image, making consistency a more streamlined process. I then continued my post-processing in Photoshop.

Reference View in Lightroom Classic
Post-Processing In Photoshop
I’m comfortable making some adjustments in Lightroom, and I prefer to do others in Photoshop, including spot removal. As mentioned, one of the benefits of shooting in newer areas is the condition of the grounds and surroundings. The surface was essentially free of any stains and cracks, but there was some gravel, which is to be expected. It is an easy removal process and one I prefer to do on a separate layer in Photoshop. I can use both the Spot Healing Tool and the Patch Tool to remove what I think should be most of the time—for example, signs, logos, or distracting text.
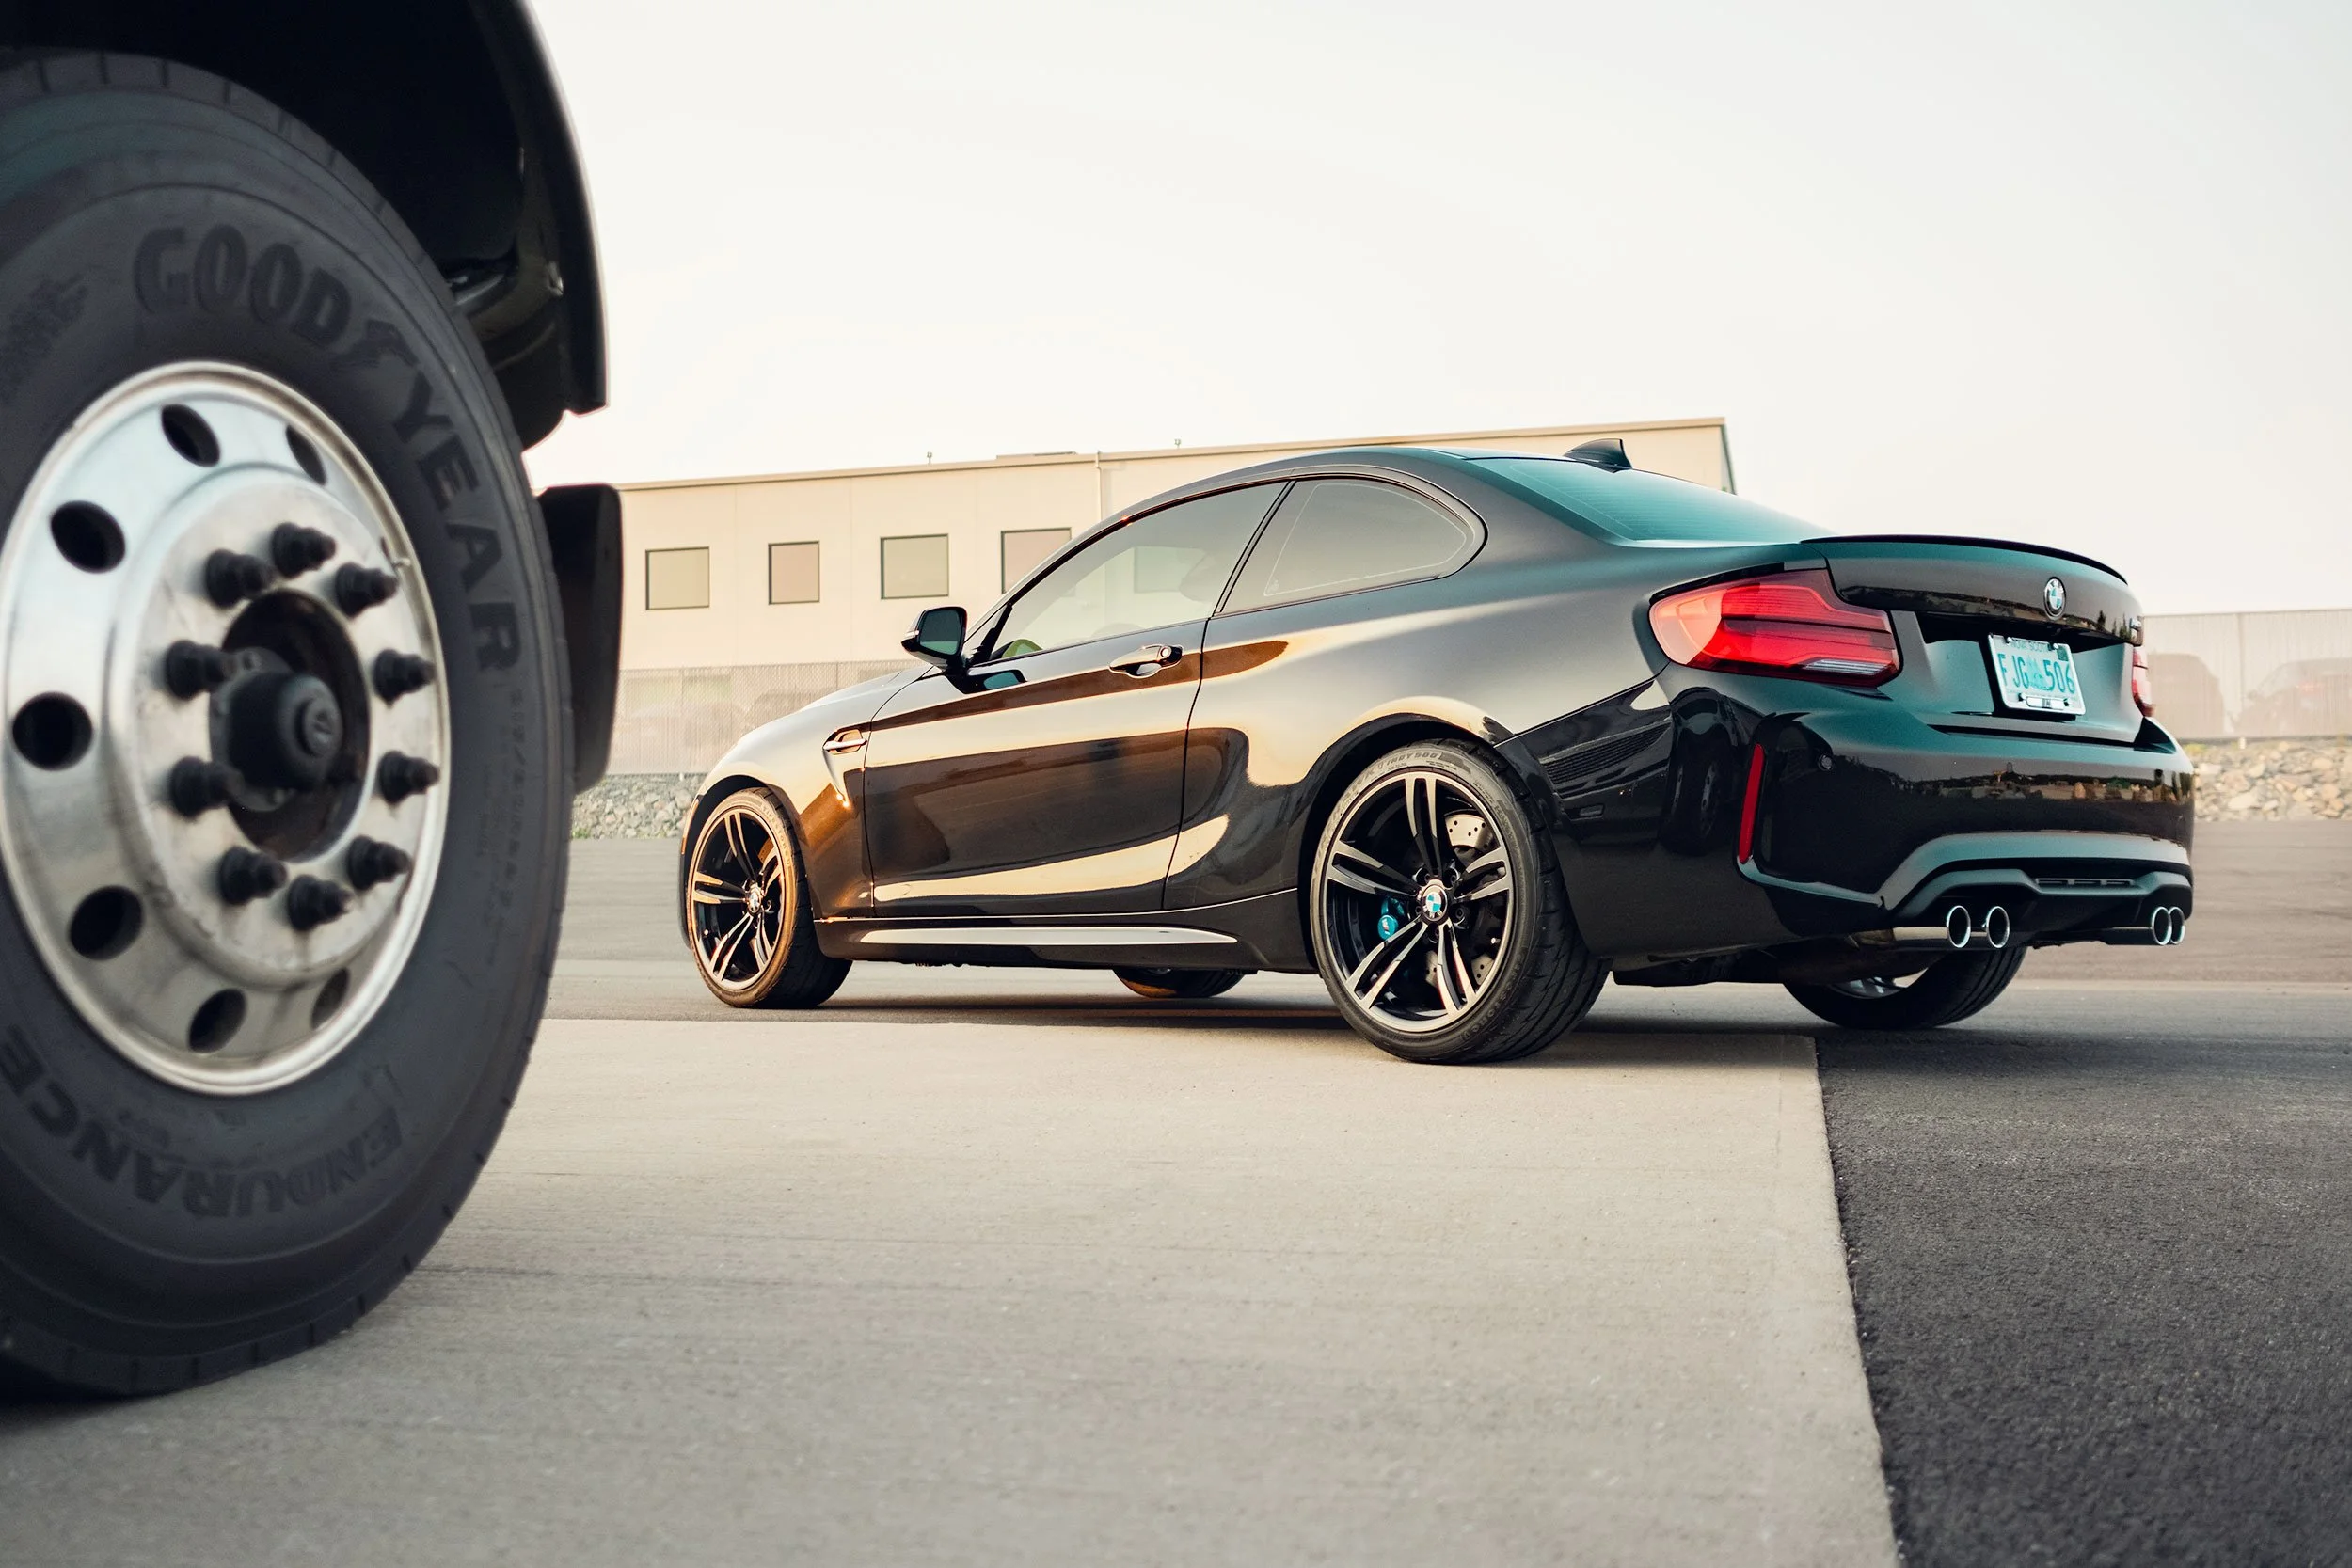
Next, each image has an added layer, which is a “smoke/dust” layer. I used a smoke brush on this blank layer to add smoke/dust from a colour I sampled from a brighter colour within the image. The effect is almost invisible in some of the photos. This aims to separate the car from the background and draw more attention.
The final two adjustment layers added to the images are a colour balance layer and a curves layer. The colour balance layer adds blues to the shadows and yellows to the highlights. Minor adjustments to the colour balance make dramatic changes to both, no more than +/-5 for subtle adjustments.


Final Notes
I did not use a polarizer. A polarizer is a hugely valuable tool that can work exceptionally well in certain conditions. However, sometimes, it mutes the reflections a bit too much for me, taking away the gloss and shine of the car, especially on black. For this shoot, I wasn’t in the proximity of anything that created hugely distracting reflections as the area was quite open, and the reflections that remain, I believe, benefit the images.
Polarizers are about experimentation and personal preference and are an excellent accessory for your camera bag on an automotive photo shoot.