Photographs from Chicago
Chicago is a US city that has been on my visit list for quite some time. I’m surprised that this is my first visit to the city, as Halifax is usually only a one-stop journey, but I finally had an opportunity to take in some of the city. Although the visit was brief, it was a great time to be there as the weather was fantastic.
Founded in 1837 and located along Lake Michigan, Chicago is a metropolis known for its rich history, iconic architecture, diverse culture, and vibrant neighbourhoods. It is the third largest city in the United States, with over 2.7 million residents, and is a global hub for commerce, culture, and entertainment.
During my Chicago visit, I stayed at the historic Hilton Chicago. Open since 1927, it has housed many famous guests in entertainment and politics and has been featured in numerous movies and TV shows. Its location on S. Michigan Avenue makes its central location a good starting point for exploration on foot.
From the Hilton, I walked by the Art Institute of Chicago to Millennium Park to see the famous Cloud Gate sculpture, nicknamed “The Bean.” Unfortunately, the area had heavy construction and renovation, so The Bean was fenced off. I could only get a peak of it through the gap in the fence.
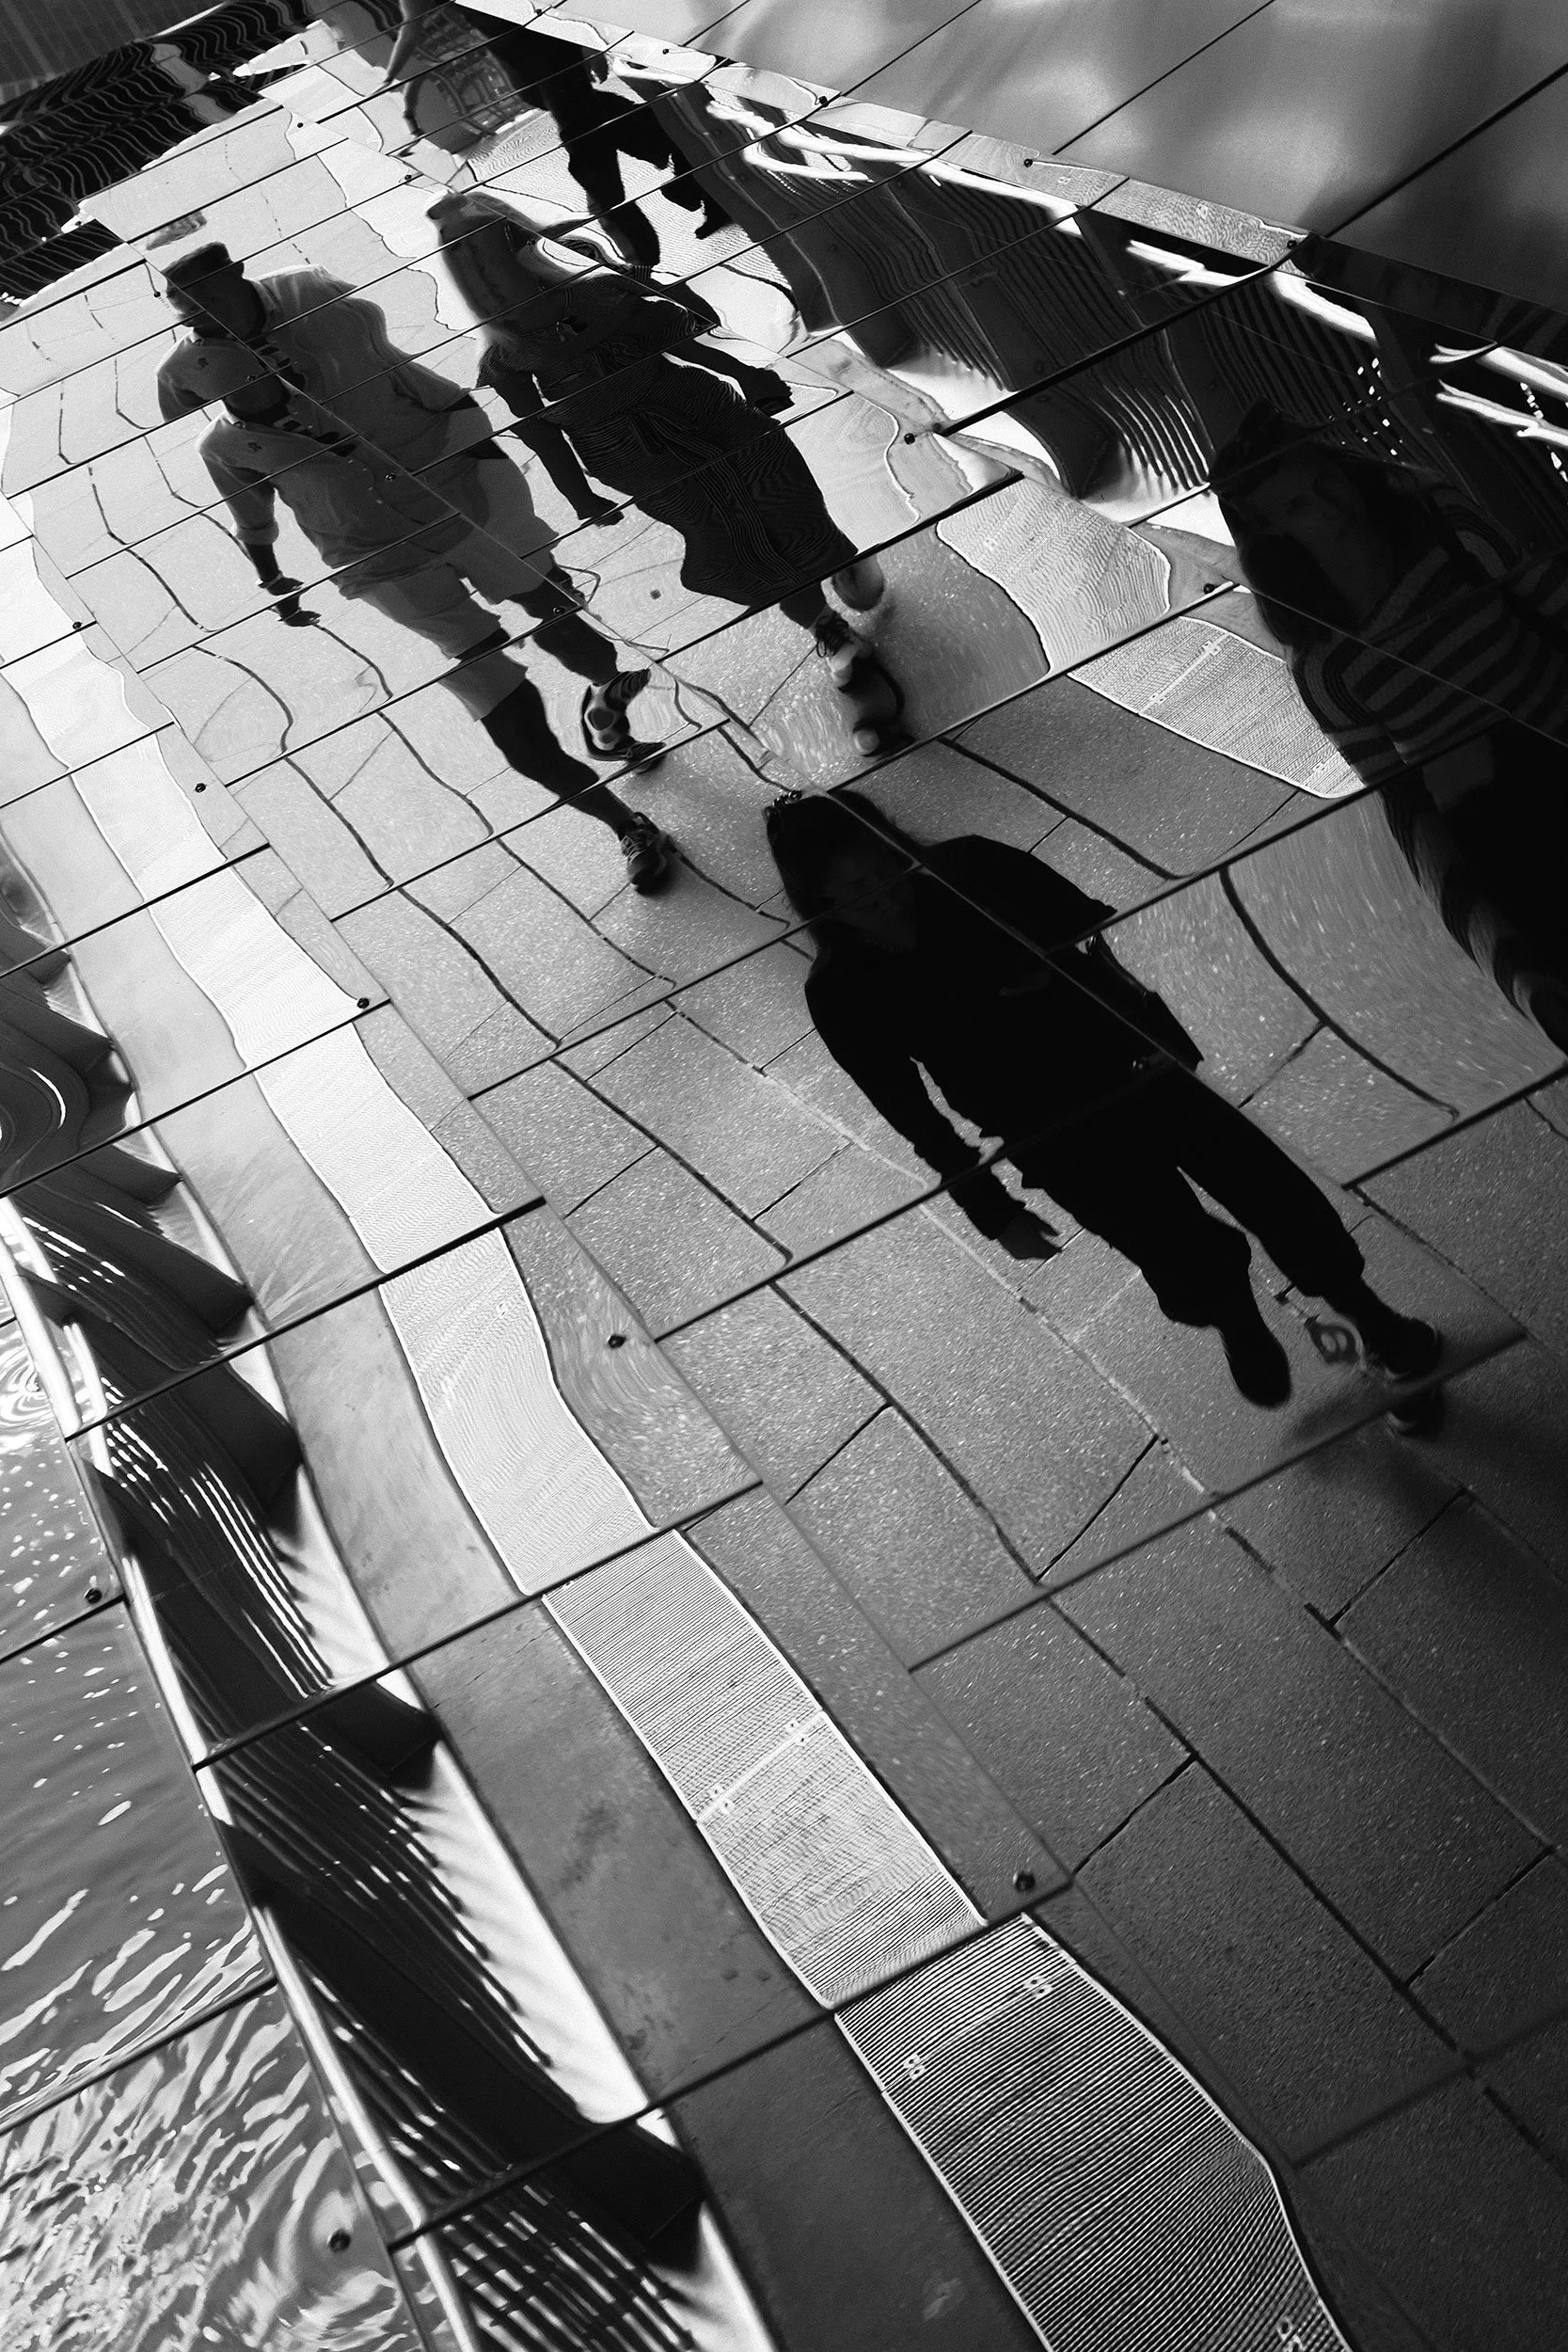
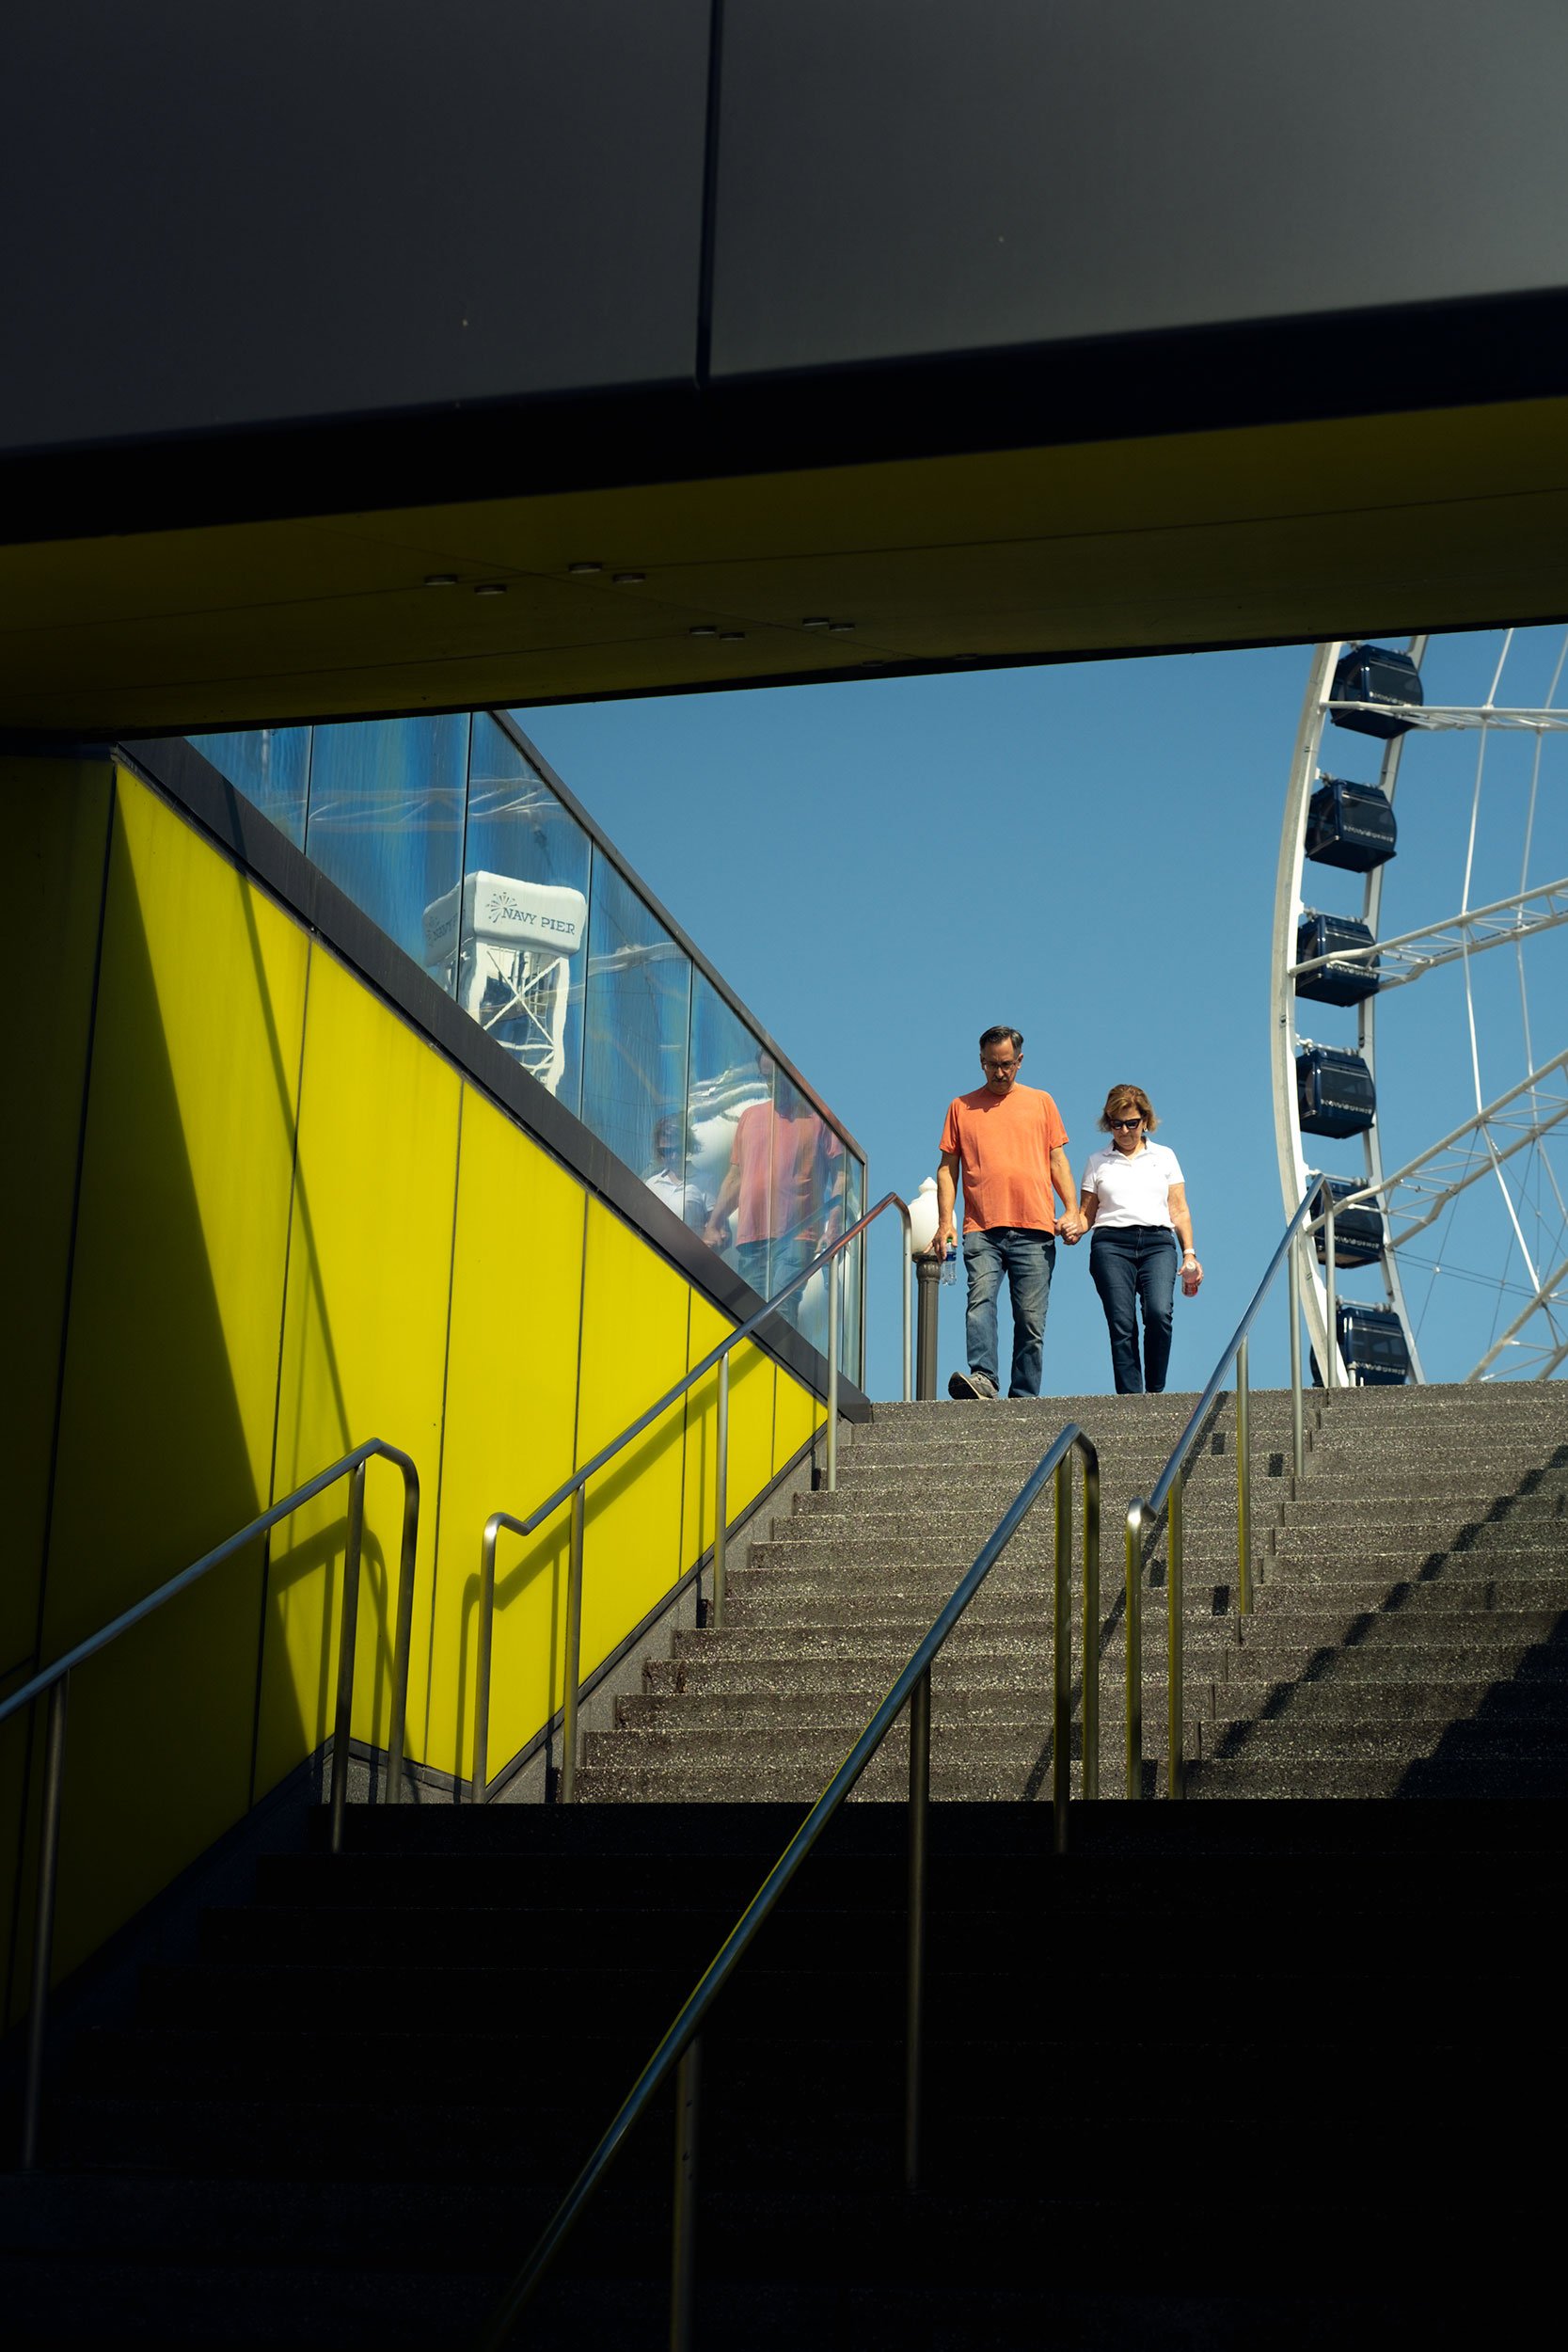
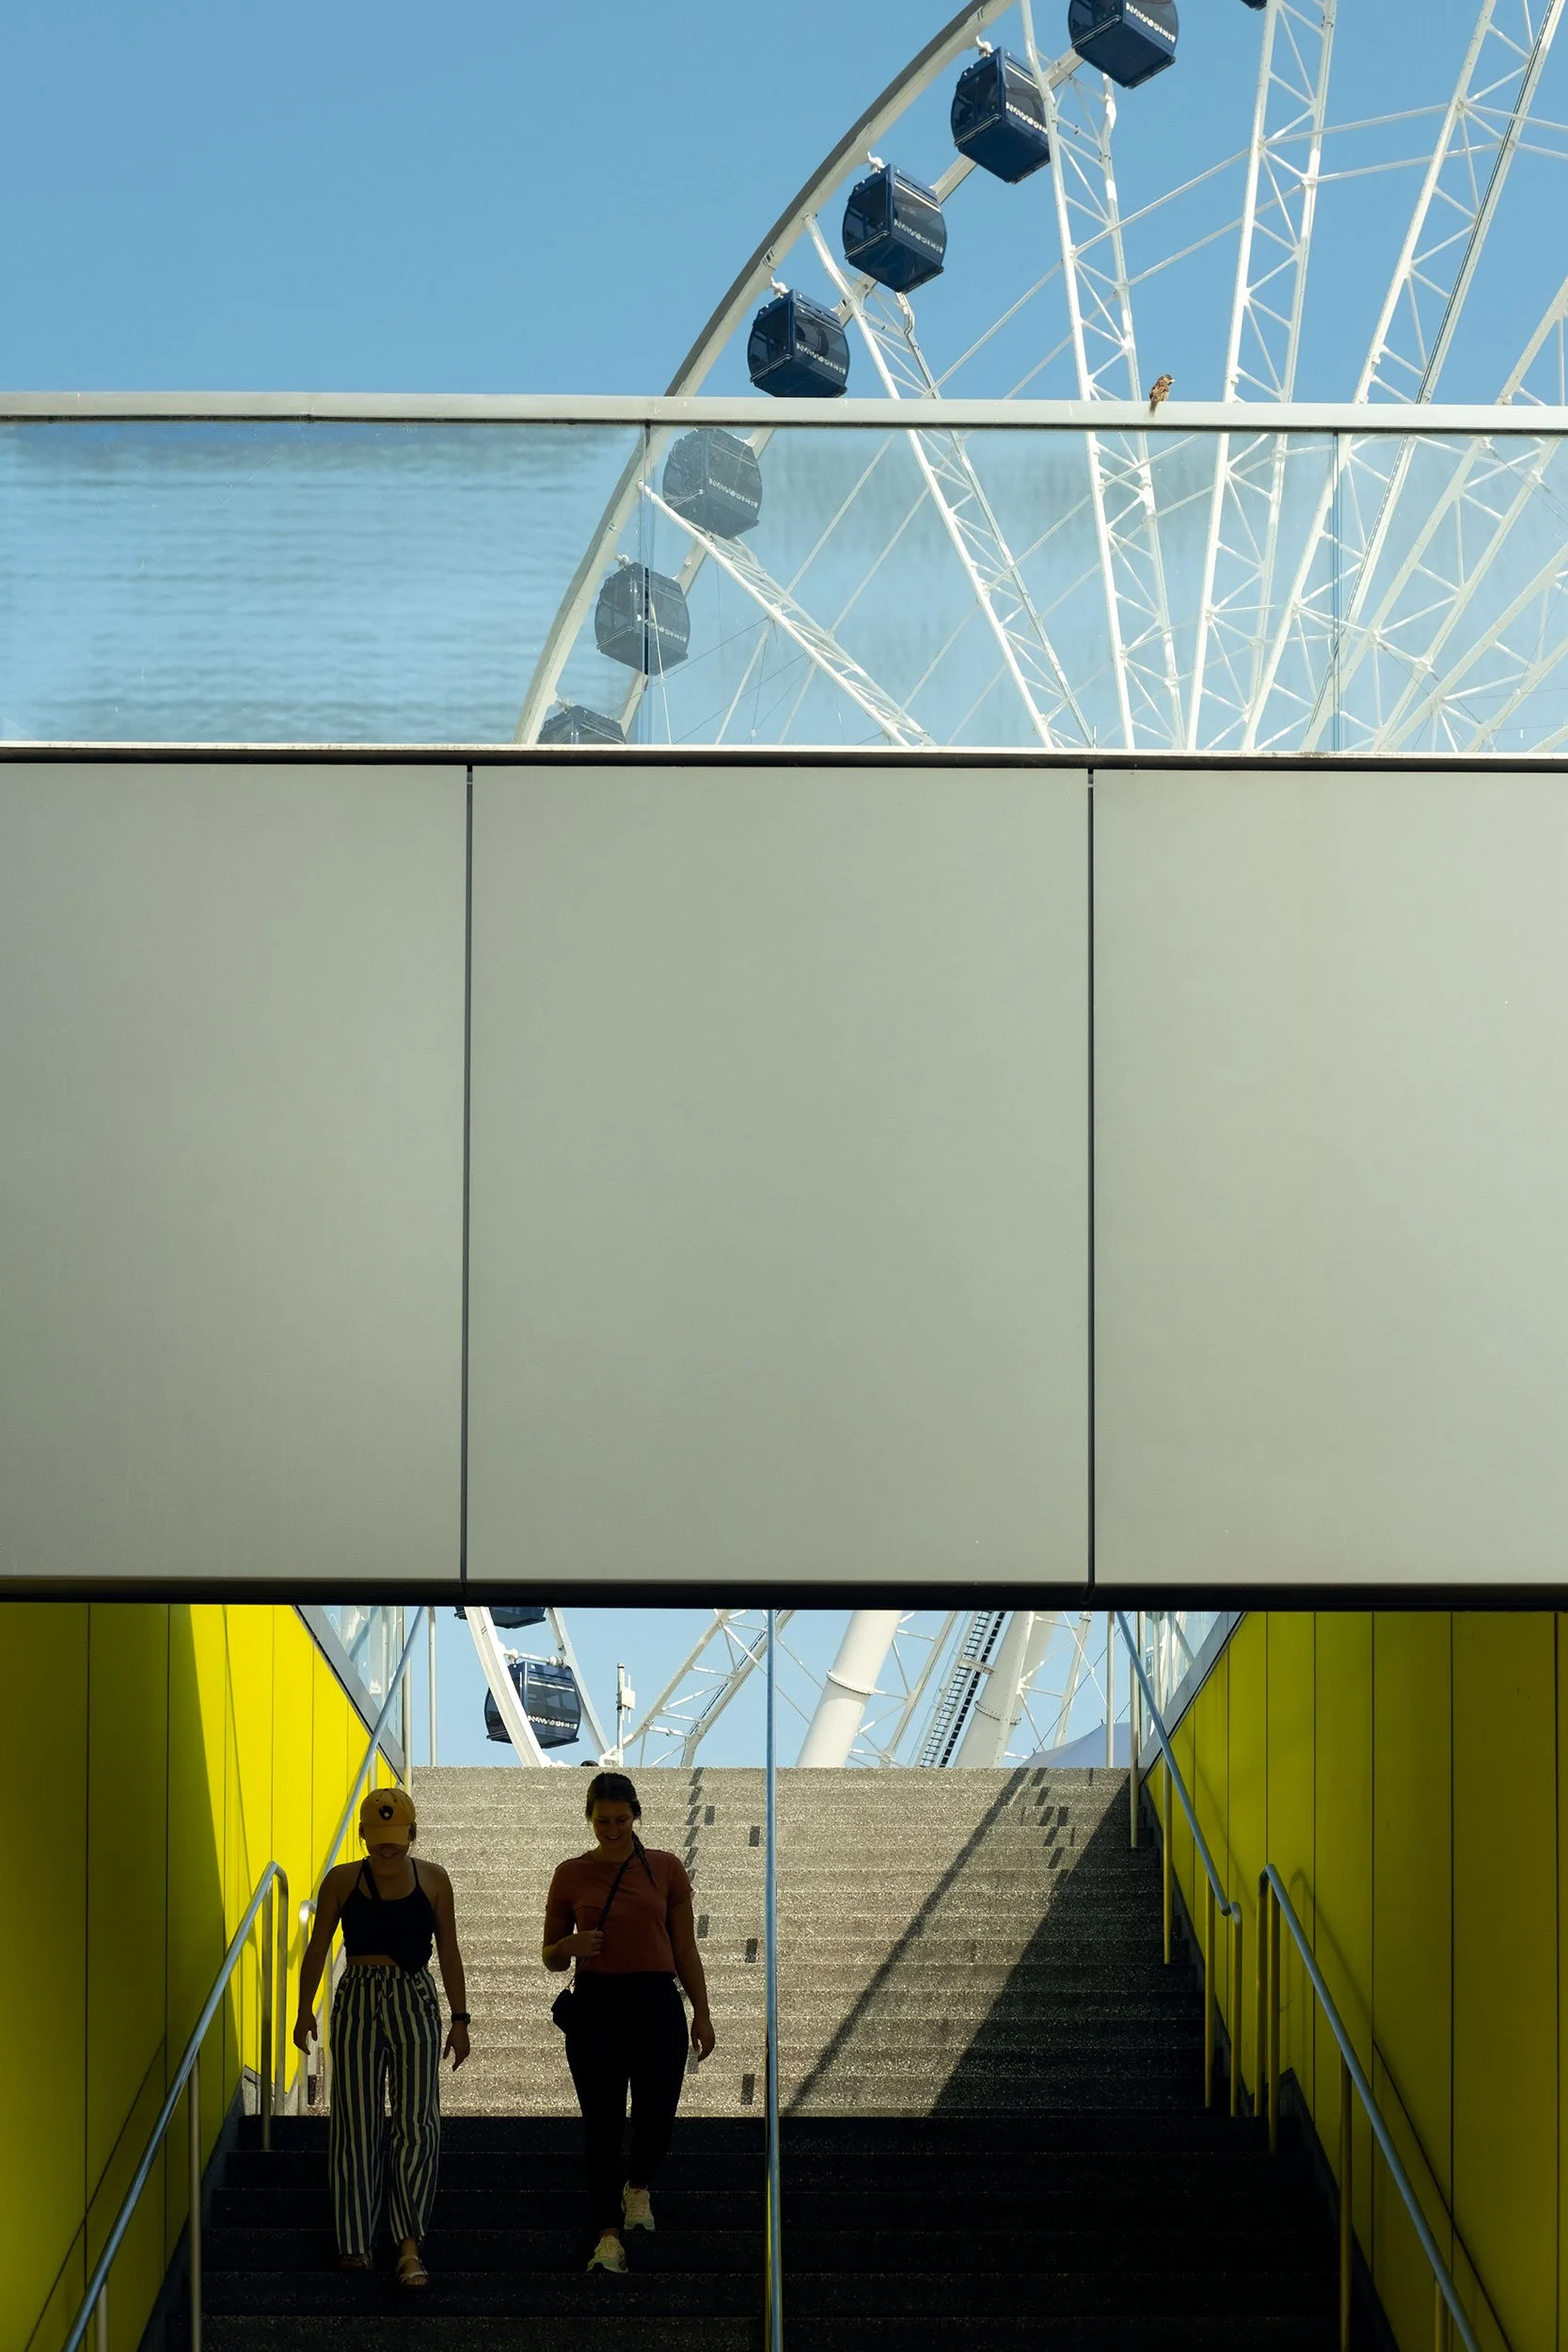
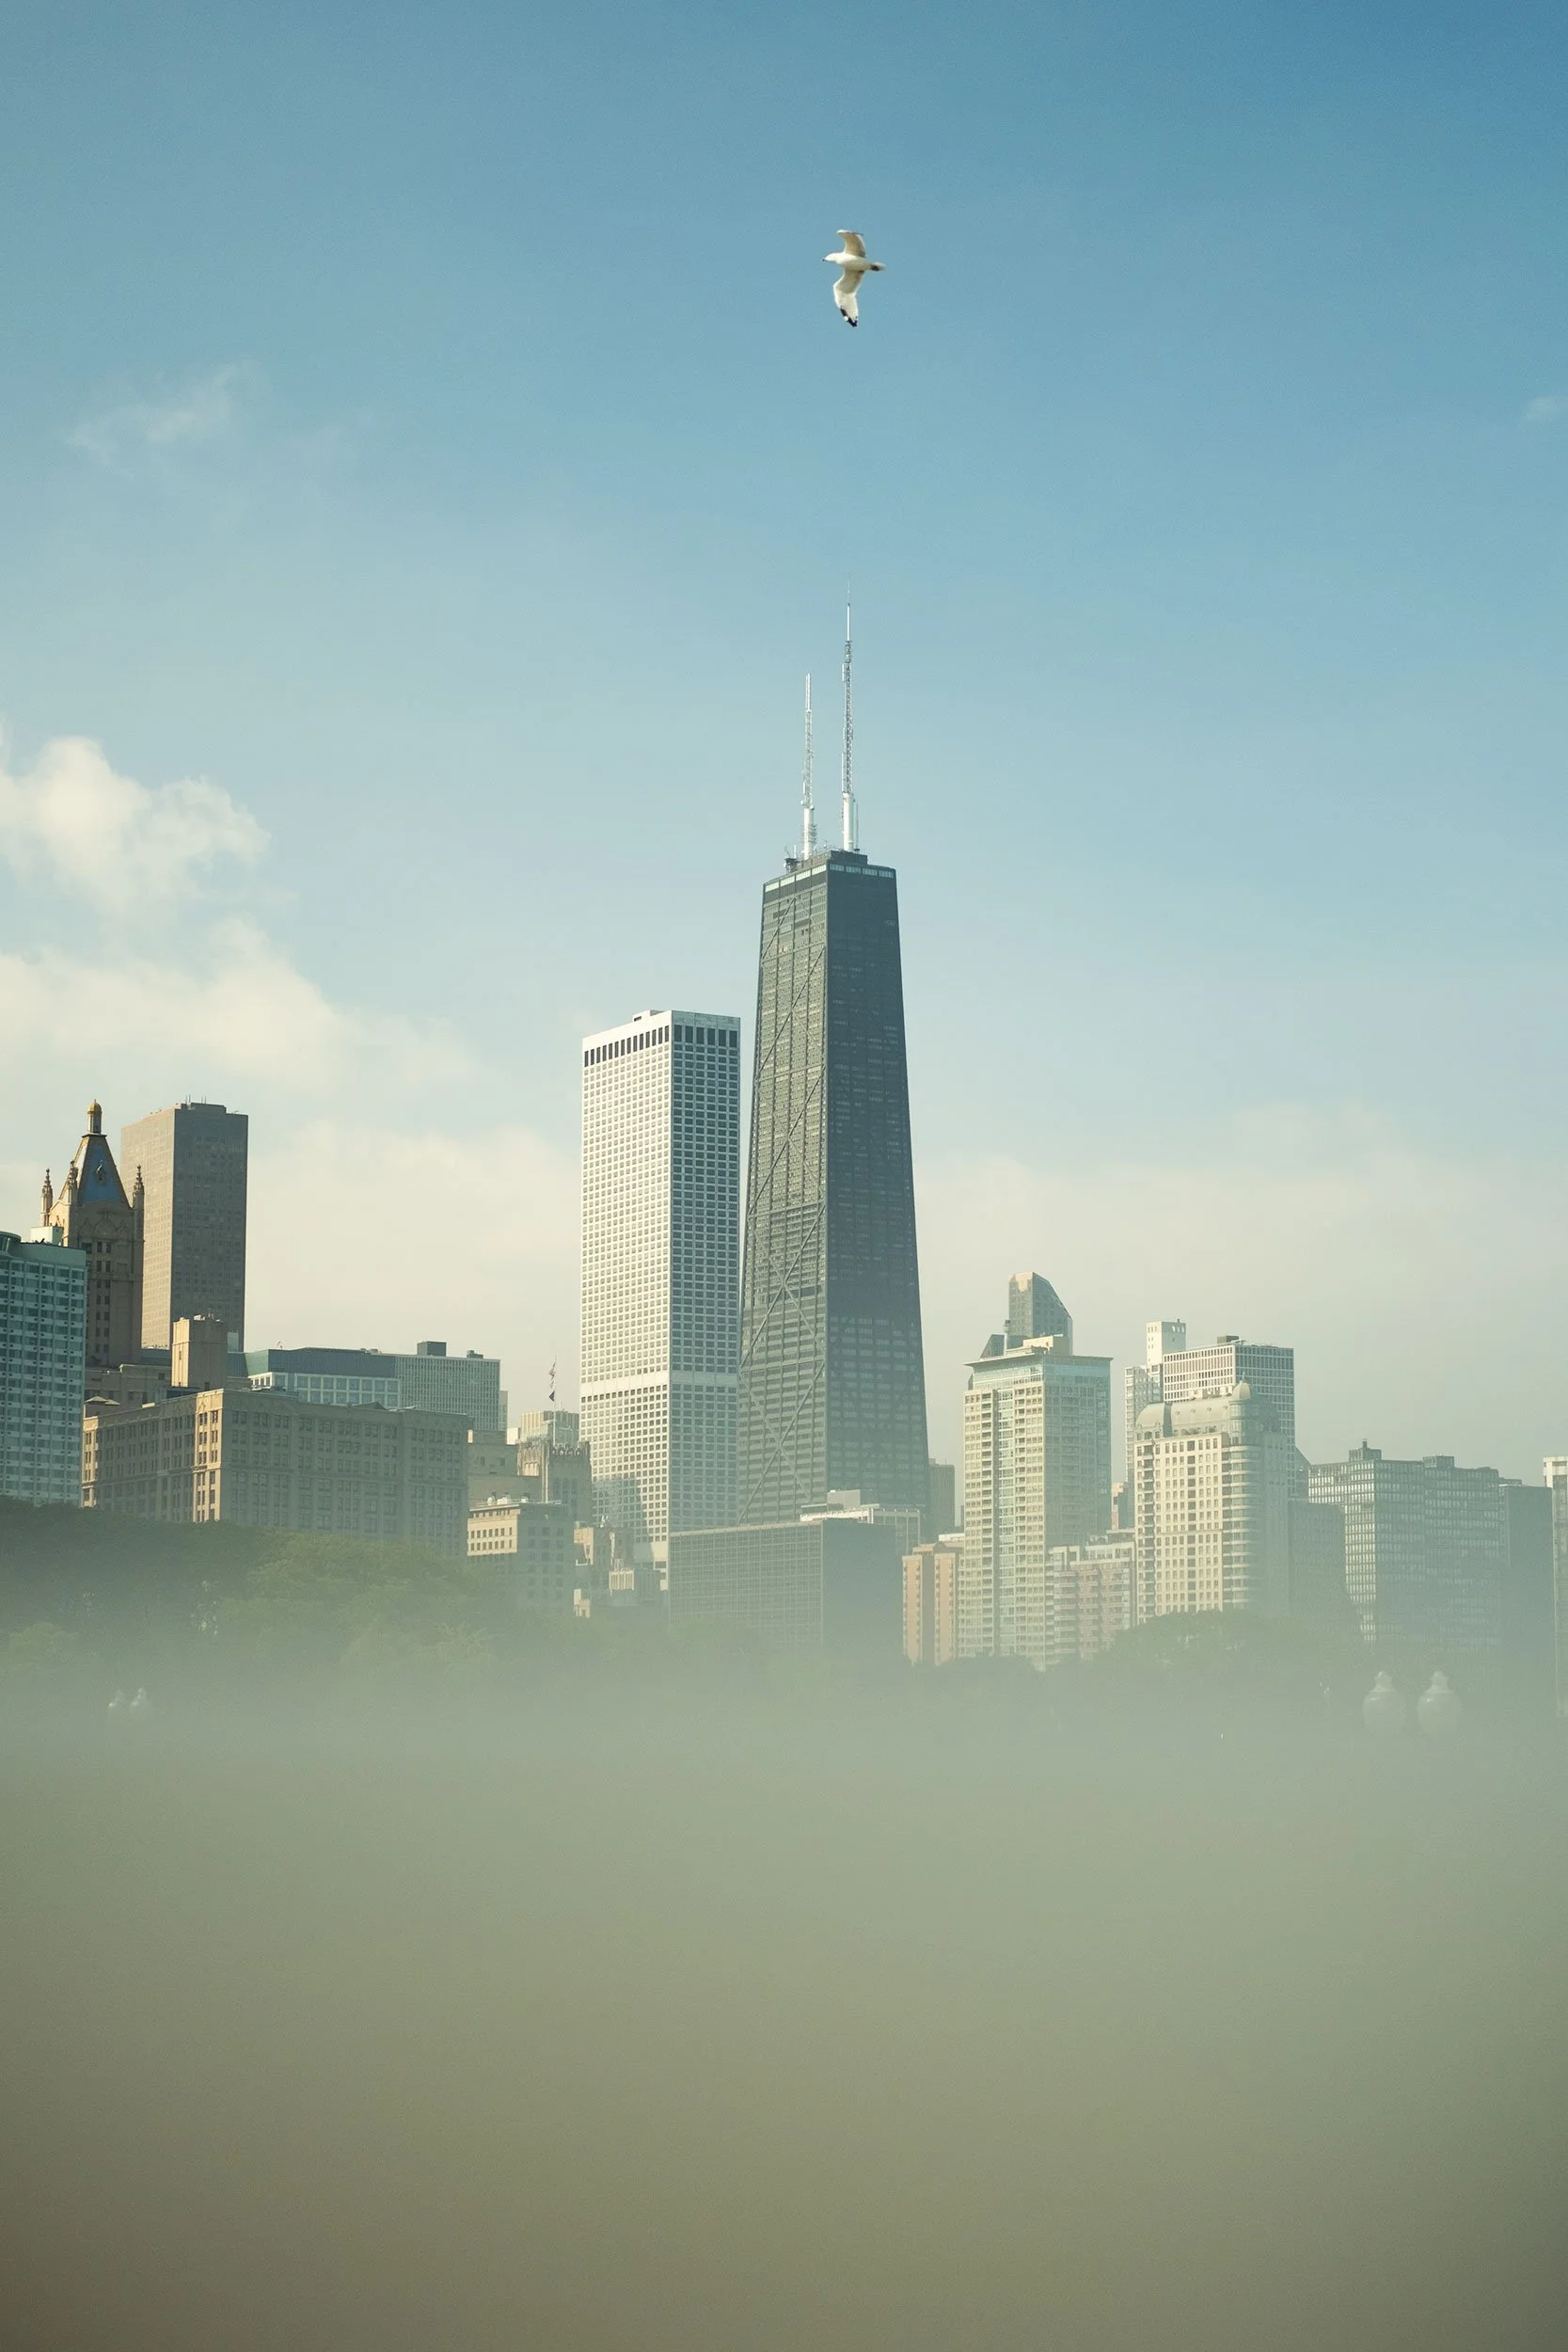
Next, I headed down to the Chicago Riverwalk and Navy Pier, where the Centennial Wheel is located. The Riverwalk is a great place to appreciate Chicago’s impressive skyline and architecture and to have a Chicago hotdog! I captured some photos as I walked around the area. After completing the loop, I continued West into the city to explore some of the streets in that area before heading back to the hotel.
It was a short visit, and I was fortunate to get a chance to understand the layout of some of Chicago’s main areas and what to expect on my next visit.

The Photos
Using the Fujifilm X-E4, I was shooting RAW + JPEG. I used two film simulations for the JPEGS. For colour captures, I used a Kodak Ultramax 400 recipe. This film simulation has good colour representation, but I used the RAW files because I was not too fond of a few things about the Kodak Ultramax 400 recipe as it was. The grain produced by the recipe was a bit too much as the recipe’s effect set to strong/large. I would change those settings next time. Secondly, the clarity setting didn’t work well for me in this type of simulation. With very evident grain along with a clarity setting of +3, it looked somewhat artificial to me.


For the black-and-white images, I used the Classic Monochrome recipe. With the architecture and the light, I thought I would prefer those captures exclusively. This is an example of why shooting RAW + JPEG is beneficial. After review, I used both the RAW colour images and the JPEG black and white. For the monochrome recipe, I set the clarity to zero (standard +4), as anything above zero slows it down, resulting in a noticeable delay in the capture time. It wasn’t much of an issue, but I wanted immediacy.