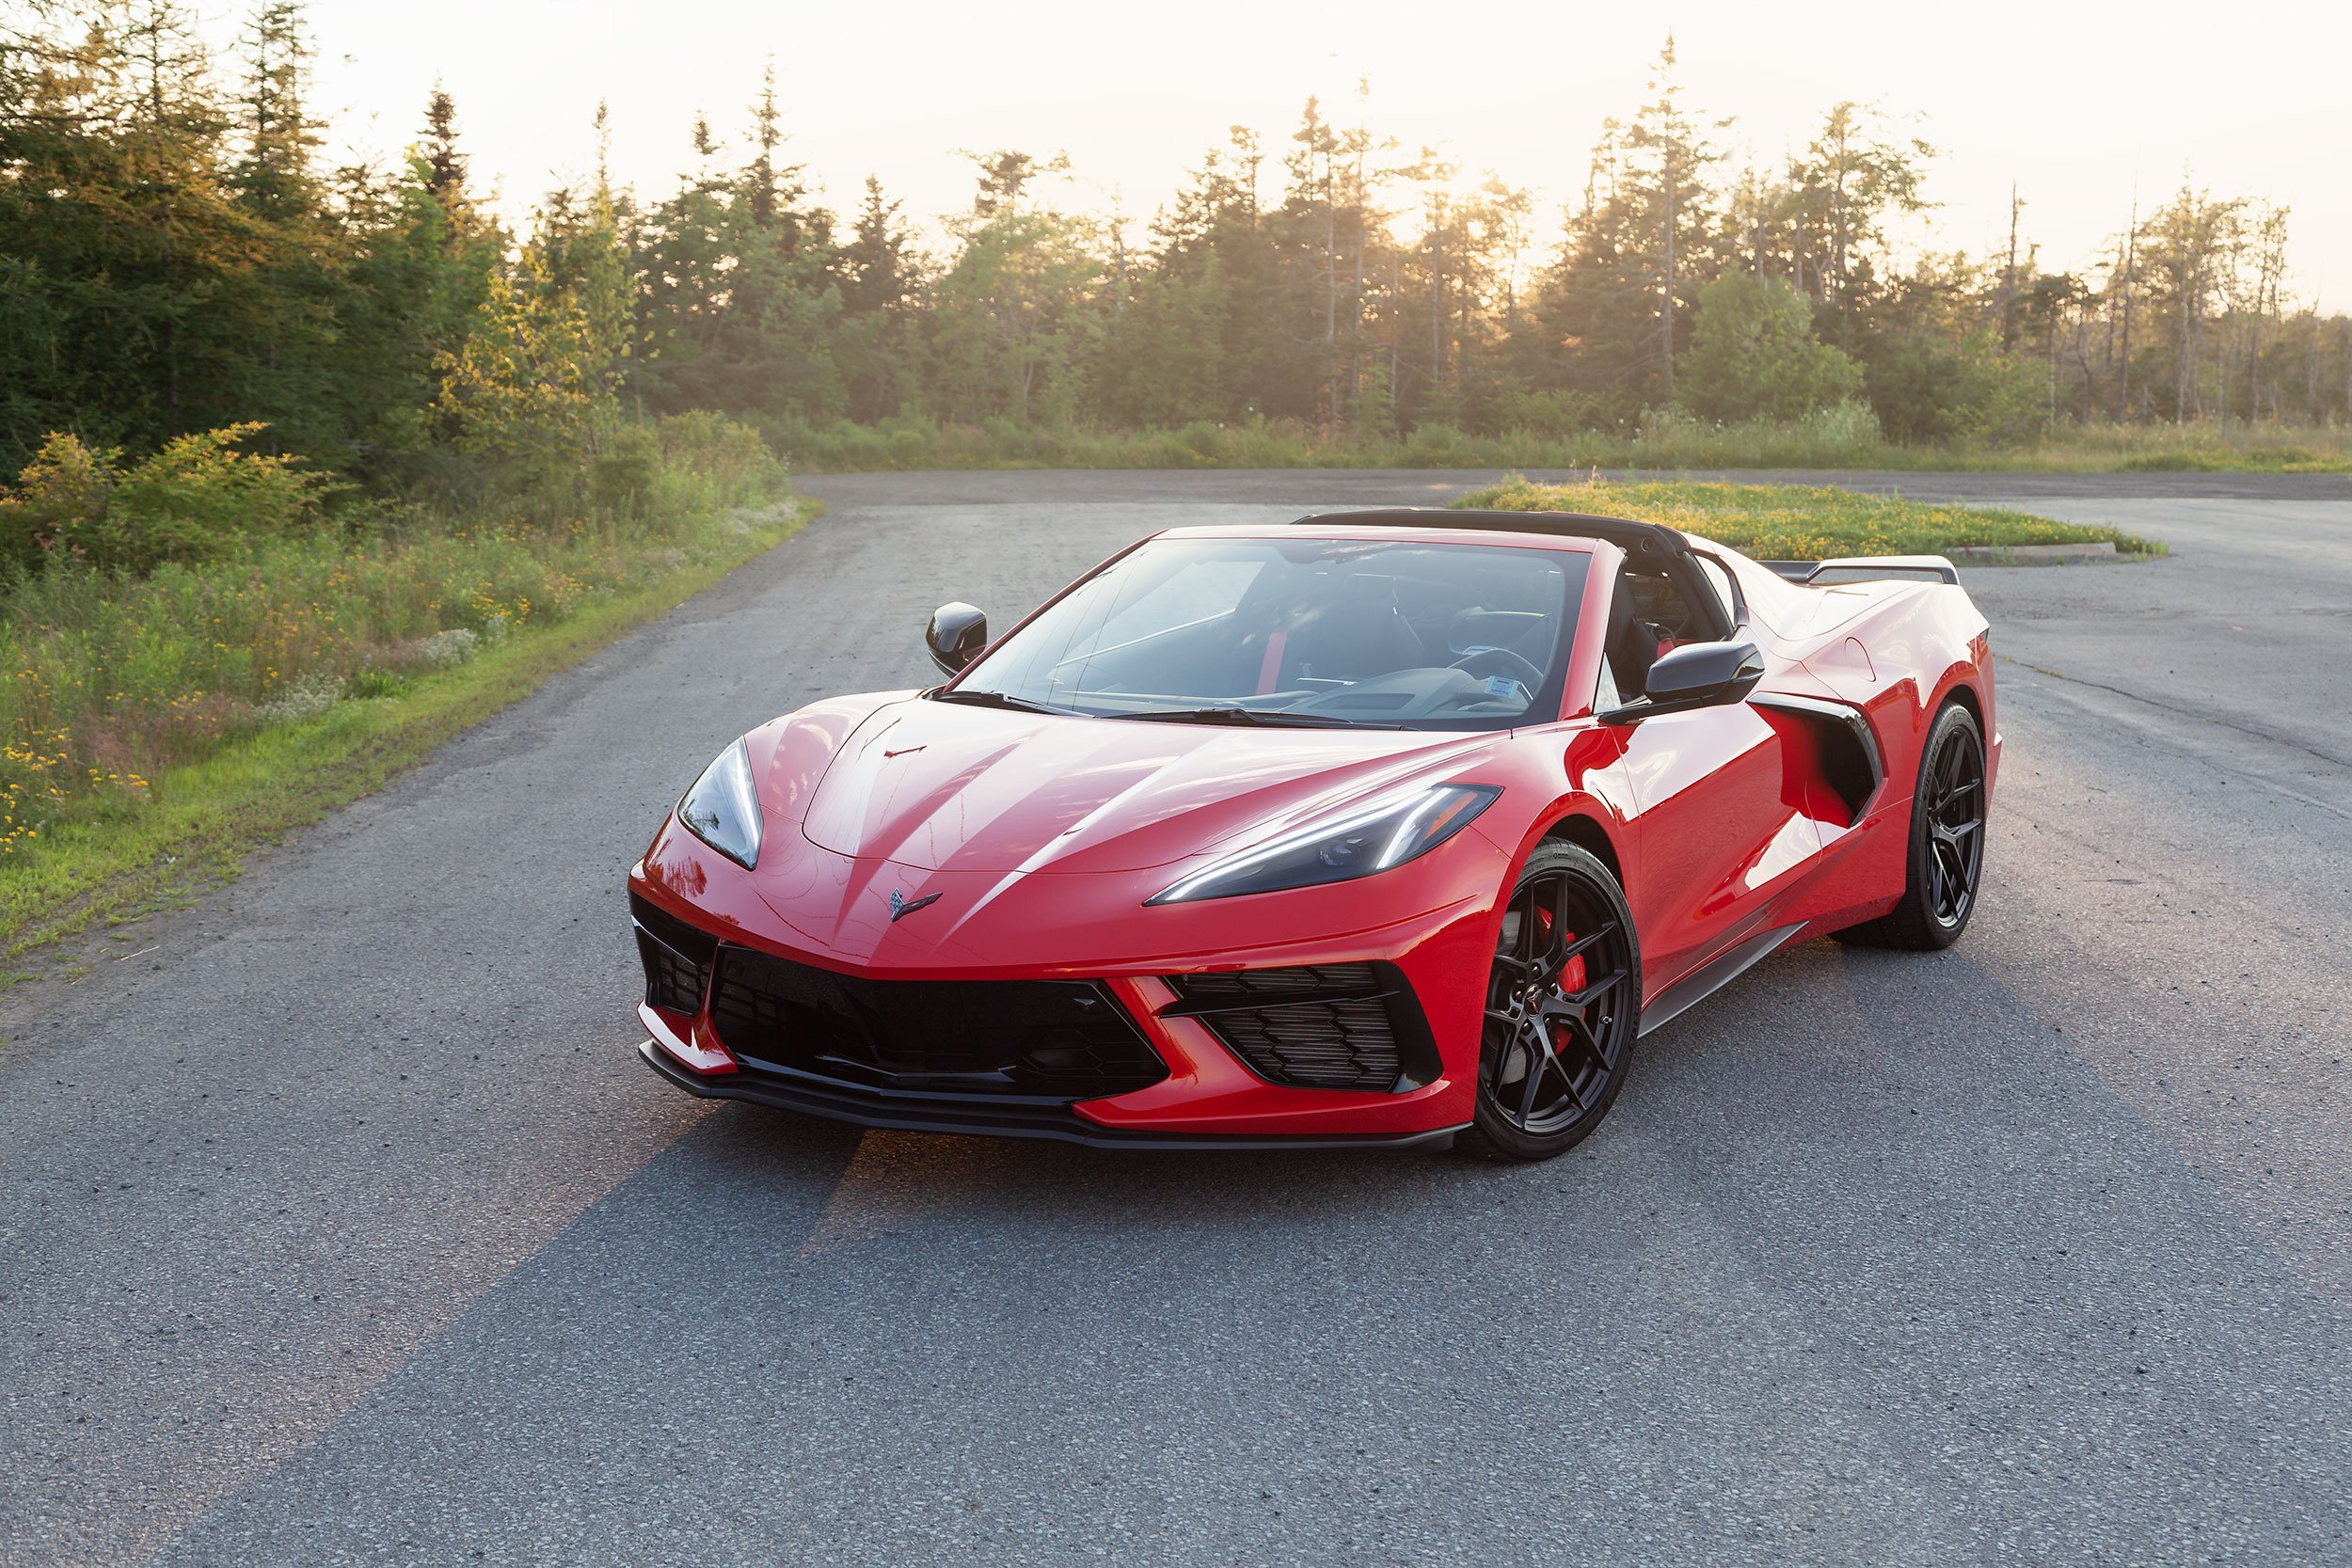
How to Create LED Headlights in Photoshop
I use various techniques in my car photography, both during the shoot and in post-processing. My workflow has always included both Lightroom and Photoshop. While I find that some processes are best performed in Lightroom and others in Photoshop, some techniques are necessary in Photoshop, including the Pen Tool. This tool is one of the most essential tools to learn for car photography. It gives considerable flexibility in making advanced selections and isolating certain parts of an image, allowing specific adjustments on even the smallest areas of the photo.
In this post, I want to share a technique to create LED headlights in Photoshop and show you how to enhance them to make them look more realistic based on how light reacts.
NOTE: This technique assumes you have a basic understanding of how to use the Pen Tool.
This Photoshop technique is helpful for several reasons, as you may have had situations that include:
I could not turn the lights on. (showroom car, public gathering, etc.)
I didn’t have time to turn them on and off as needed.
I couldn’t start the ignition. (some cars require the car to be started to get the entire headlights on)
I forgot to turn the lights on.
Ok, let’s get started.
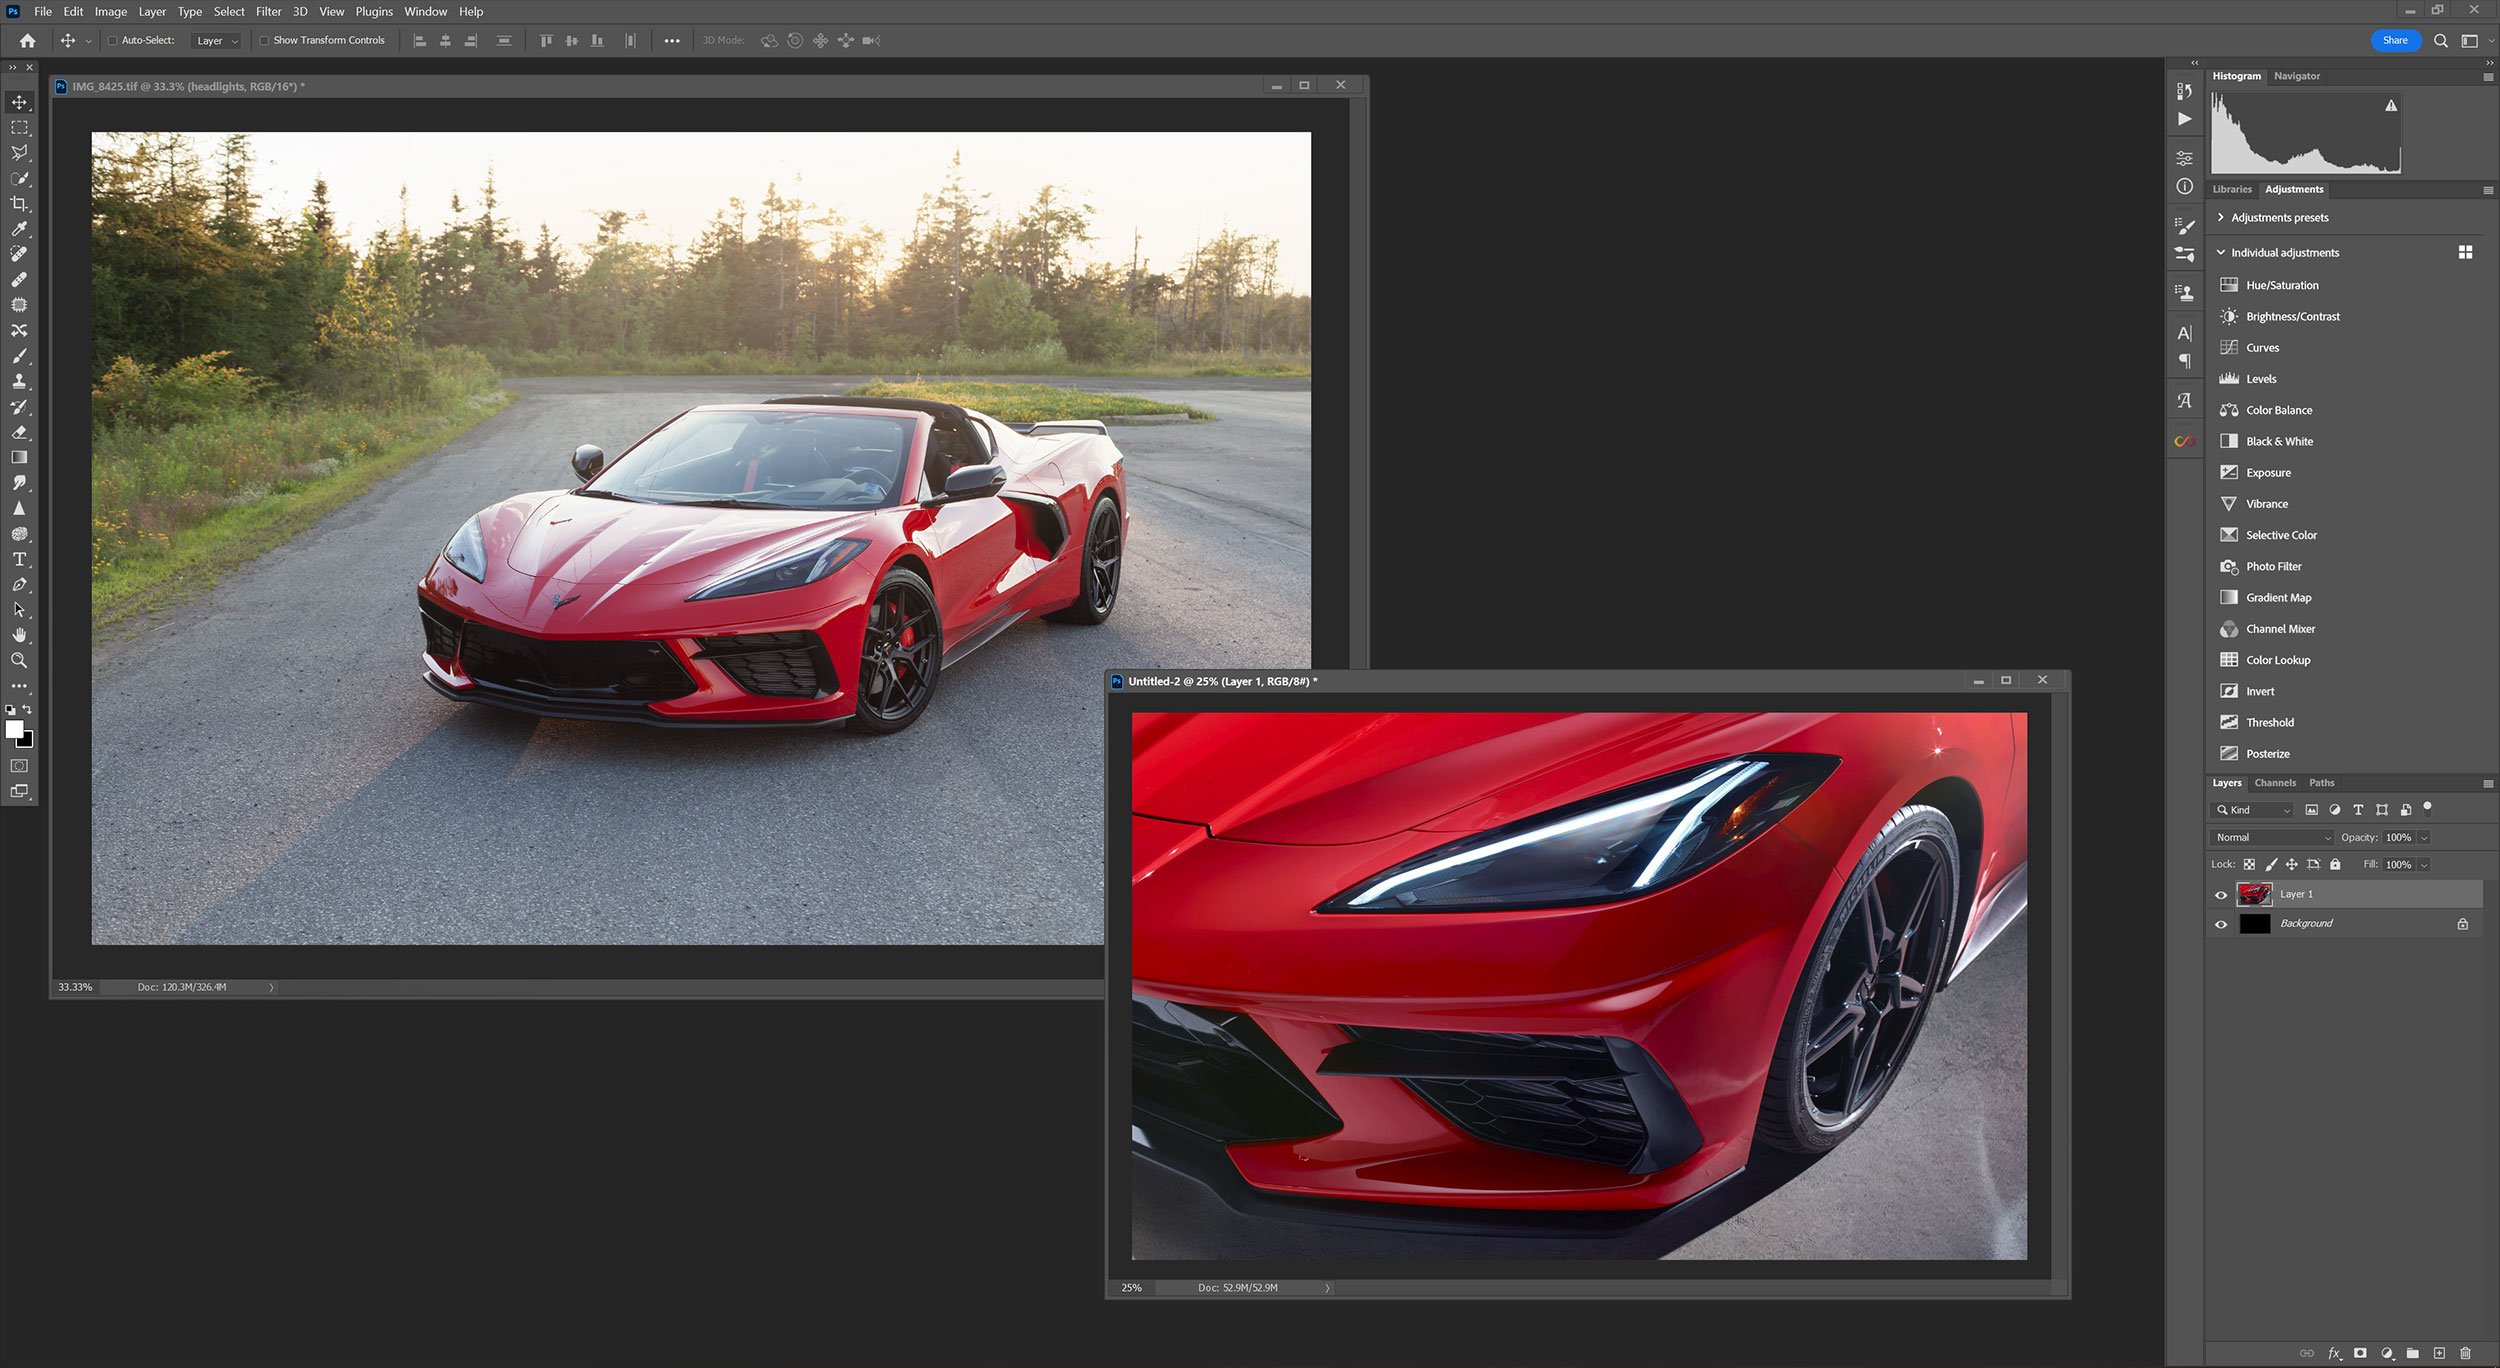
Step 1 - Find a reference photo online of the same make and model to understand how the headlights look. Finding a photo at a similar angle to yours is even better. Open it in Photoshop to give you an easy side-by-side reference.
Step 2 - Create a new blank layer to work on from the layers palette. Name the layer headlights. I have a habit of naming my layers, and even though this example will not have many of them if you are working on a complex project, naming (and grouping) is crucial in keeping track of which layer is which.
Photo alongside reference photo of headlight design
Step 3 - Grab the Pen Tool from the tools bar and zoom in on your photo. You may need to zoom in to 200-300% to create a precise enough path. Create a path around the first light, carefully following the path as close as possible to your reference photo. As the Corvette headlight is split into two separate LED lights, a similar path is created for the second LED. Once you are finished, you should have two enclosed paths. We need to select both paths.
Step 4 - Grab the Path Selection Tool and click and draw a box around your selections. This will allow you to select both LED lights for which you had created a path using the Pen Tool. Right-click (Ctrl+click on Mac) and choose “Make Selection.” Choose around 0.8 to 1 for your Feather Radius and click “OK.” Feathering determines how soft the edges will be in your selection, and as this is a light source, we don’t want perfectly hard edges as lights give off a glow naturally.
You should now have the marching ants around both of your selections.
After selecting both paths, right-click and choose Make Selection
Step 5 - Choose a white colour or sample the colour of the LED light from your reference photo (although this will probably be pure white or close to it). Select the brush tool and paint your LED lights in the chosen colour. Ctrl+D (Command+D) to deselect.
Zoom out a bit and take a look. Does it look right? Is it too sharp? If it is, you can redo the process by undoing previous steps or use a Gaussian Blur of different degrees until it looks right to you or closely resembles your reference photo. You now have an outline of your LED headlight. Now, we will add a bit of glow from the light source you created.
Step 6 - In the Layers Palette, choose the little fx for blending options and choose “Outer Glow.” Make sure your outer glow colour matches the light source and adjust the outer glow’s opacity, spread, and size. This will vary based on what look you are going for but aim to keep it quite subtle and natural. Click “OK”.
Step 7 - Go to your headlights layer and reduce the opacity to about 75-85%. We don’t want the light to be incredibly bright, but reducing the opacity also allows detail underneath the layer to come through. So if the light has details, you can now see them (although it could be very small)
At this point, you will have LED headlights on your vehicle, and you could stop right there! But I’ll show you another step that adds some flare to your light.
Bonus
Step 8 - Click on your headlights layer, right-click (Ctrl+click), and choose “duplicate layer.” This will create a copy that will noticeably increase the brightness of the lights. We’re going to change that.
Step 9 - Go to Filter > Blur > Motion Blur on your headlights copy layer. Reduce your distance to zero and gradually increase it, noting how it looks. This will give your lights an offset blur. Increase it until you get a faint effect that looks realistic. I usually keep the angle at zero and the distance up around 40-50.
Conclusion
There you go! This technique allows you to turn on LED headlights in Photoshop. With the flexibility of these types of lights, automakers are taking advantage of what can be done as it adds more of a visual identity to the car, especially at night.
Filter > Blur > Motion Blur
Before and After


